DIY To Get Back On The Road
 How is everyone out there? I have officially been on Steemit.com a year now and wow has it been one hell of a ride. I have met so many people on this journey and even helped spawn a local group @socalsteemit. People from all walks of life, teaching me something new every time. Having the ability to be social as an adult is a difficult task but pays off in the end. I believe this platform has the ability to excel and already has the largest following over others.
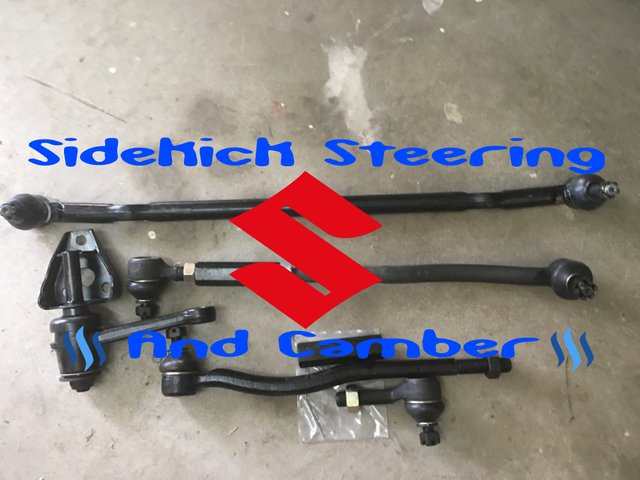
My DIY mechanics series is meant to teach others how they can approach a task and succeed. Teach a person to fish and they eat for a lifetime. The information contained in these will far outlive the payout period. In this post I work on a 1995 Suzuki Sidekick and replace the entire steering system minus the pitman arm, plus I replace the camber bolts (I say replace because I was not aware this vehicle had a set). Camber bolts are used when an Independent Front Suspension has been lifted from stock height. I am in no way a certified mechanic so if you conduct something similar you do so at your own risk. Use this post as a guide but not definitive fact.
How is everyone out there? I have officially been on Steemit.com a year now and wow has it been one hell of a ride. I have met so many people on this journey and even helped spawn a local group @socalsteemit. People from all walks of life, teaching me something new every time. Having the ability to be social as an adult is a difficult task but pays off in the end. I believe this platform has the ability to excel and already has the largest following over others.
My DIY mechanics series is meant to teach others how they can approach a task and succeed. Teach a person to fish and they eat for a lifetime. The information contained in these will far outlive the payout period. In this post I work on a 1995 Suzuki Sidekick and replace the entire steering system minus the pitman arm, plus I replace the camber bolts (I say replace because I was not aware this vehicle had a set). Camber bolts are used when an Independent Front Suspension has been lifted from stock height. I am in no way a certified mechanic so if you conduct something similar you do so at your own risk. Use this post as a guide but not definitive fact.
Tools and Parts Needed:
- Jack and 2 jack stands
- 14mm, 15mm, 17mm and 19mm sockets and open end wrench sizes
- ratcheting wrench with breaker bar for more leverage
- two feet worth of extensions for your wrench (yes im serious)
- Puller capable of separating tie rod ends
- angle grinder with cutting blade (in case of serious situations)
- large needle nose pliers
- New inner and outer Tie Rods and Adjusting Nuts
- New Center Link bar (on other vehicles this would not need to be replaced and the pitman and idler would come with the joints)
- New Idler Arm
- Set of Camber Bolts
Removal and Installation of Steering
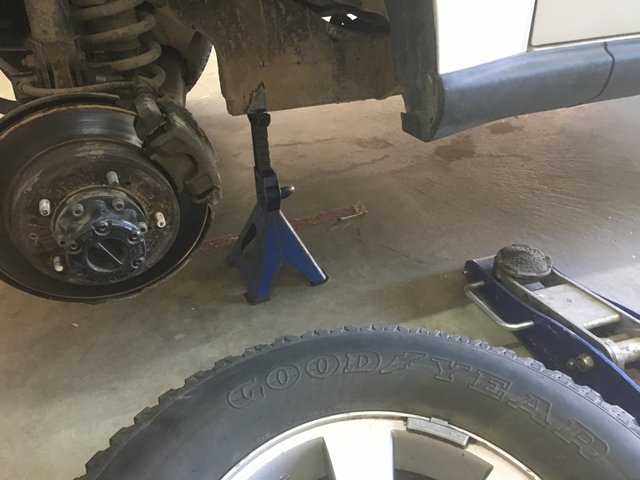
Jack up the vehicle, place the front on jack stands and remove both front tires. Remember to use a proper jack point on the frame of the vehicle.
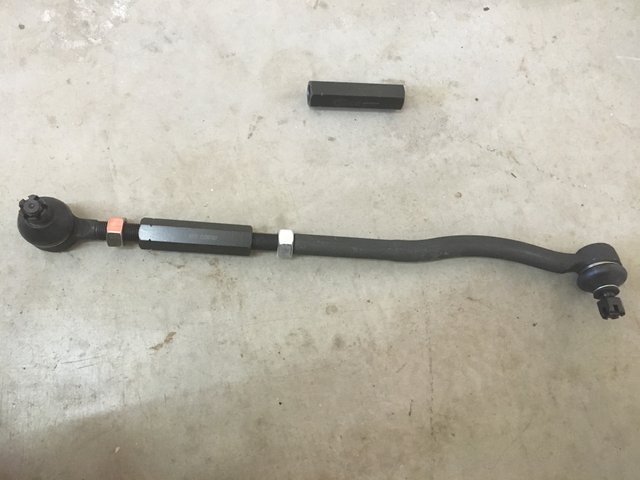
To speed up the process I assembled the new component by screwing in the inner and outer tie rods to the adjusting nut. The Inner tie rod was REVERSE threaded so remember one will be if you attempt this.
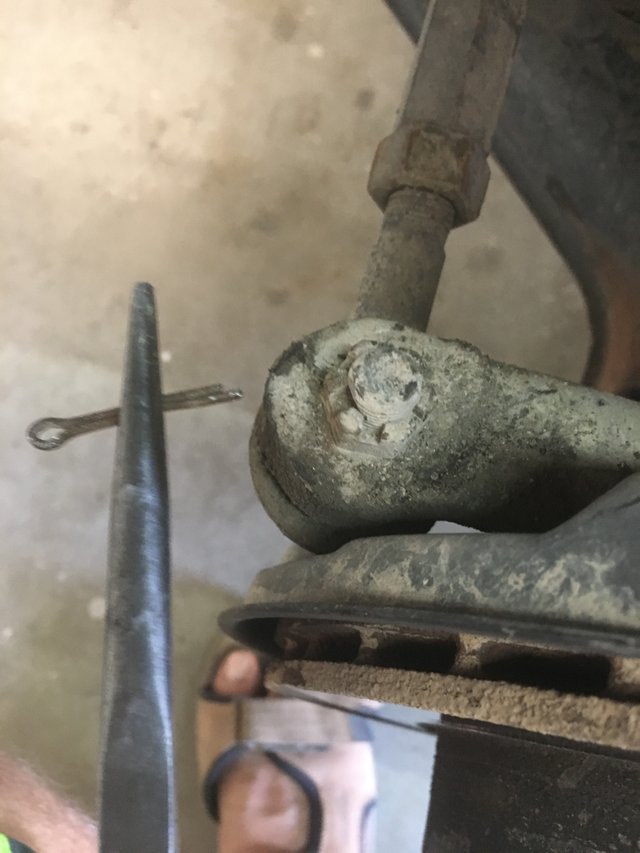
Start by removing the cotter pins from the tie rods.
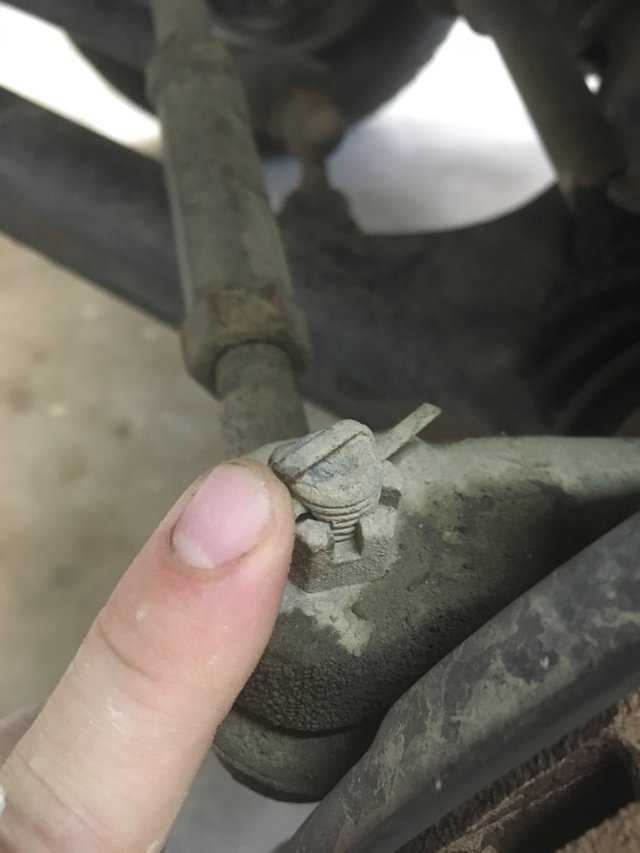
A set of large needle nose pliers helps out, smaller ones do not have enough leverage
I start by trying to straiten out the bent portions so they will fit back through the hole. Then I try and pull the pin out as well as pound it out. Taping from one tide and tugging from the other seems to help dislodge the cotter pins.
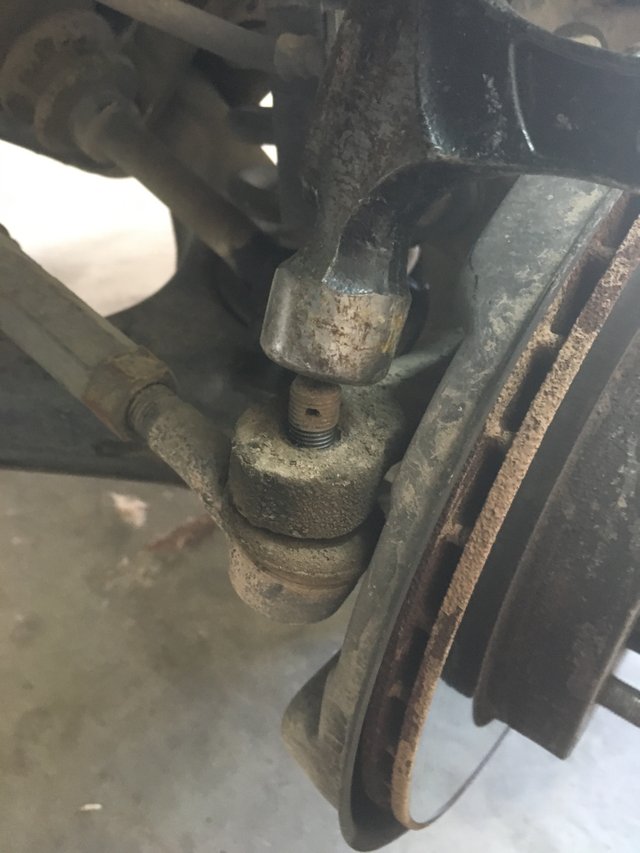
Remove the crown nut from the tie rod using a 14mm socket. Once removed use a hammer to tap the tie rod out of the knuckle. Dont be shy, that old tie rod will be replaced.
Once that tie rod is removed move on to the other side and do the same.
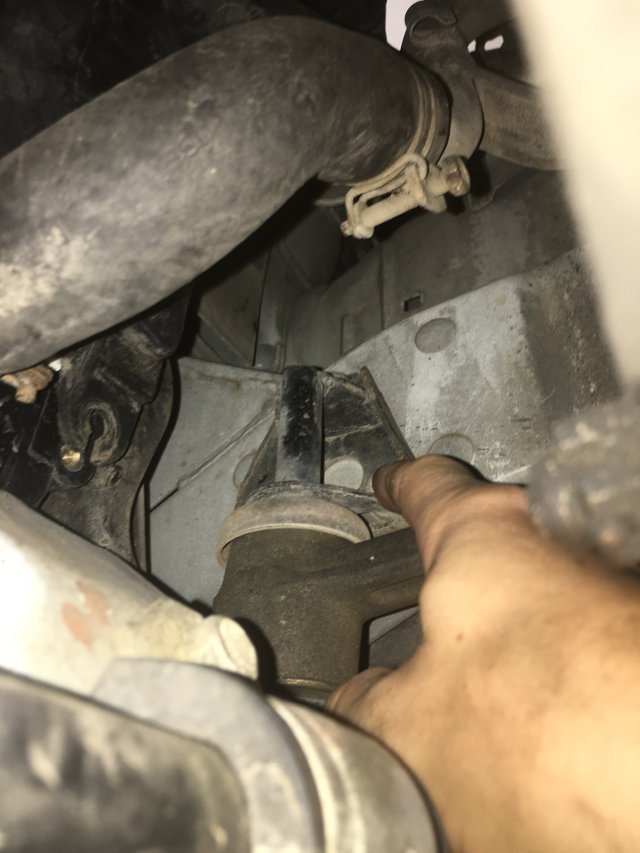
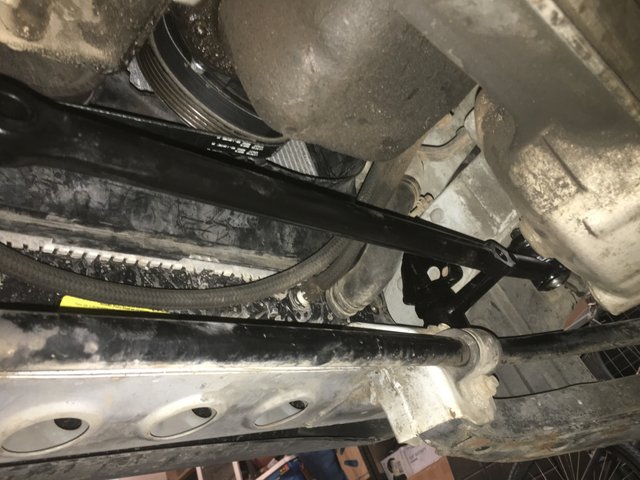
When both tie rods are removed move on to the next joint, the pitman arm. This vehicle has the tie rod type joints on the center link and not the pitman or idler. This makes removal of the entire system easy as all I need to do is unbolt the idler and remove this joint.

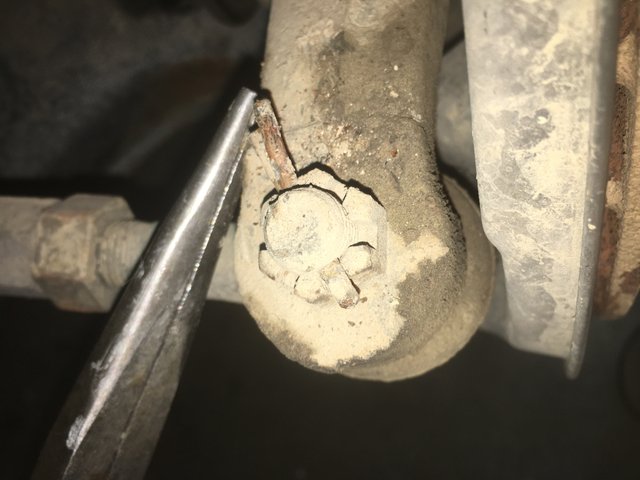
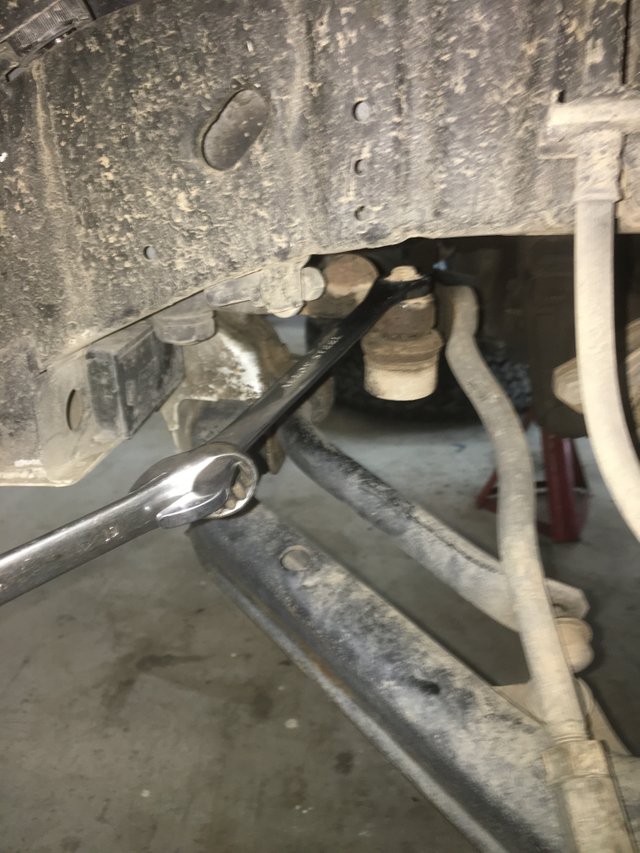
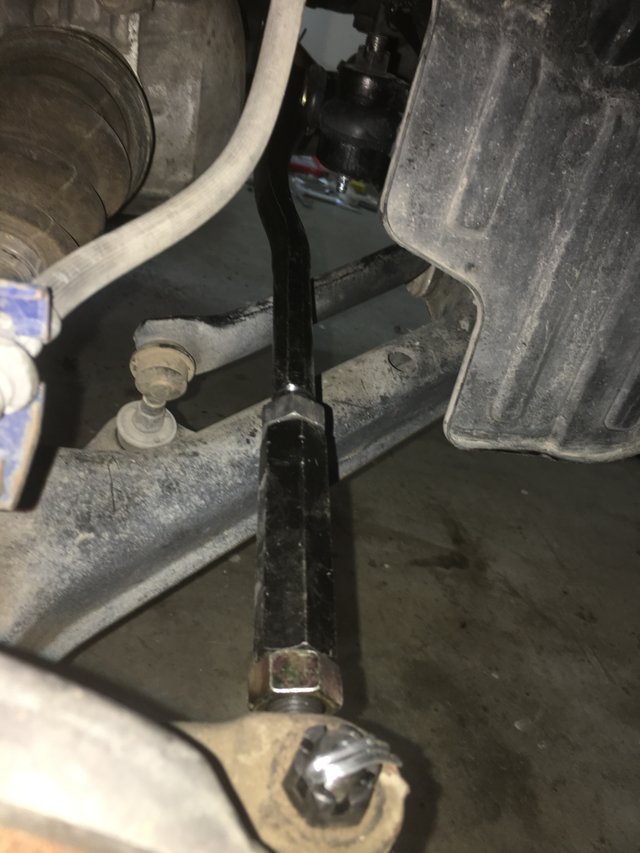
Do the same with this joint; remove the cotter pin and crown nut. I needed to link two open end wrenches to get enough leverage to break the nut loose.
This was where I hit a wall. I tried my hardest to get the puller situated on to it. Due to the tight spot the joint was in, there was no way the puller could get a grip. I purchased a pickle fork to see if I could separate the joint.
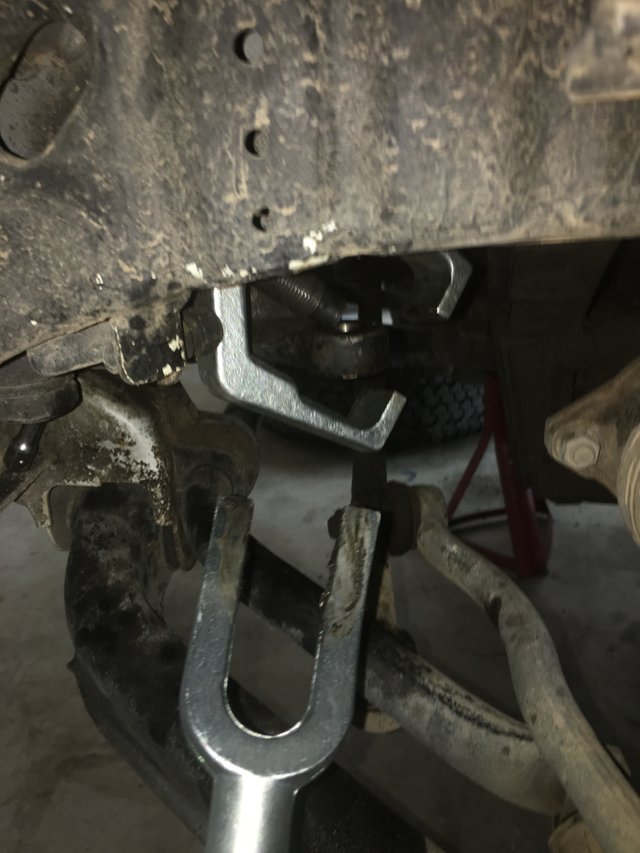
The cheap pickle fork from Harbor Freight bent with little pressure. The only other option was to take an angle grinder and cut off the joint and press out the remaining bit. I took out the angle grinder and carefully cut the joint out.
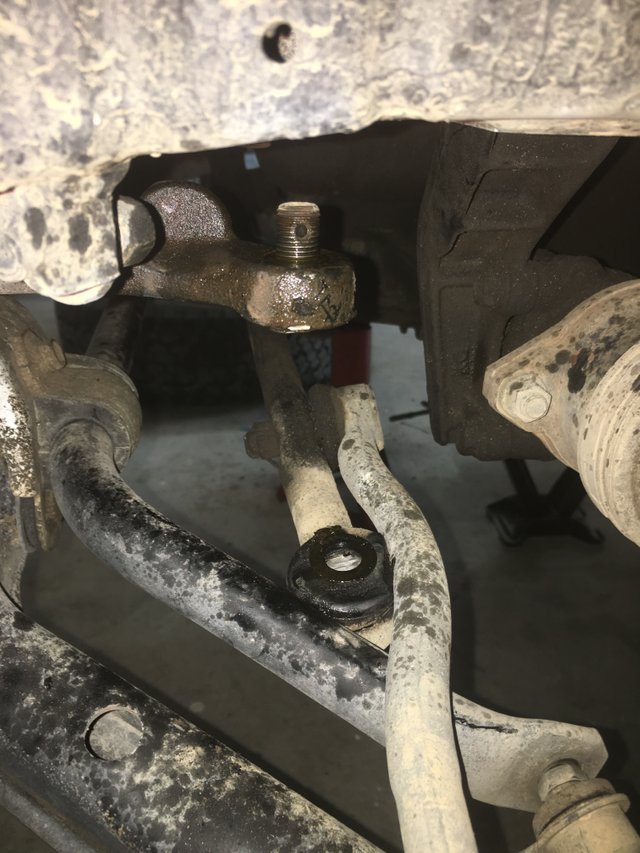
The puller was able to fit in the tight spot once the joint was cut. The only caveat was the need for a very long 3/8ths extension so that I could use the puller. I had to go through the entire engine bay with extensions to access the puller.

The final component to remove was the idler arm on the passengers side.
No need to remove it from the joint, just unbolt and the entire setup comes out. A 17mm was needed here.
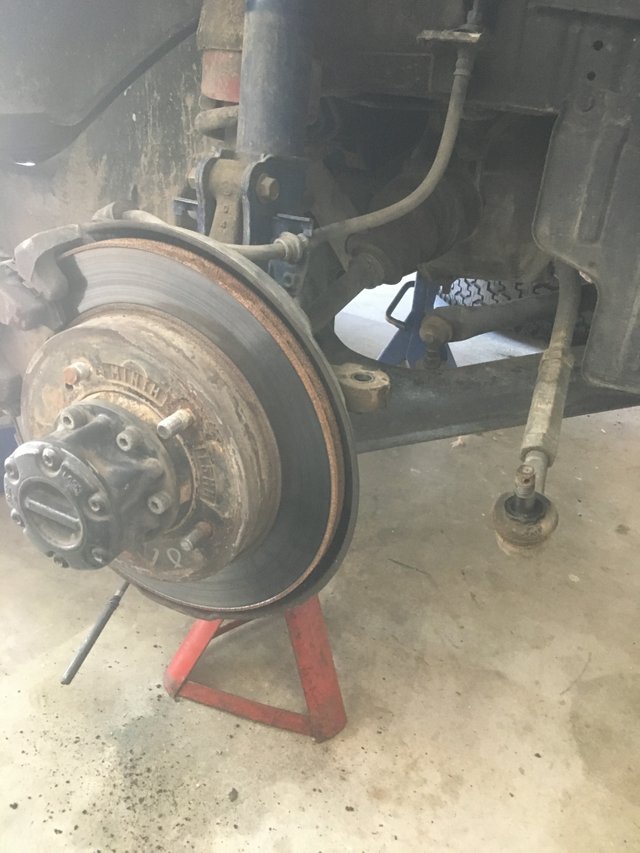
The whole setup was beat and really needed to be replaced.
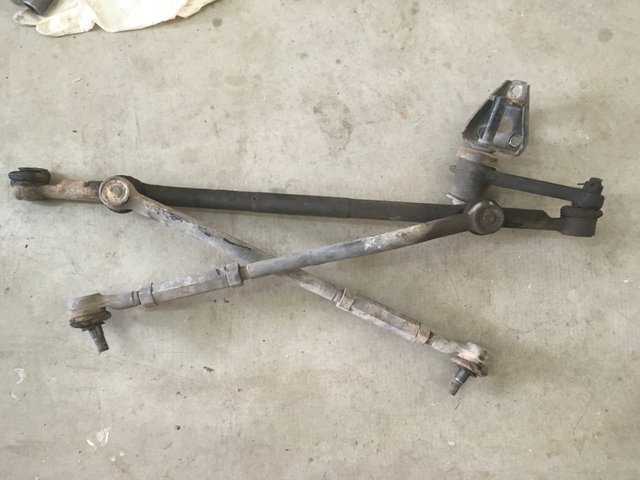
All ready for a new setup!
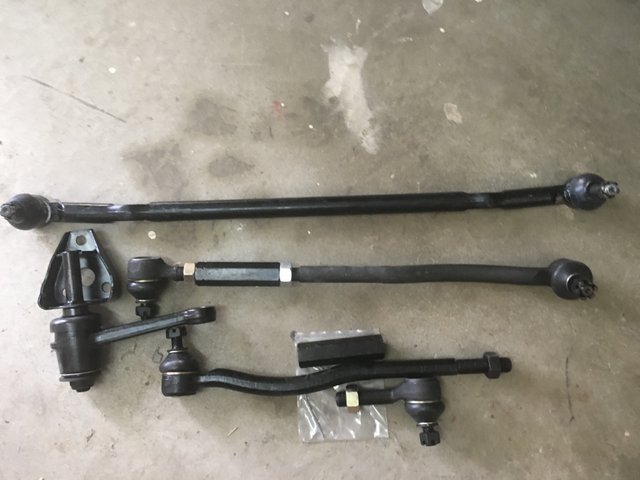
I reversed the process and put everything back on.
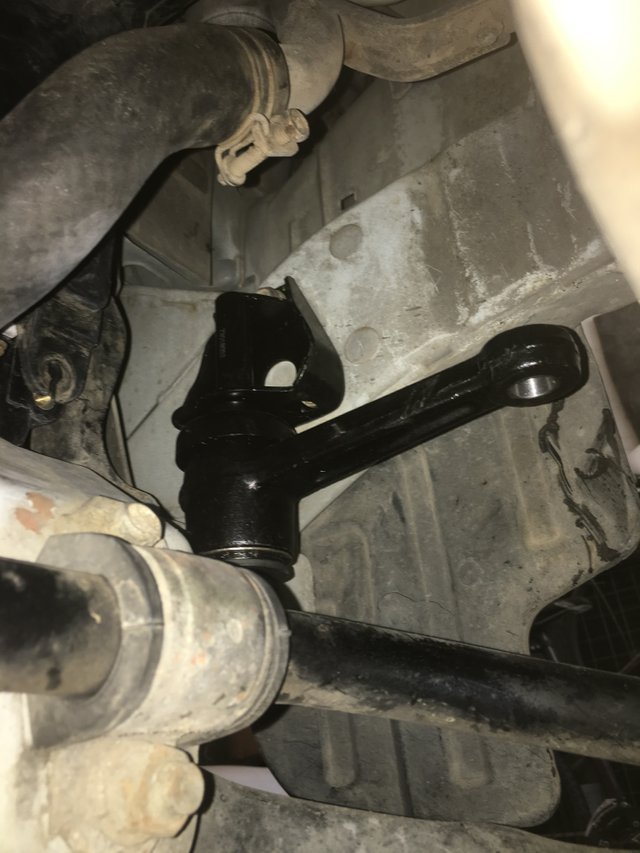
When ending with the tie rods, I made sure to count the open threads on the old ones to try and make them the same as possible. Both tires need to be strait with the steering wheel.
Camber Bolt Installation

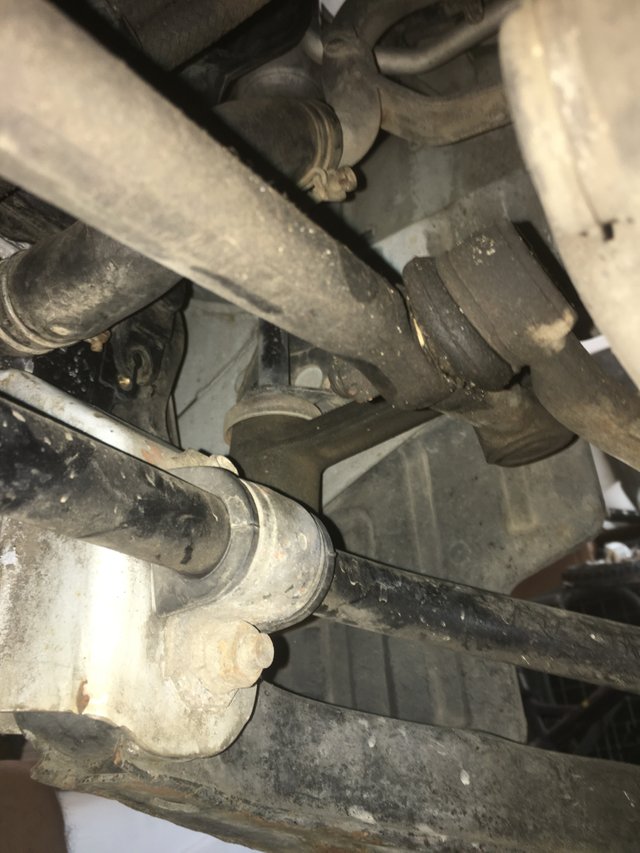
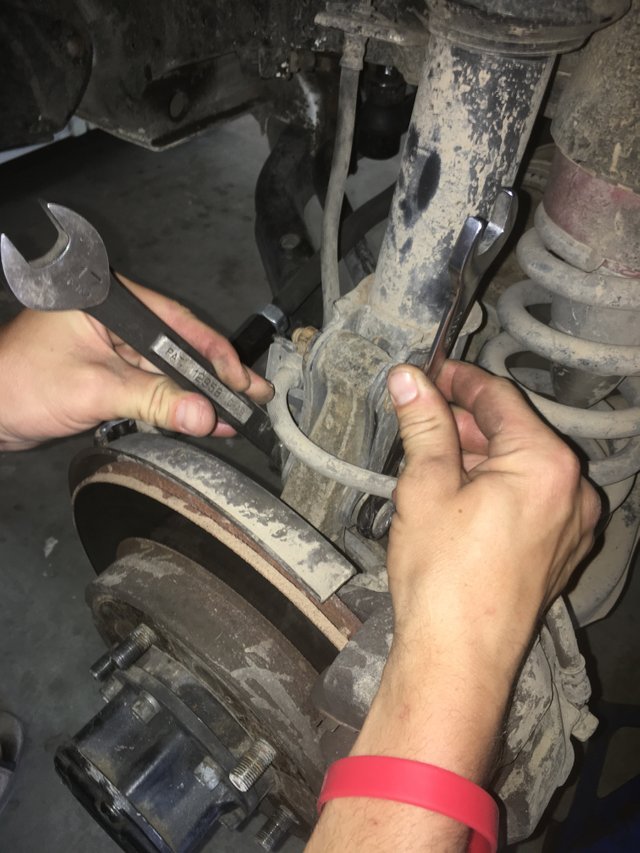
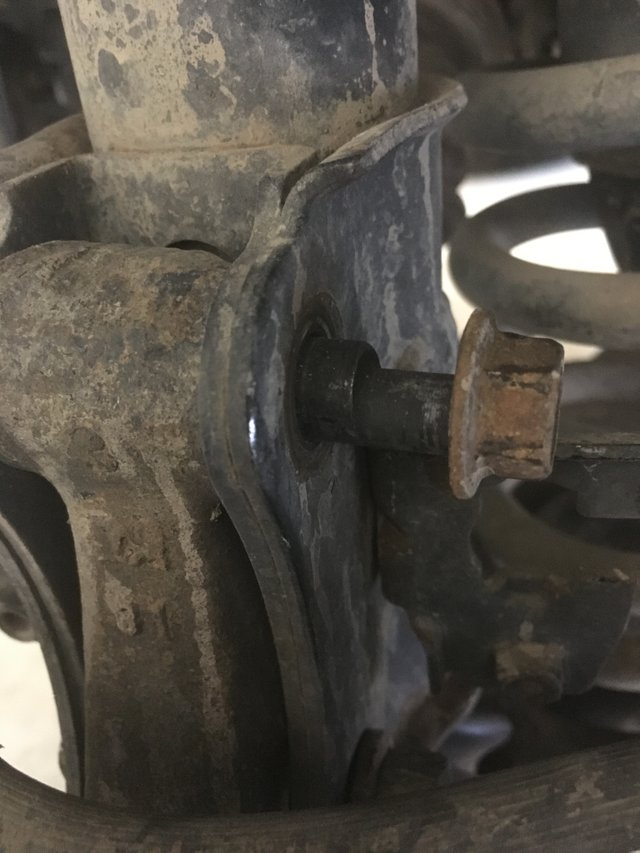
To install the camber bolts simply loosen the lower bolt on the strut assembly, and remove the top bolt completely. 17mm Wrenches were needed on both sides otherwise the nut just spins.
The old Bolt needed a little help with a pry bar.
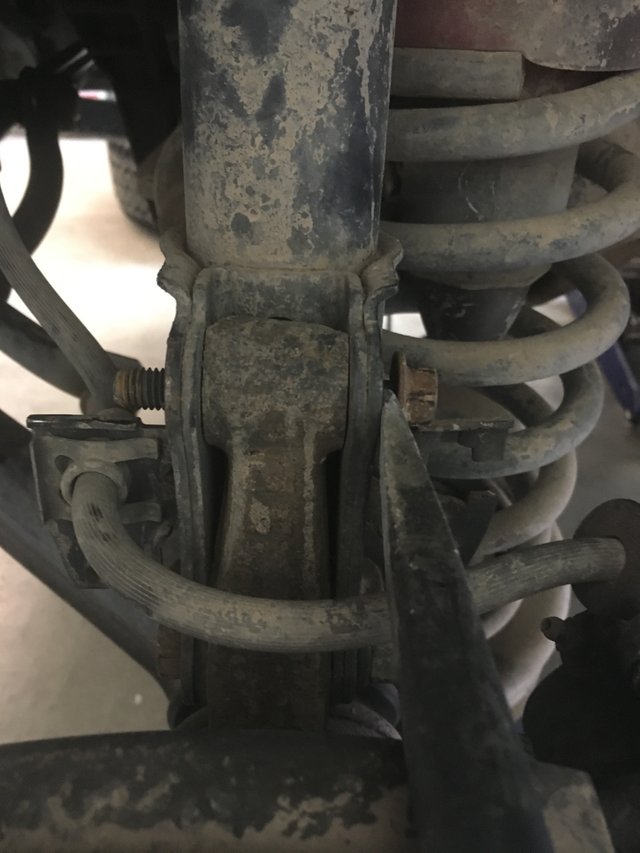
This was when I realized there were camber bolts already installed on the vehicle, they were old and Im not sure if they were working.
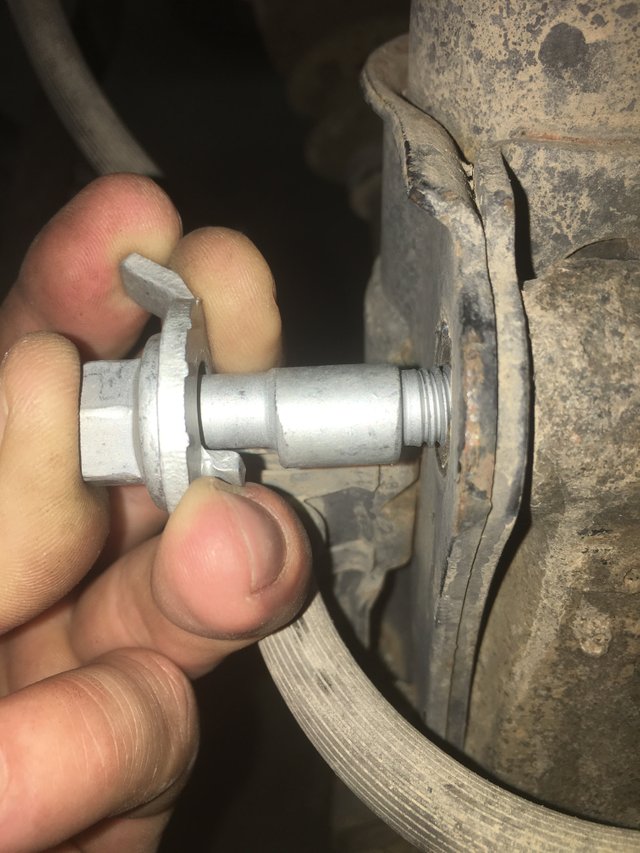
The new bolts needed to be installed with the cam and small tab outward and the large tab toward the engine.
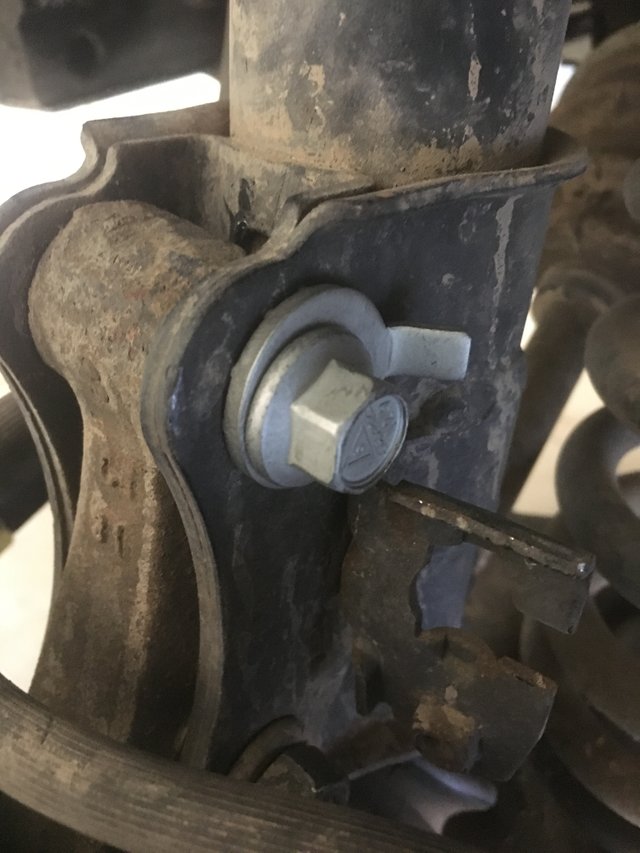
Once the bolt is installed tighten so that the large tab rotates clockwise until maximum camber is reached. Be careful when torquing down and follow the instructions of the manufacturer.
Replace the tires and take the vehicle off jack stands and your complete! TAKE THE VEHICLE TO BE ALIGNED! An alignment will be needed once this installation is complete. Thank you for following along on this post. I hope you enjoyed it and learned something!
 All photos, unless otherwise stated or sourced, were taken by @csusbgeochem1 and may not be reused without permission. Animations and cover photo created by @csusbgeochem1 using GIMP.
If you found this story interesting you can find more like it by following @socalsteemit and help us expand the Steemit community together
All photos, unless otherwise stated or sourced, were taken by @csusbgeochem1 and may not be reused without permission. Animations and cover photo created by @csusbgeochem1 using GIMP.
If you found this story interesting you can find more like it by following @socalsteemit and help us expand the Steemit community together

Join the SoCal Steemit Discord group today and meet others around you
Hi csusbgeochem1,
Visit curiesteem.com or join the Curie Discord community to learn more.