DIY ACRYLIC INDIGO BUTTERFLY LAMP
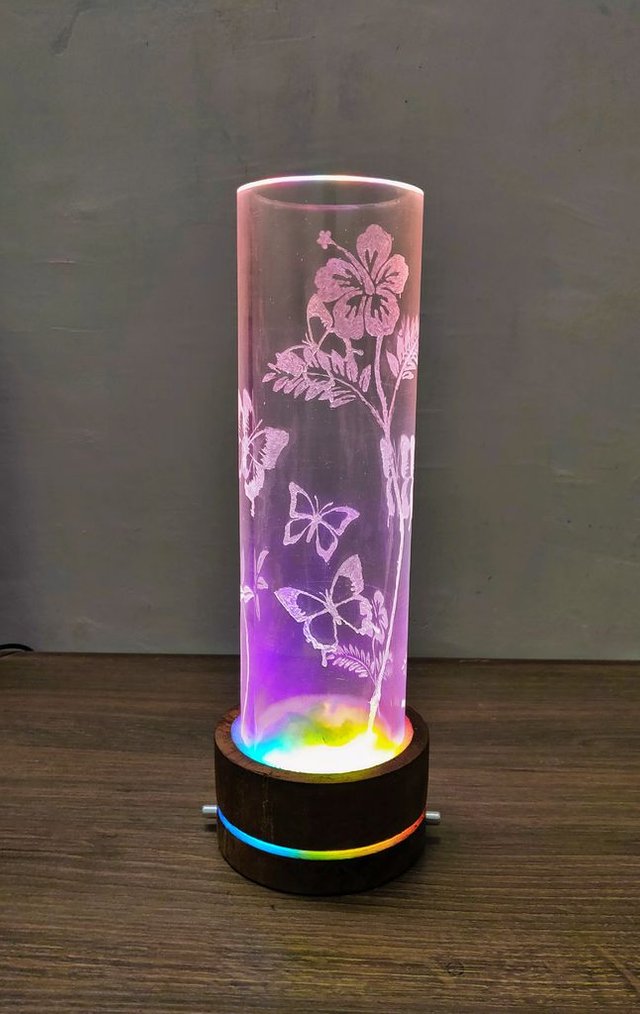
Colors, Colors, Everywhere. Some are here, and some are there.Mood Lighting to be Happy, Relaxed, or Focused.In this Instructable I’ll show you how I build an Acrylic LED Lamp with WS2812B addressable RGB LEDs, Acrylic Cylinder with engraved butterflies and flowers on it and Wooden base with circular RGB Ring in between. Using 18 RGB-LEDs each controlled by a single WS2812 RGB-Controller. It uses only 5 or 6 watt and providing 6 different modes that are controlled by a Arduino pro mini 328 5V/16MHz board and runs on 5v power supply.The potentiometers with knobs are used to switch between the modes and control speed, color or brightness of the several modes.The single Base can be used by many interchangeable acrylic cylinders with different Designs and patterns.There is also some cotton at the bottom of the Acrylic tube, which turns out to be like a coloured cloud, too satisfying to watch.MODE is be changed by the First Knob.Speed and Brightness is controlled by the second Knob.
- MODE1 : Only one Color. (any of choice).
- MODE 2 : Running through the Rainbow (unicolor).
- MODE 3: Running through the Rainbow (chasing mode).
- MODE 4: Running through Rainbow (Helix Mode).
- MODE 5: Coloured Bubbles. (random)
MODE 6: Reading Lamp (Just White)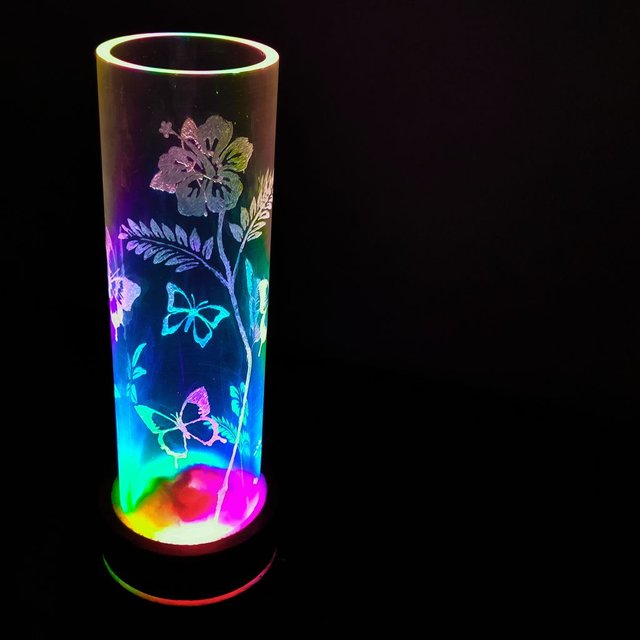
WS2812B includes 3 super bright LEDs (Red, Green, and Blue) and a compact driver circuit (WS2811) that only requires one data input to control the state, brightness, and color of the 3 LEDs.In my opinion, this is the coolest type of LED. You can control the brightness and the color of each LED individually, which allows you to produce amazing and complex effects in a simple way.
These LEDs have a IC built right into the LED. This allows a communication via a one-wire interface. This means that you can control lots of LEDs using just one digital pin of your Arduino.
By Maggie Shah