Arduino Project: Make a Robot
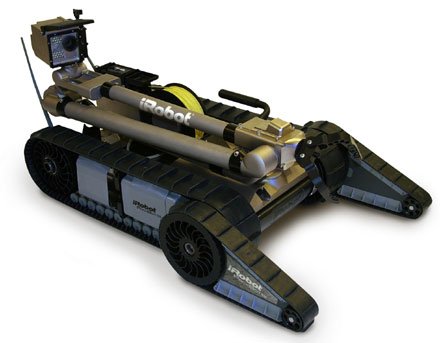
Currently the most discussed technology robot | This robot is used in war, in rescue, in space Those who use this technology have moved ahead US and NATO forces have captured the country easily due to the use of this robot technology in Iraq and Afghanistan.
Today we will make this robot technology a very small but effective robot, maybe our effort is small but it will open a door of modern technology in front of you.
Let's make the robot:
This robot will automatically detect any barriers to the front and proceed beyond that barrier. This technology is currently being used in any automatic robot, drone, non-human aircraft etc. This technology is also used in a vehicle without a driver. This technology is used extensively in robotics
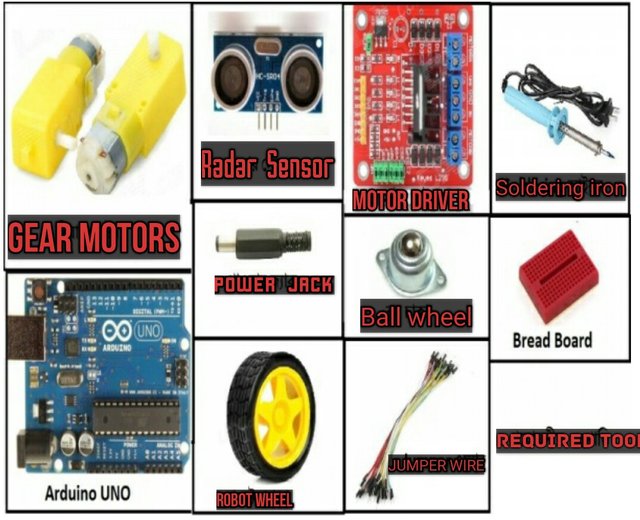
The equipment which is required to build this robot ..........
- Arduino board
- Motor driver board
- Radar Sensor
- Robot wheel
- Ball wheel
- Breadboard
- Robot body
- Gear motors
- Jumper Wire
- Drill machine
- Screwdriver
- Screw
- Soldering iron and lead
- 6-8 volt lithium batteries
- Power Jack
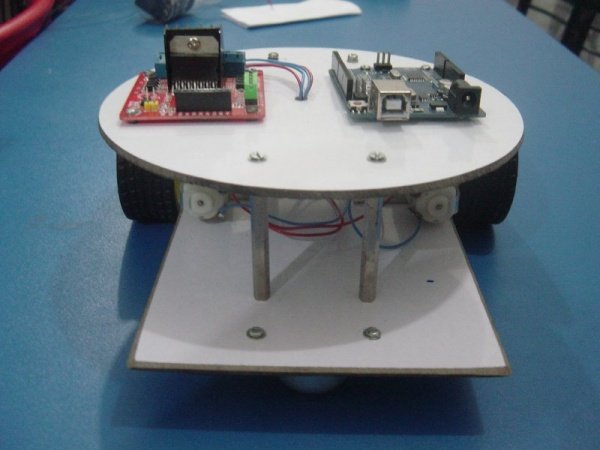
The first step is the robot body
To make a robot body, you need two hard boards at first. This hard board can be purchased from any hardware store
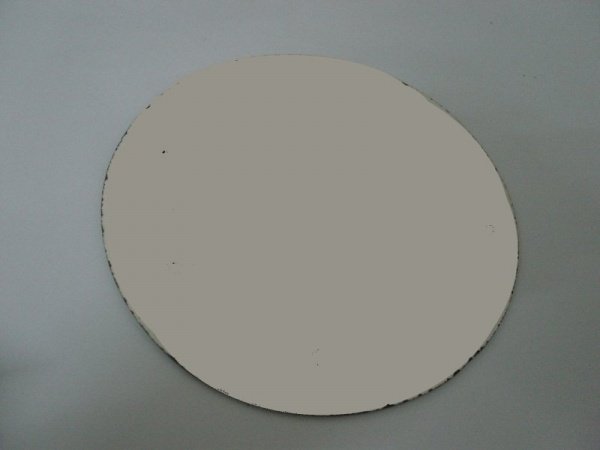
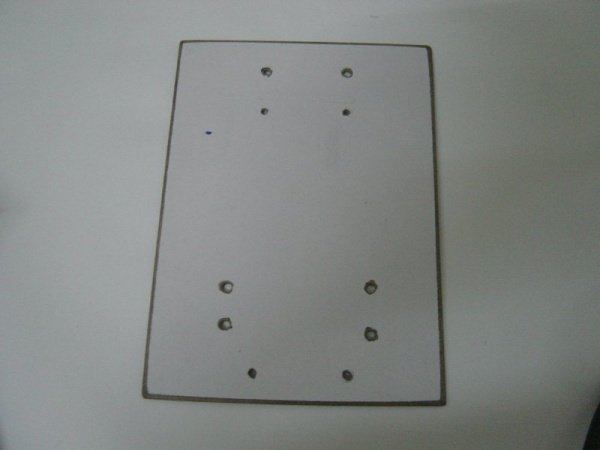
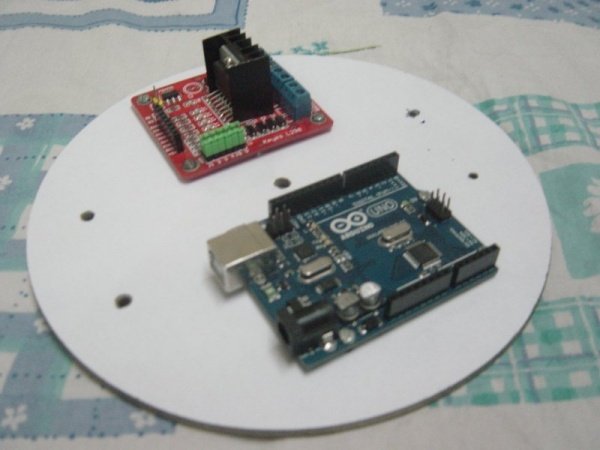
The rectangular hardboard is 7 inches by 5 inches and the rounded hardboard will take 3.5 inches radius. Arduino and motor driver in round hardboard should be screwed, just like the image below (Board drill)
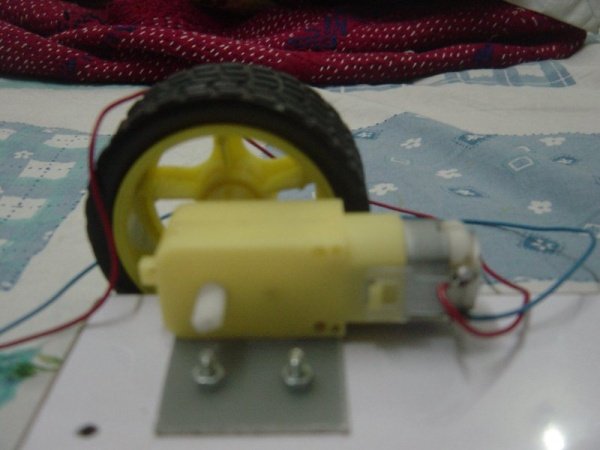
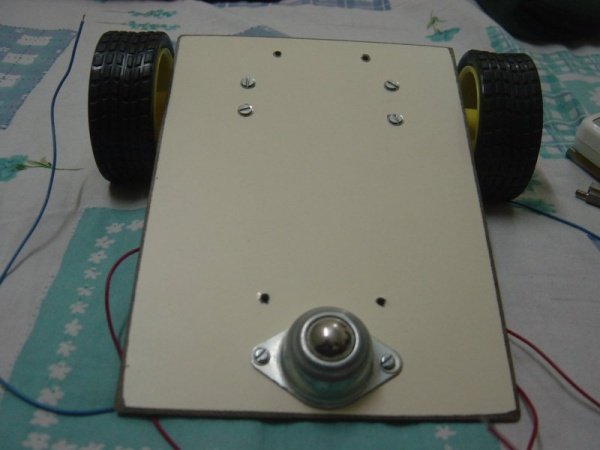
Two gear motor with screw on both side of rectangular hard board (board should be drilled)

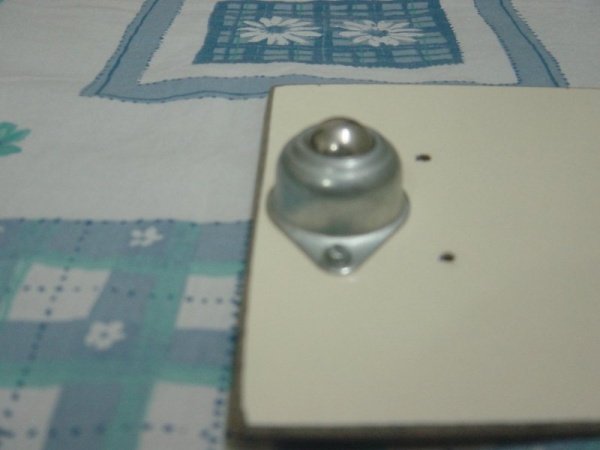
On the other side of the board, the ball wheel should be put in the middle of the front with two screws (the board must be drilled)
Four screw extender will have to put the top circular hardboard with rectangular hardboard (board drill)
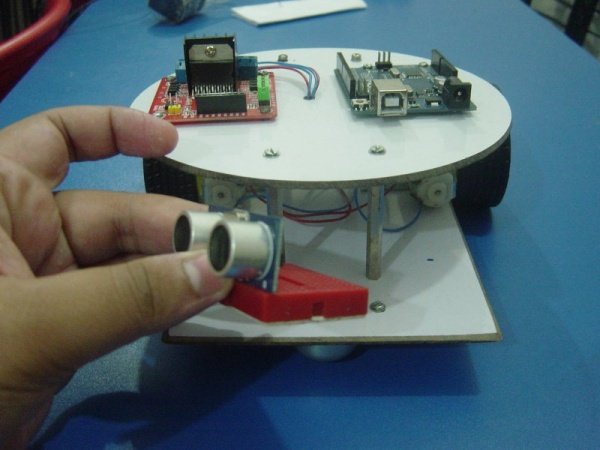
Place a radar sensor on a small breadboard and put the breadboard in front of the robot chassis.
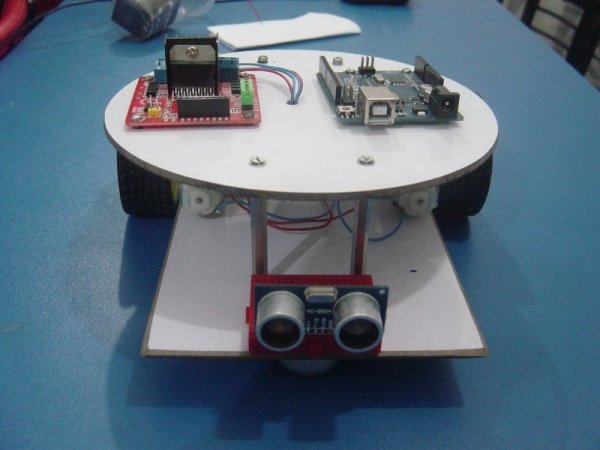
In this way we will be able to make the chassis of robot
Second phase (electric connection)
On the electronics system, we will use any Armunion based Atmelon Board and use the motor driver board to operate the robot gear motor.
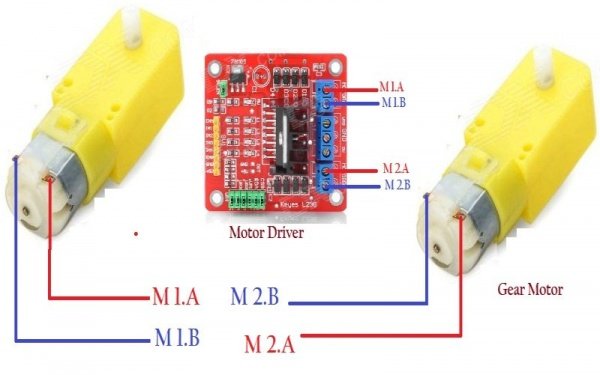
Motor and motor driver connection
At one point of the motor, a red and blue should be solder and the cables should be mounted with a motorbike board with the help of the screw
Arduino Connection
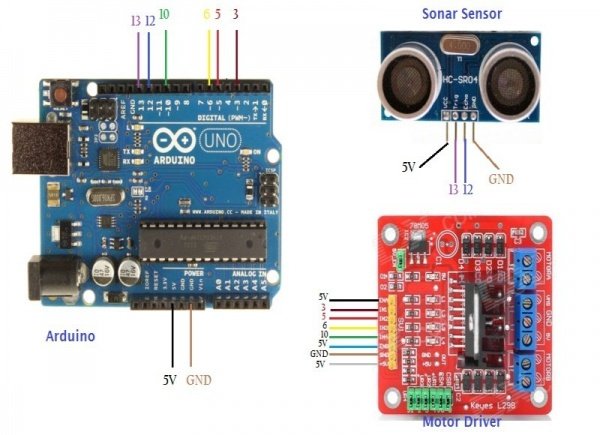
According to the above figure, we will connect the Arduino board with a motor driver and a radar sensor. In this case we can use the jumper wire. Connection of radar sensor by putting on the breadboard will be useful
Battery Connection and Power System
Any 6 to 8-volt lithium battery is

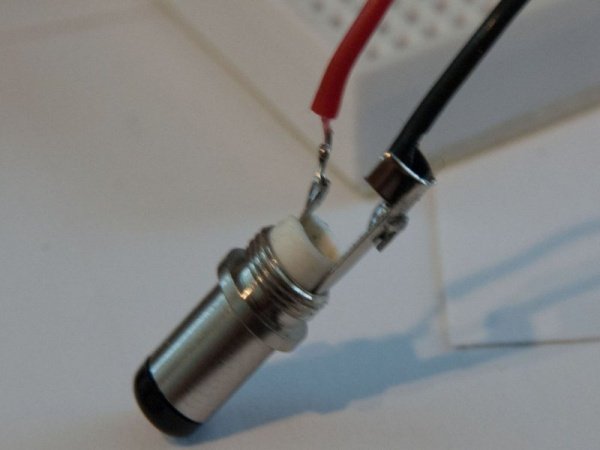
The batteries and the motor driver's connections will be given to them. Connect the battery of the motor driver's VMS and the batteries will connect to the GND of the motor driver, then the power jack will have to give Arduino Board the power.
The third step (programming)
- Arduino Programming:
Arduino should be given to the board
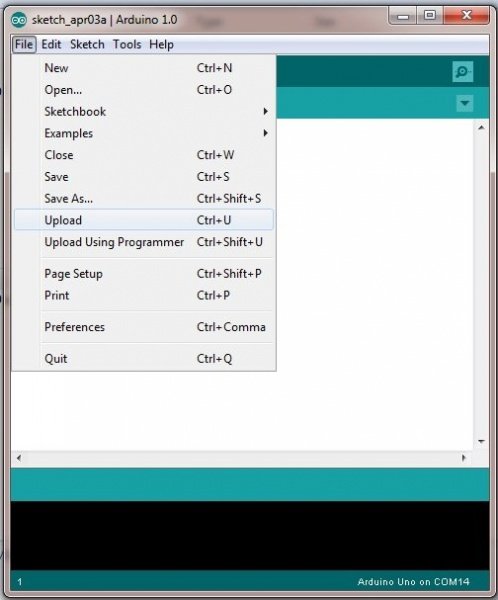
For Arduino programming, first download Arduino software Download the project that is being programmed and upload the program to non-board software.
First, go to File and click on Open and select the robot project
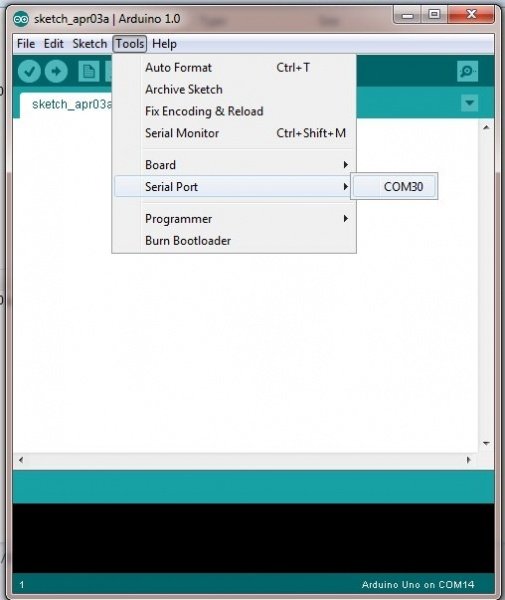
Select the Arduino board that is using

Select the COM Port that Arduino is using…
Upload Robot Program…
Now if everything is okay, then our robot will start running on its own and if there is any obstacle in front, it will move away from it. In this way the robot will guide itself
Congratulations @hiteshchowdhury! You received a personal award!
You can view your badges on your Steem Board and compare to others on the Steem Ranking
Vote for @Steemitboard as a witness to get one more award and increased upvotes!