*Balfore's Builds* TerrainCraft Tutorials 004: Columns Part 1
Greeting fellow makers and Steemers!
Today, lets make one variation of columns. There are dozens of ways to make them, as well as various styles.
The one we are making today, may not be a simple one, but they are definitely pretty simple looking.
Basic brick design, with little detail.
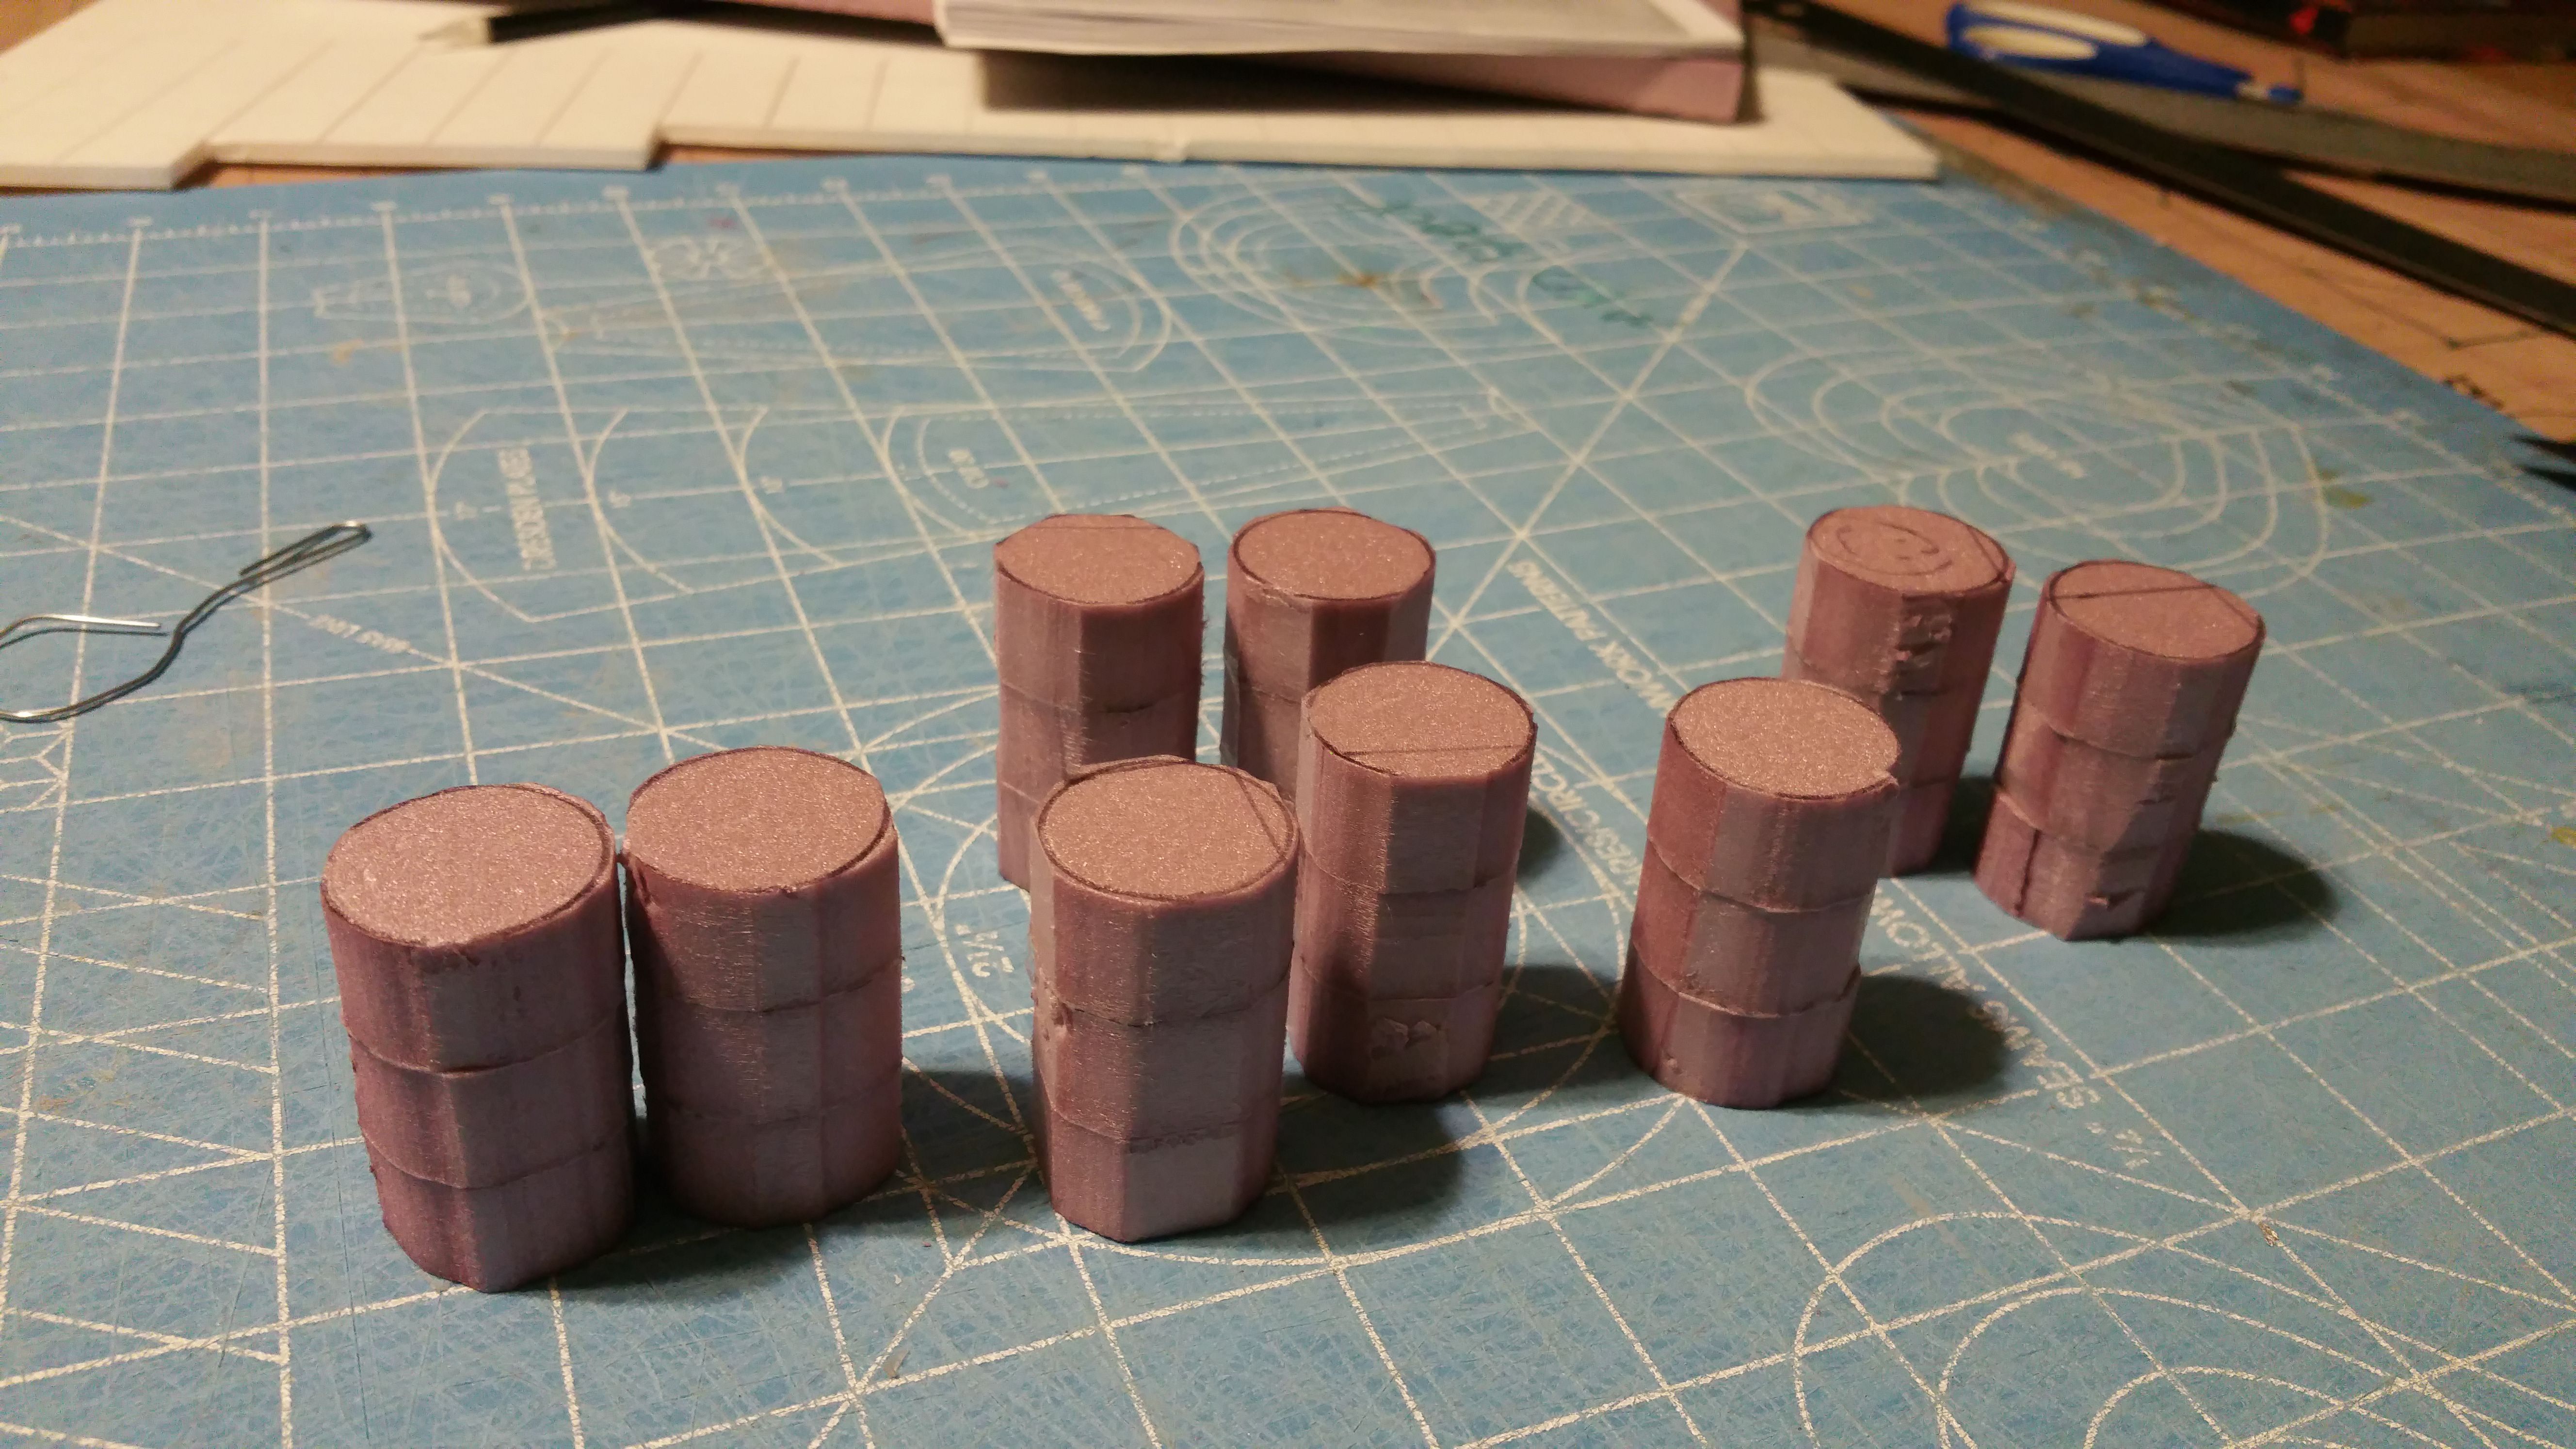
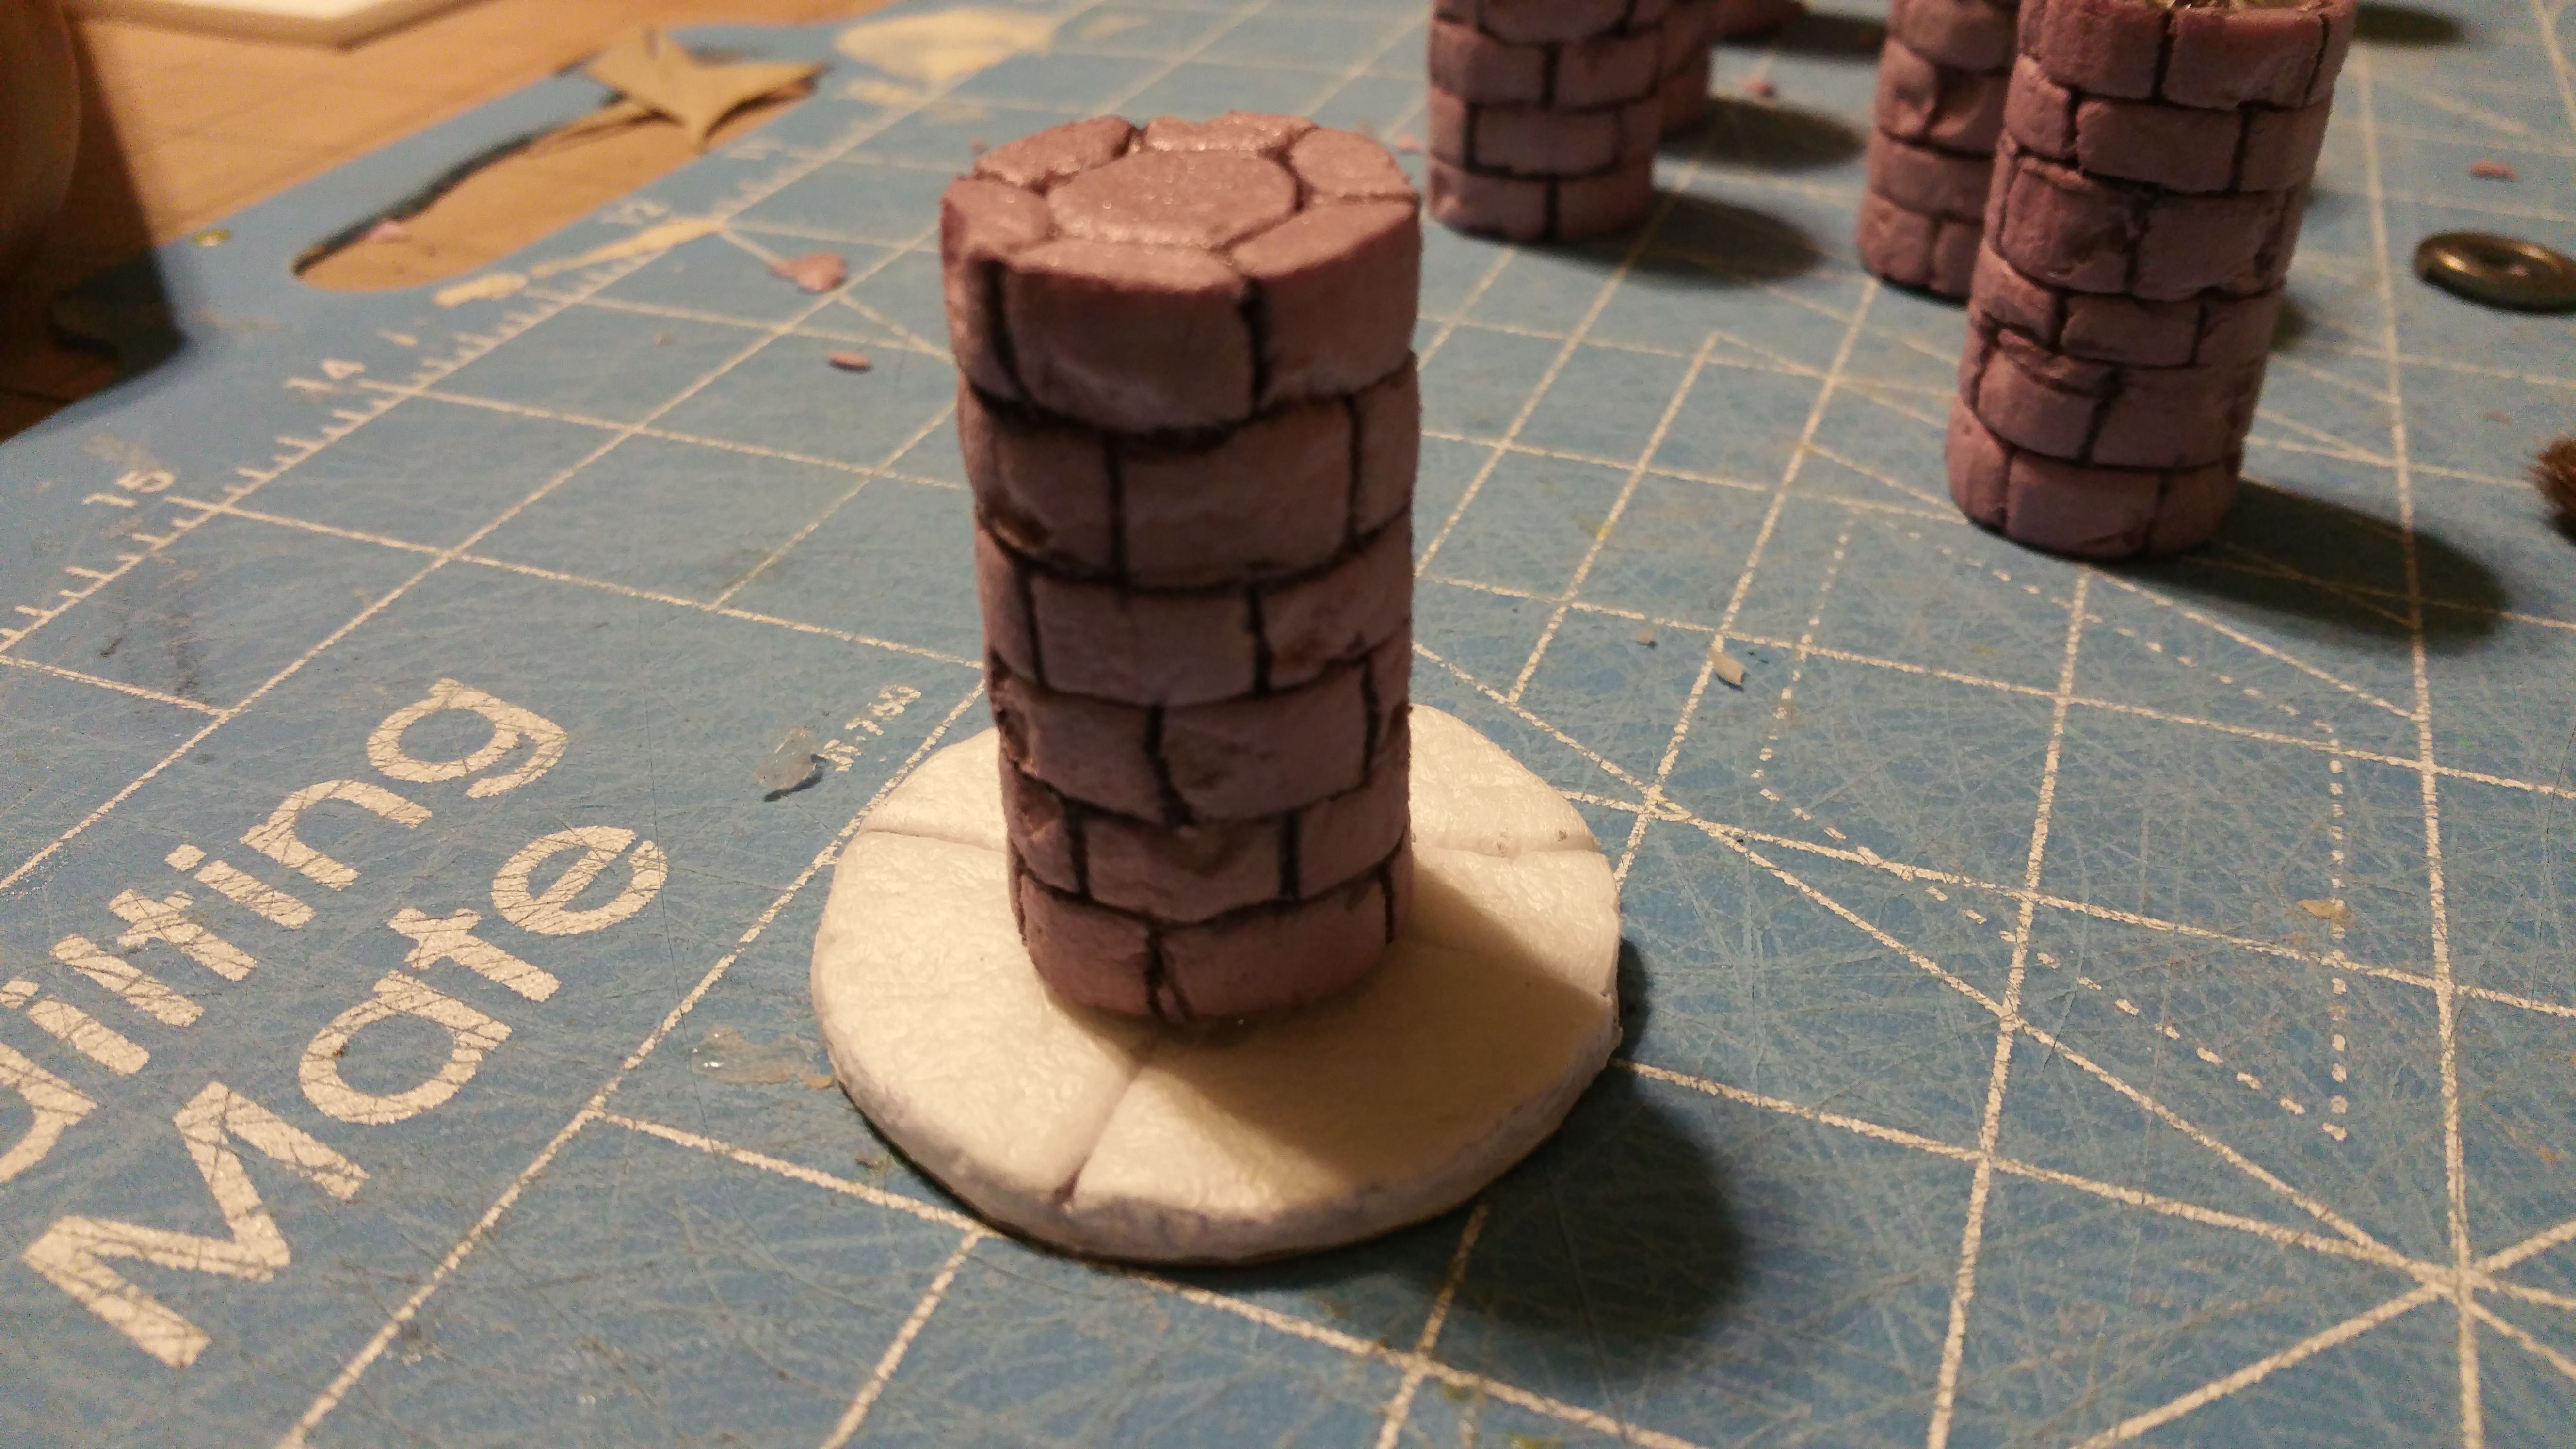
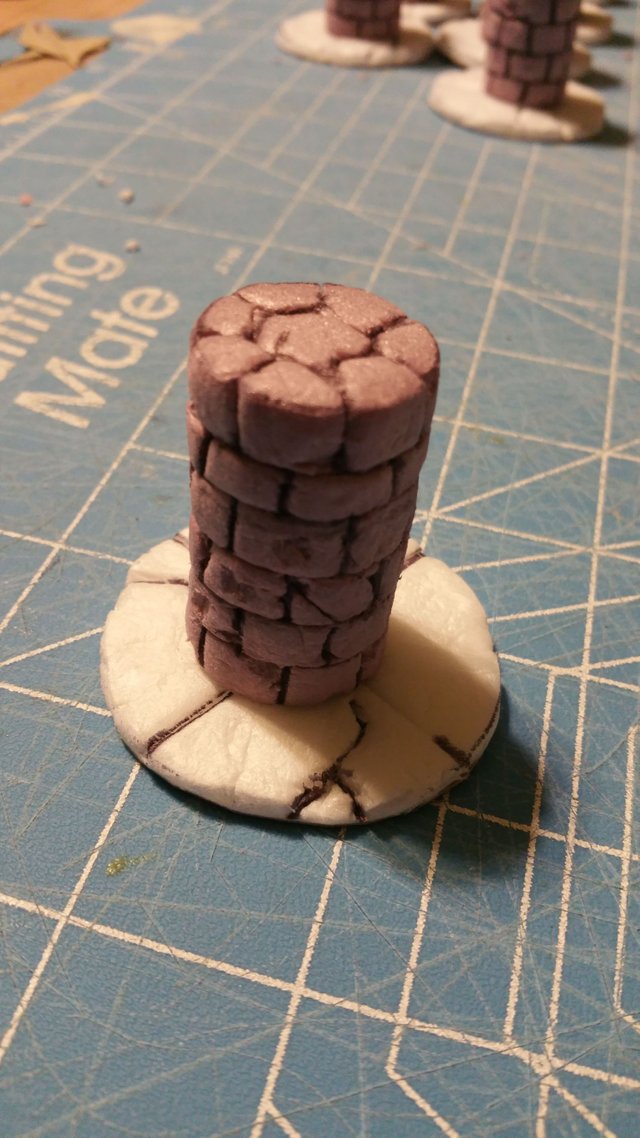
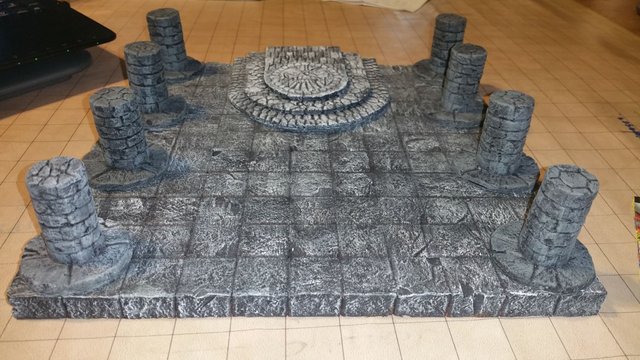
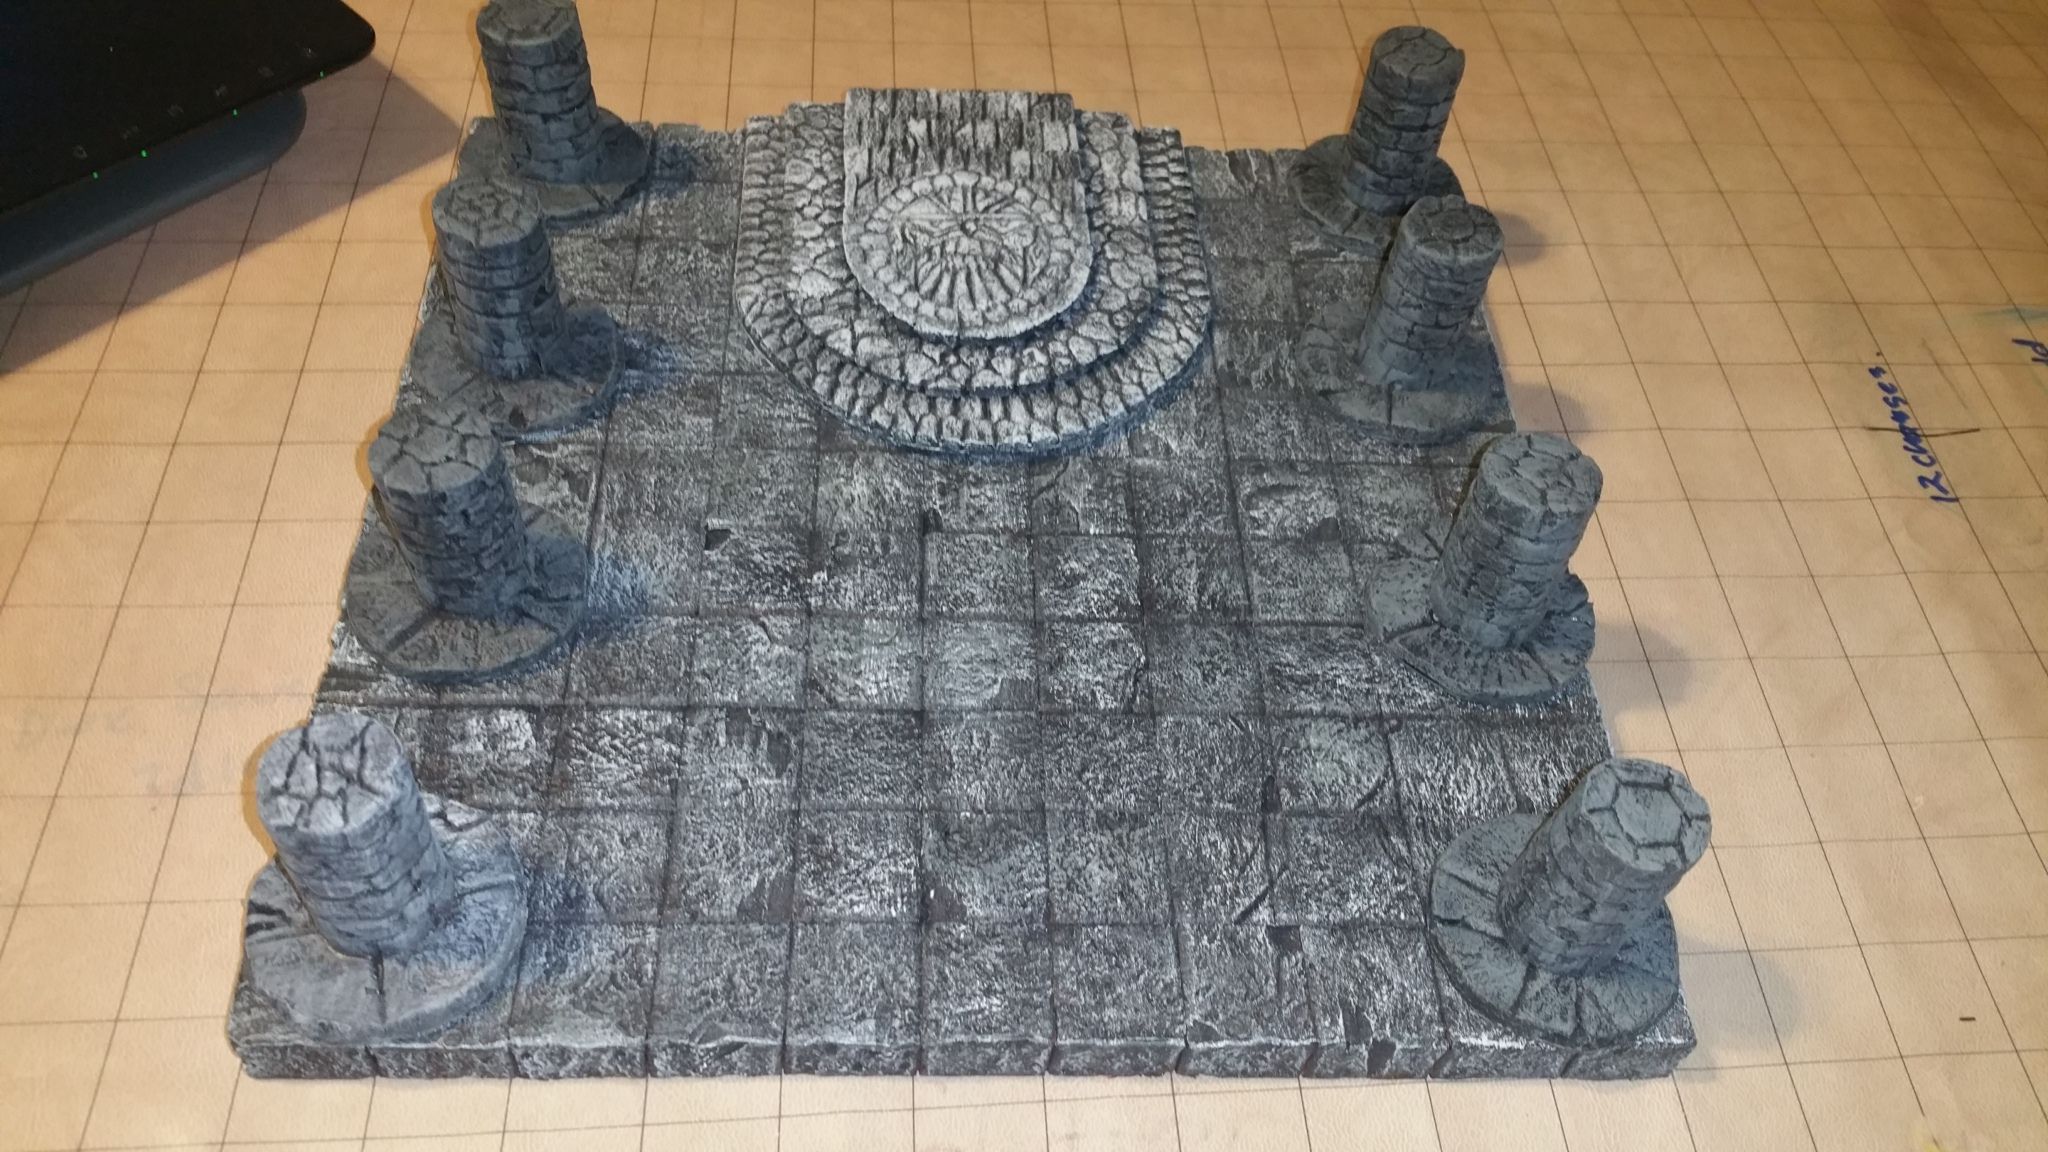
Here's an example of how they look:
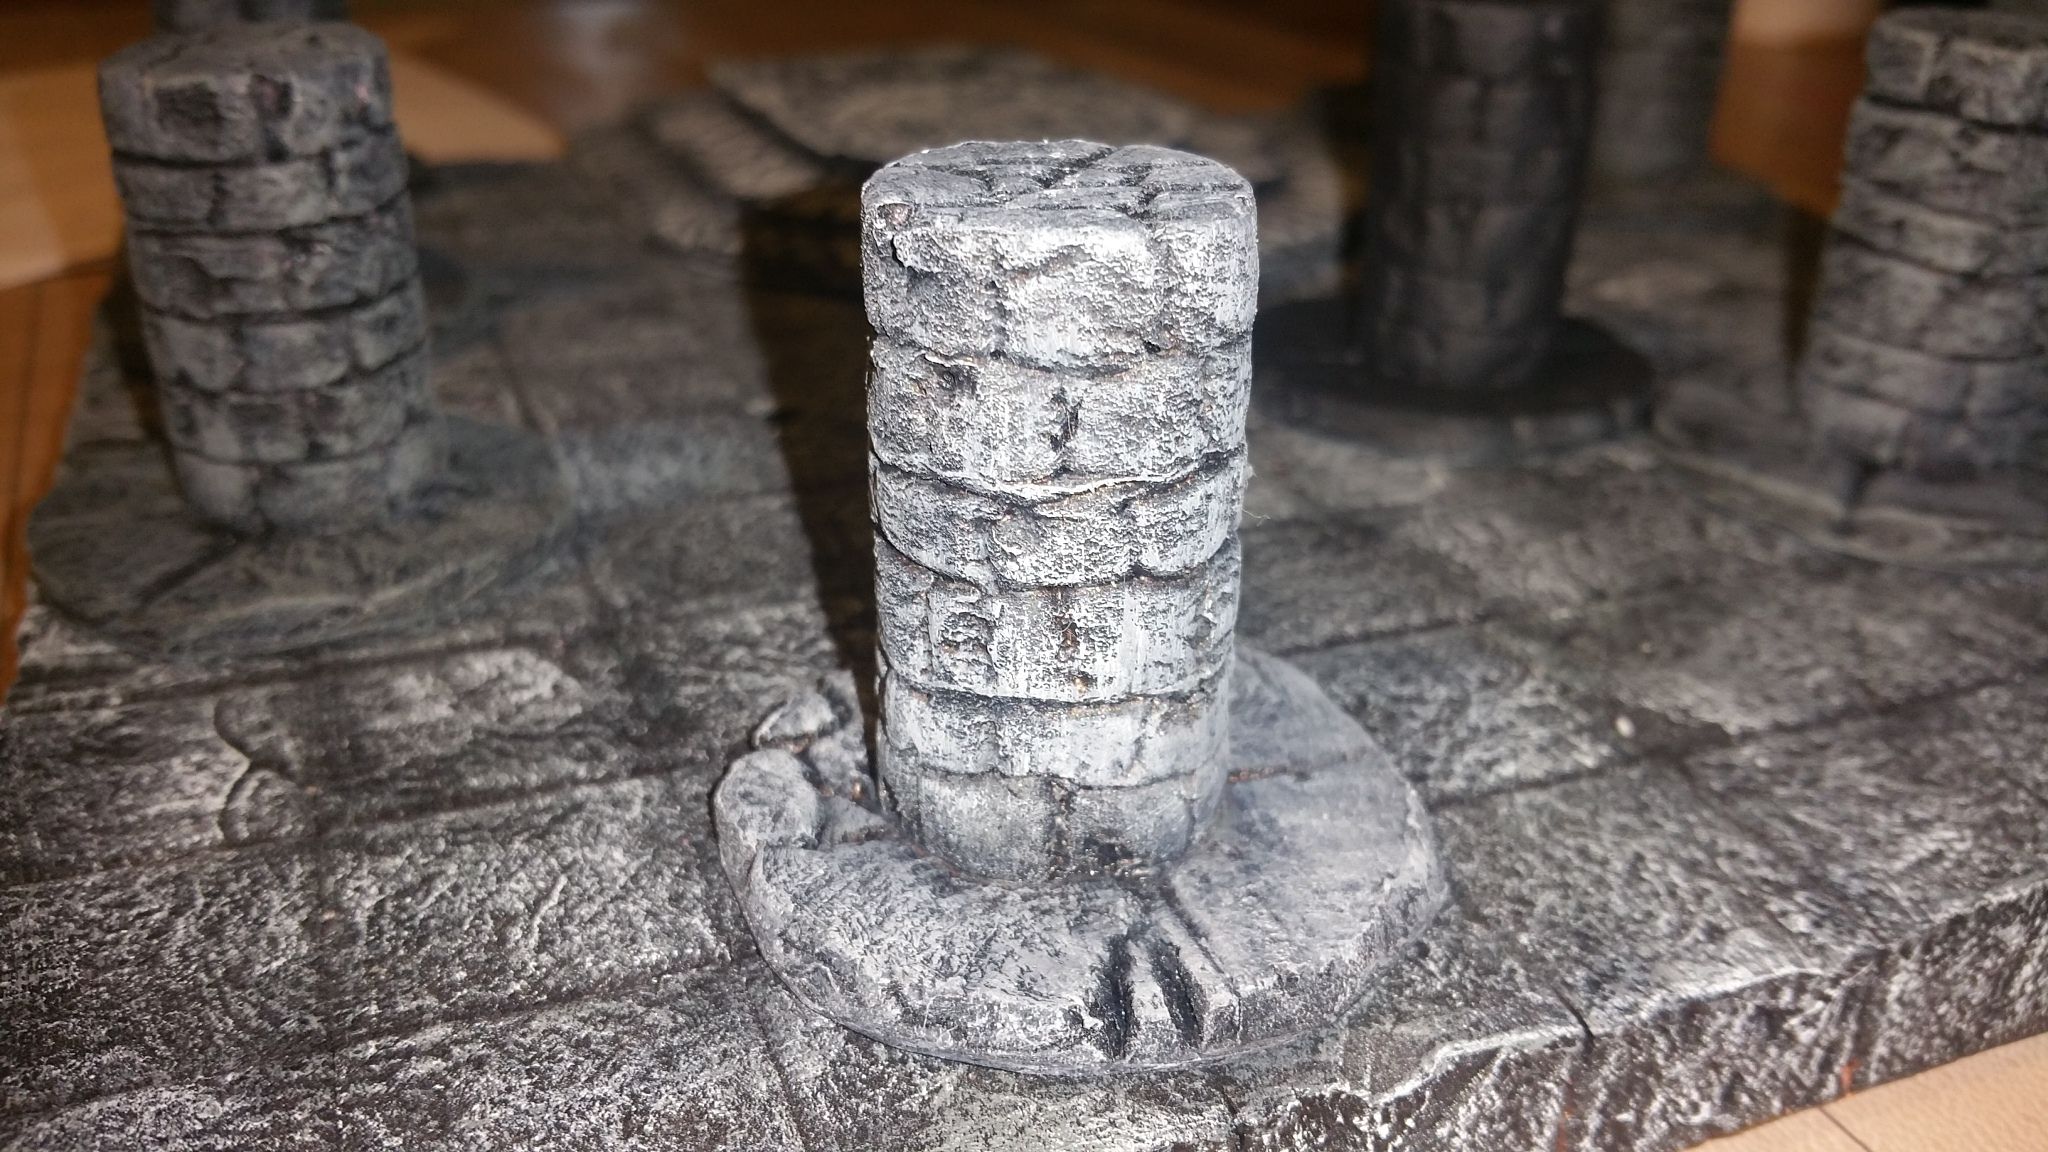
Lets get started 
First, here are the supplies for this build:
XPS foam (this is the pink foam I showed you in the first tutorial)
Hot wire cutter OR sharp box cutter (see 1st tutorial)
A nice metal ruler, T-Square or straight edge of some kind
A cutting mat (only if you don't have a hot wire cutter), you don't want to mess up your table with the razor
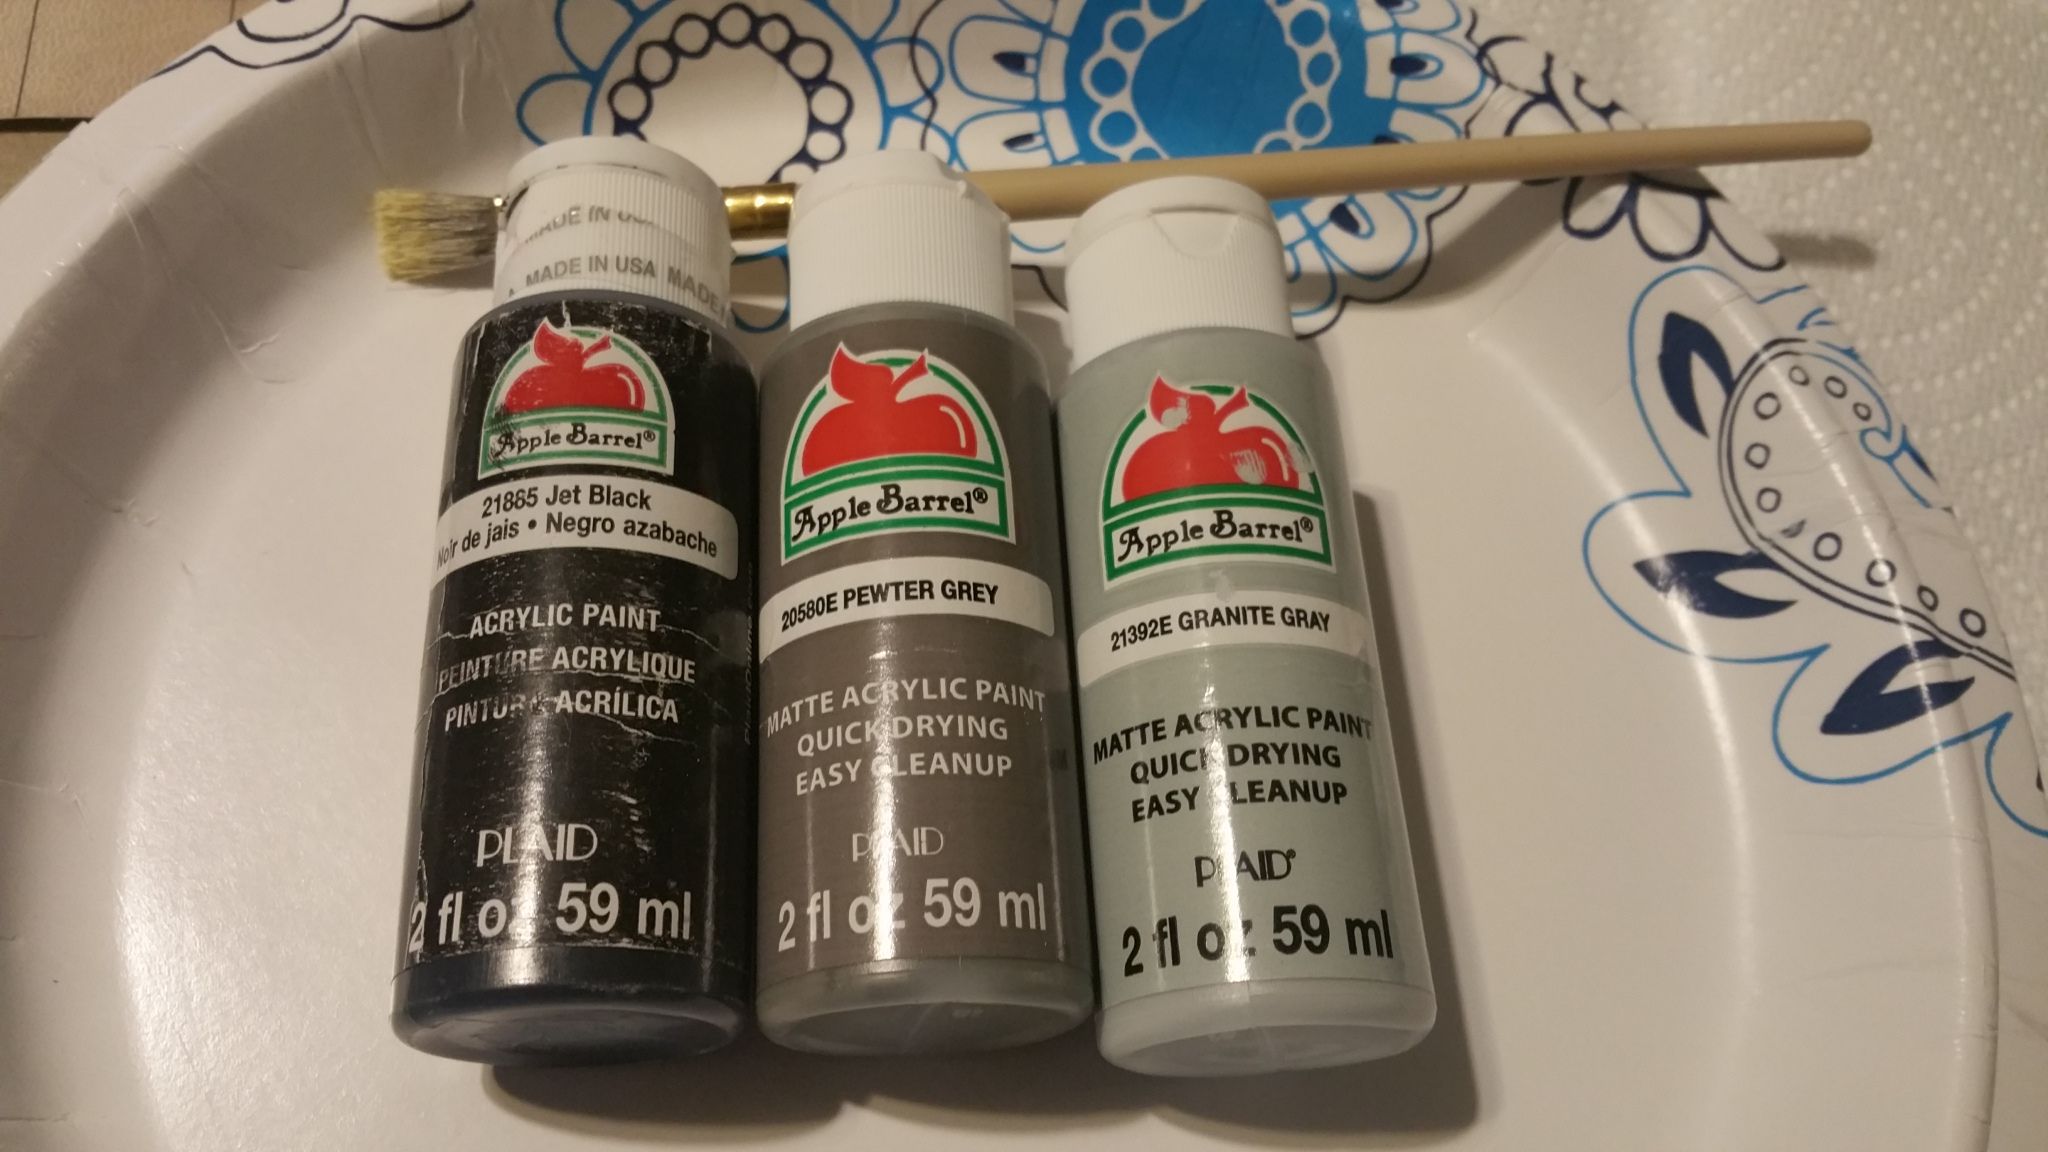
Base coat sealant (a mixture of about 50/50 acrylic black paint and ModPodge, see first tutorial)
Two varying shades of gray: I use Pewter Gray and Granite Gray'
Crafting paint brushes
Paper towels, paper plate, water cup...stuff for cleaning up the paints
A foamcore poster board
White glue
A ball of aluminium foil
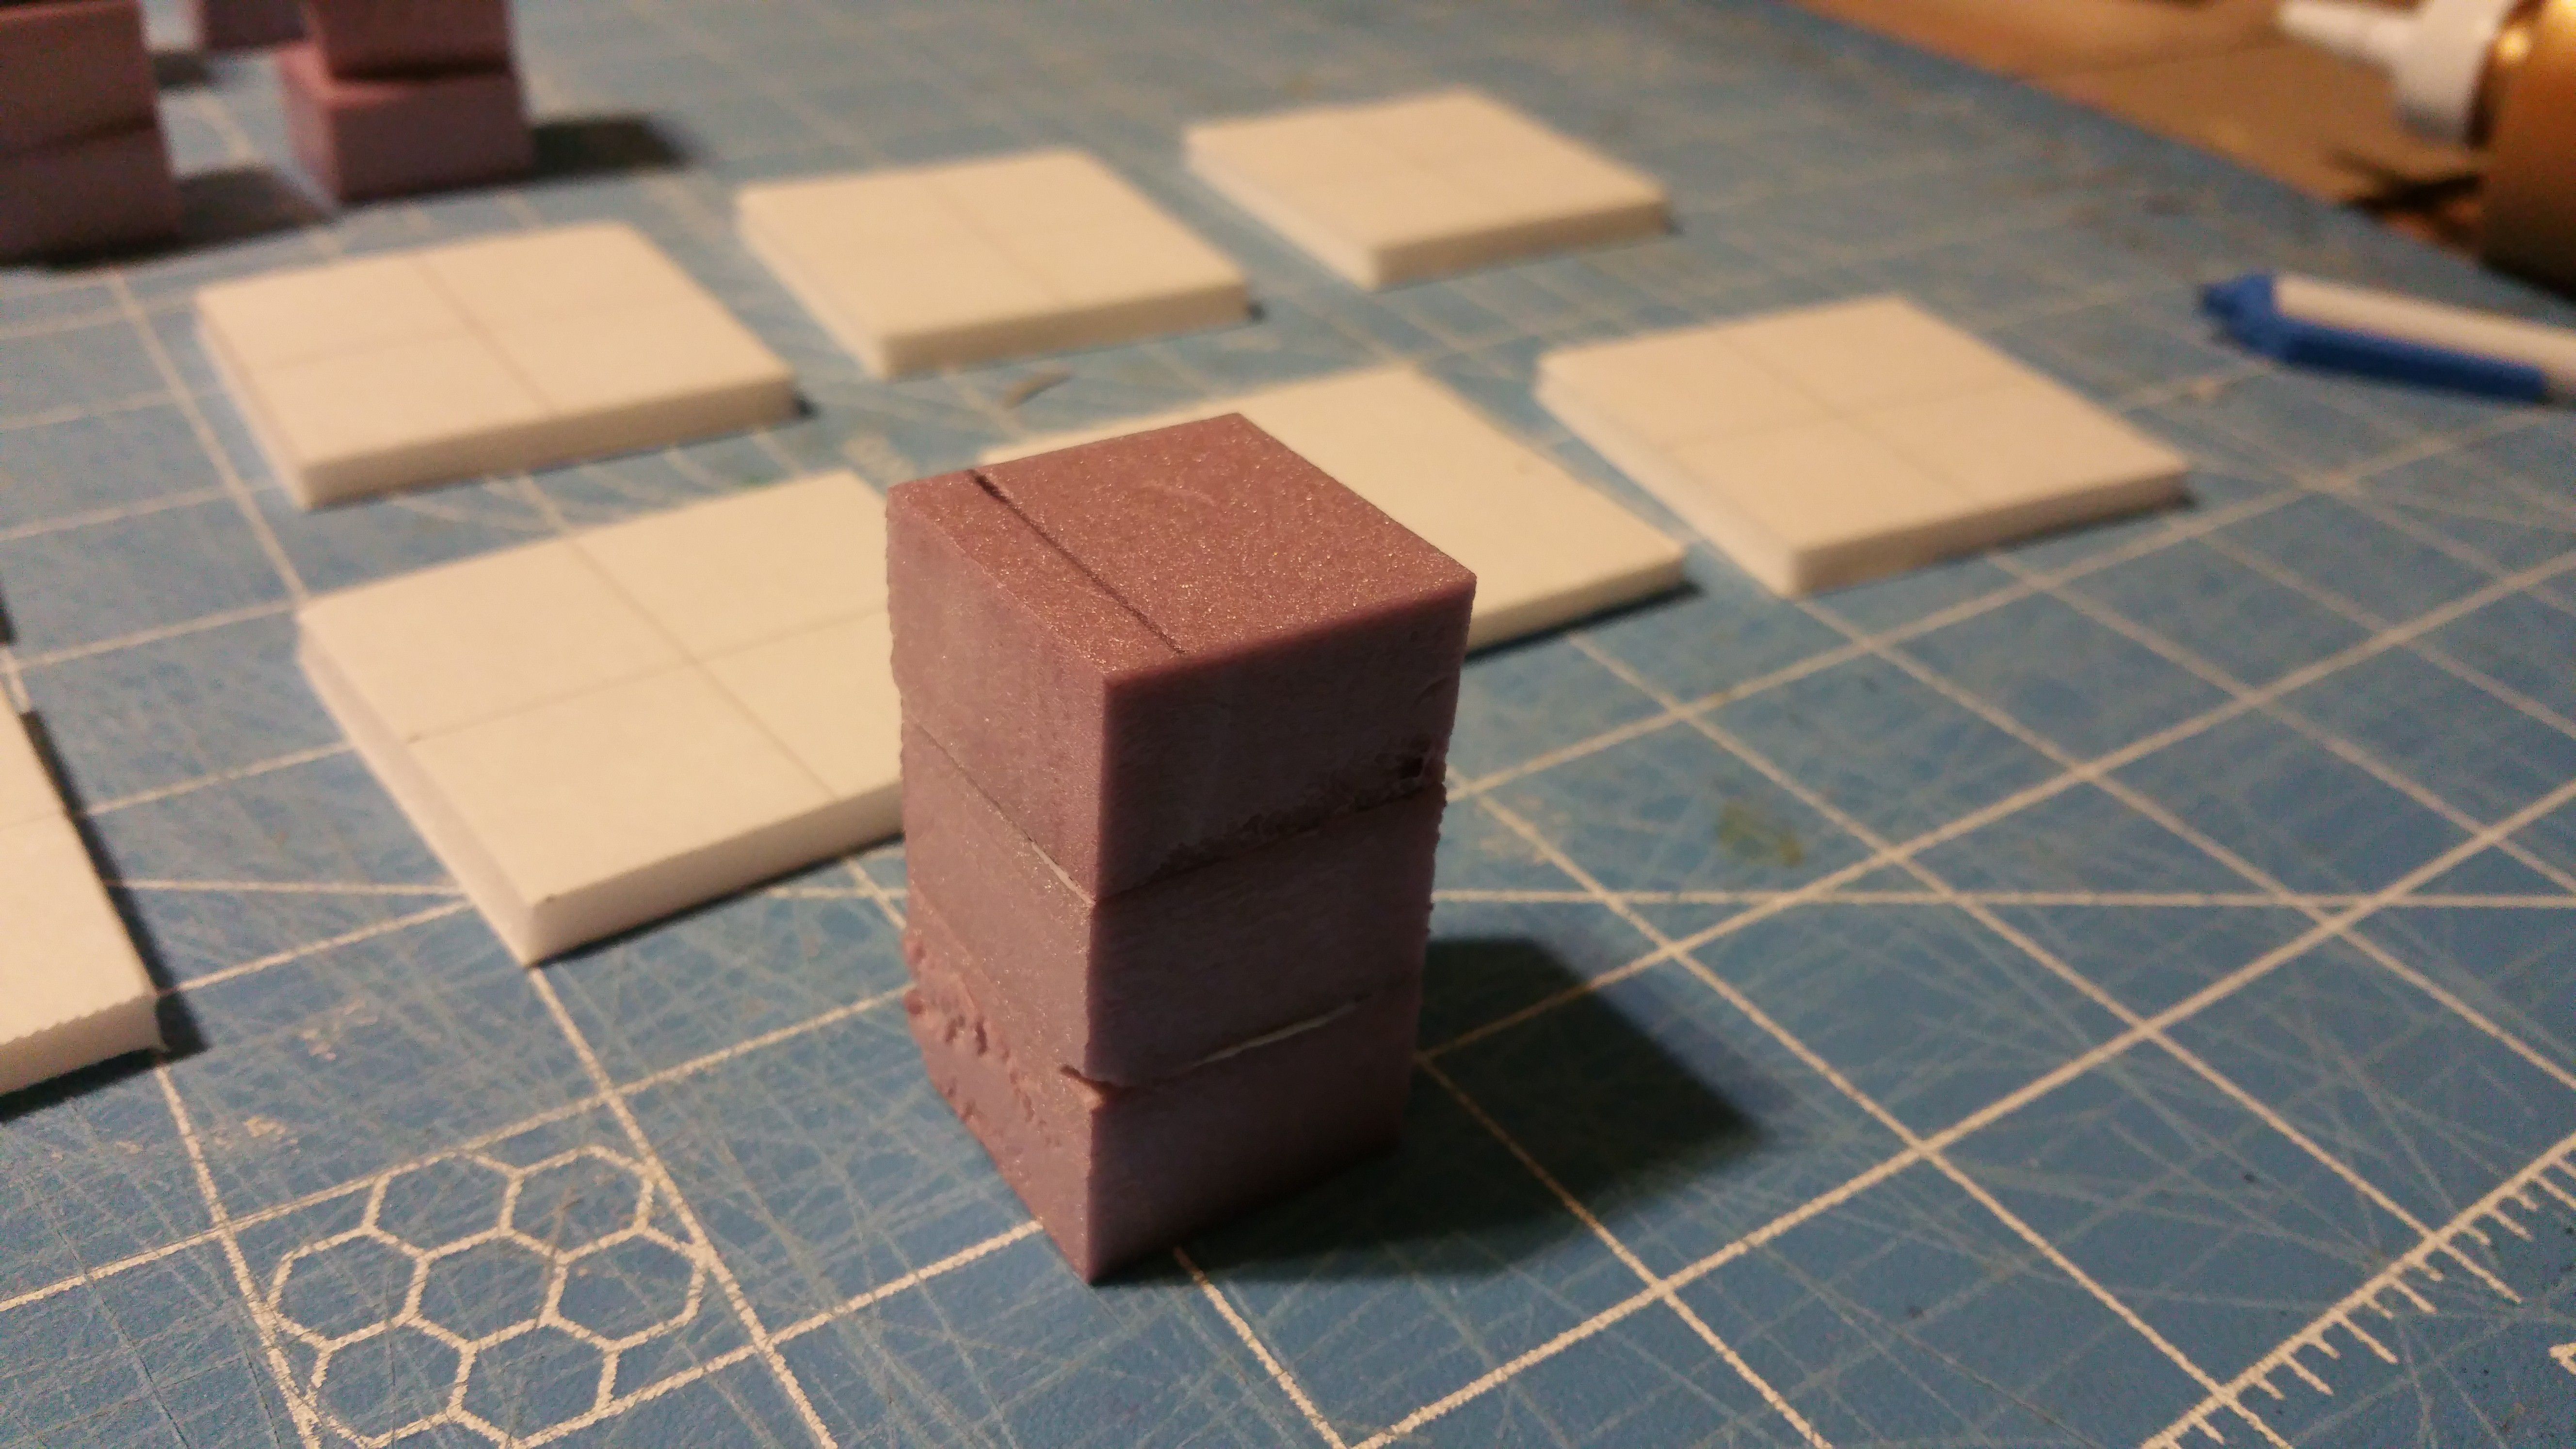
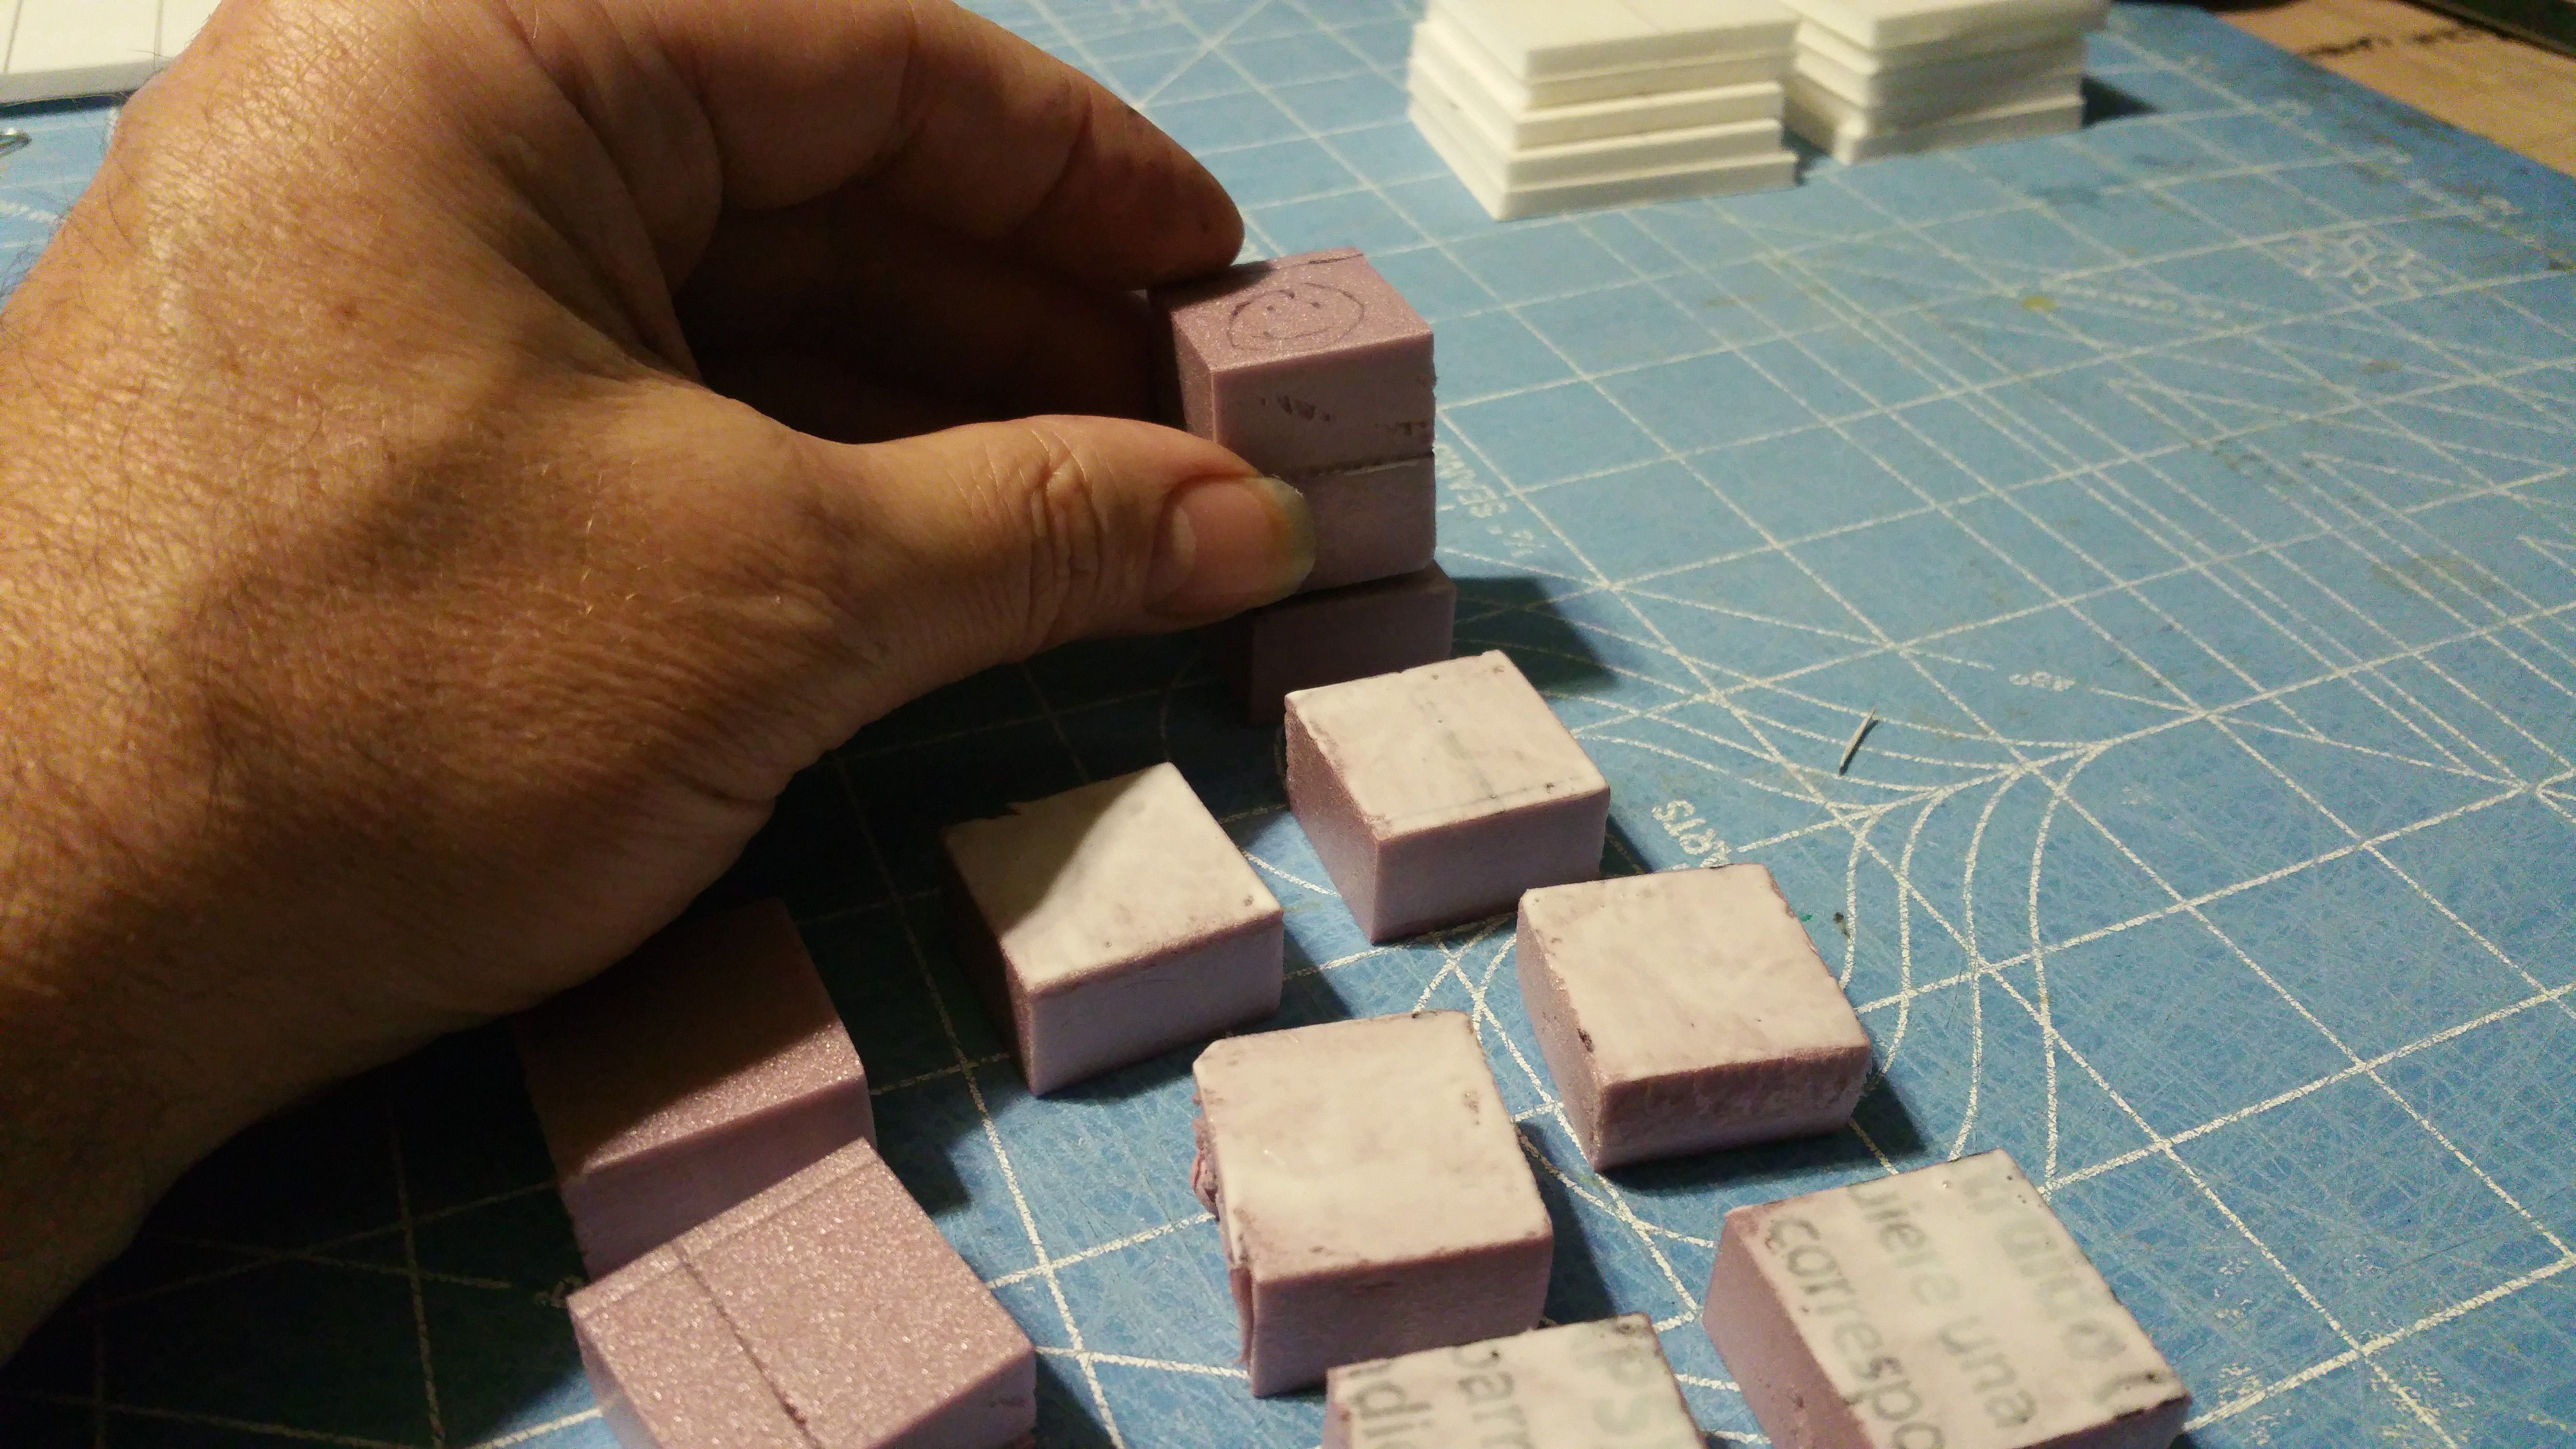
Start by making strips of your 1 inch thick XPS foam.
The strips should be 1-1/8th inch wide. Each pillar will have 3 blocks.
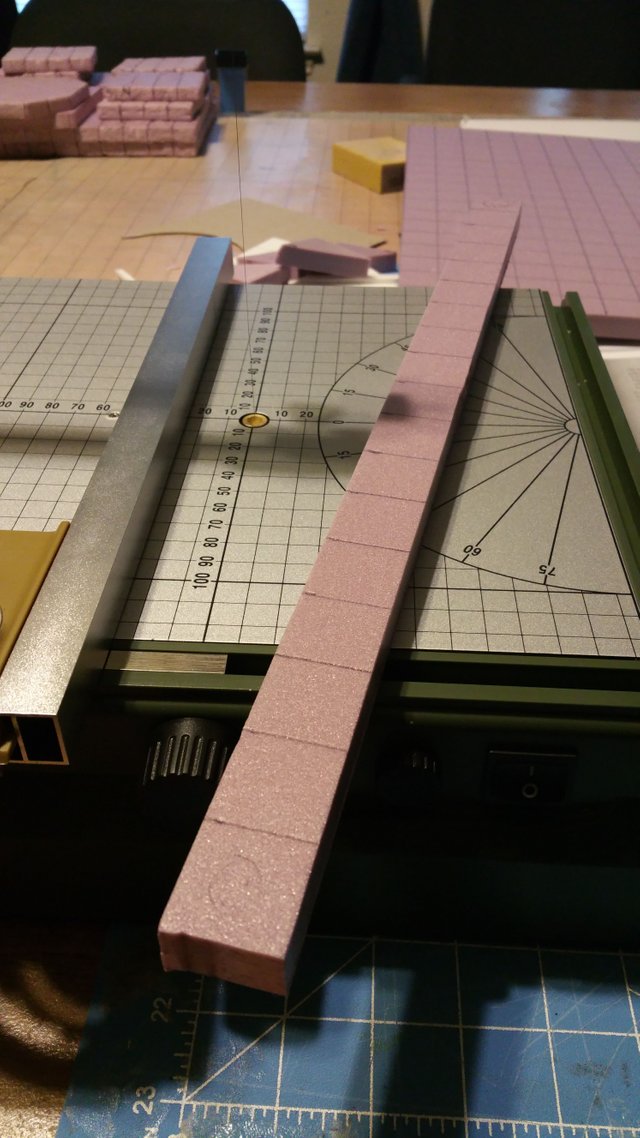
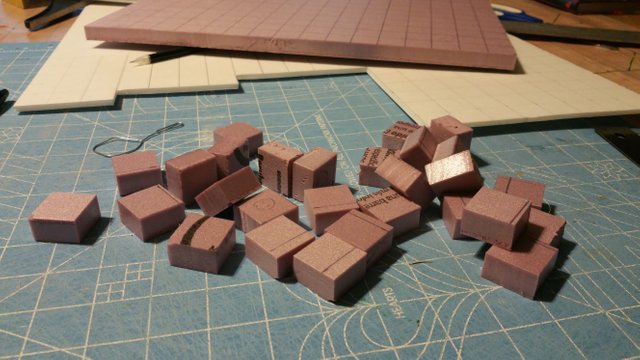
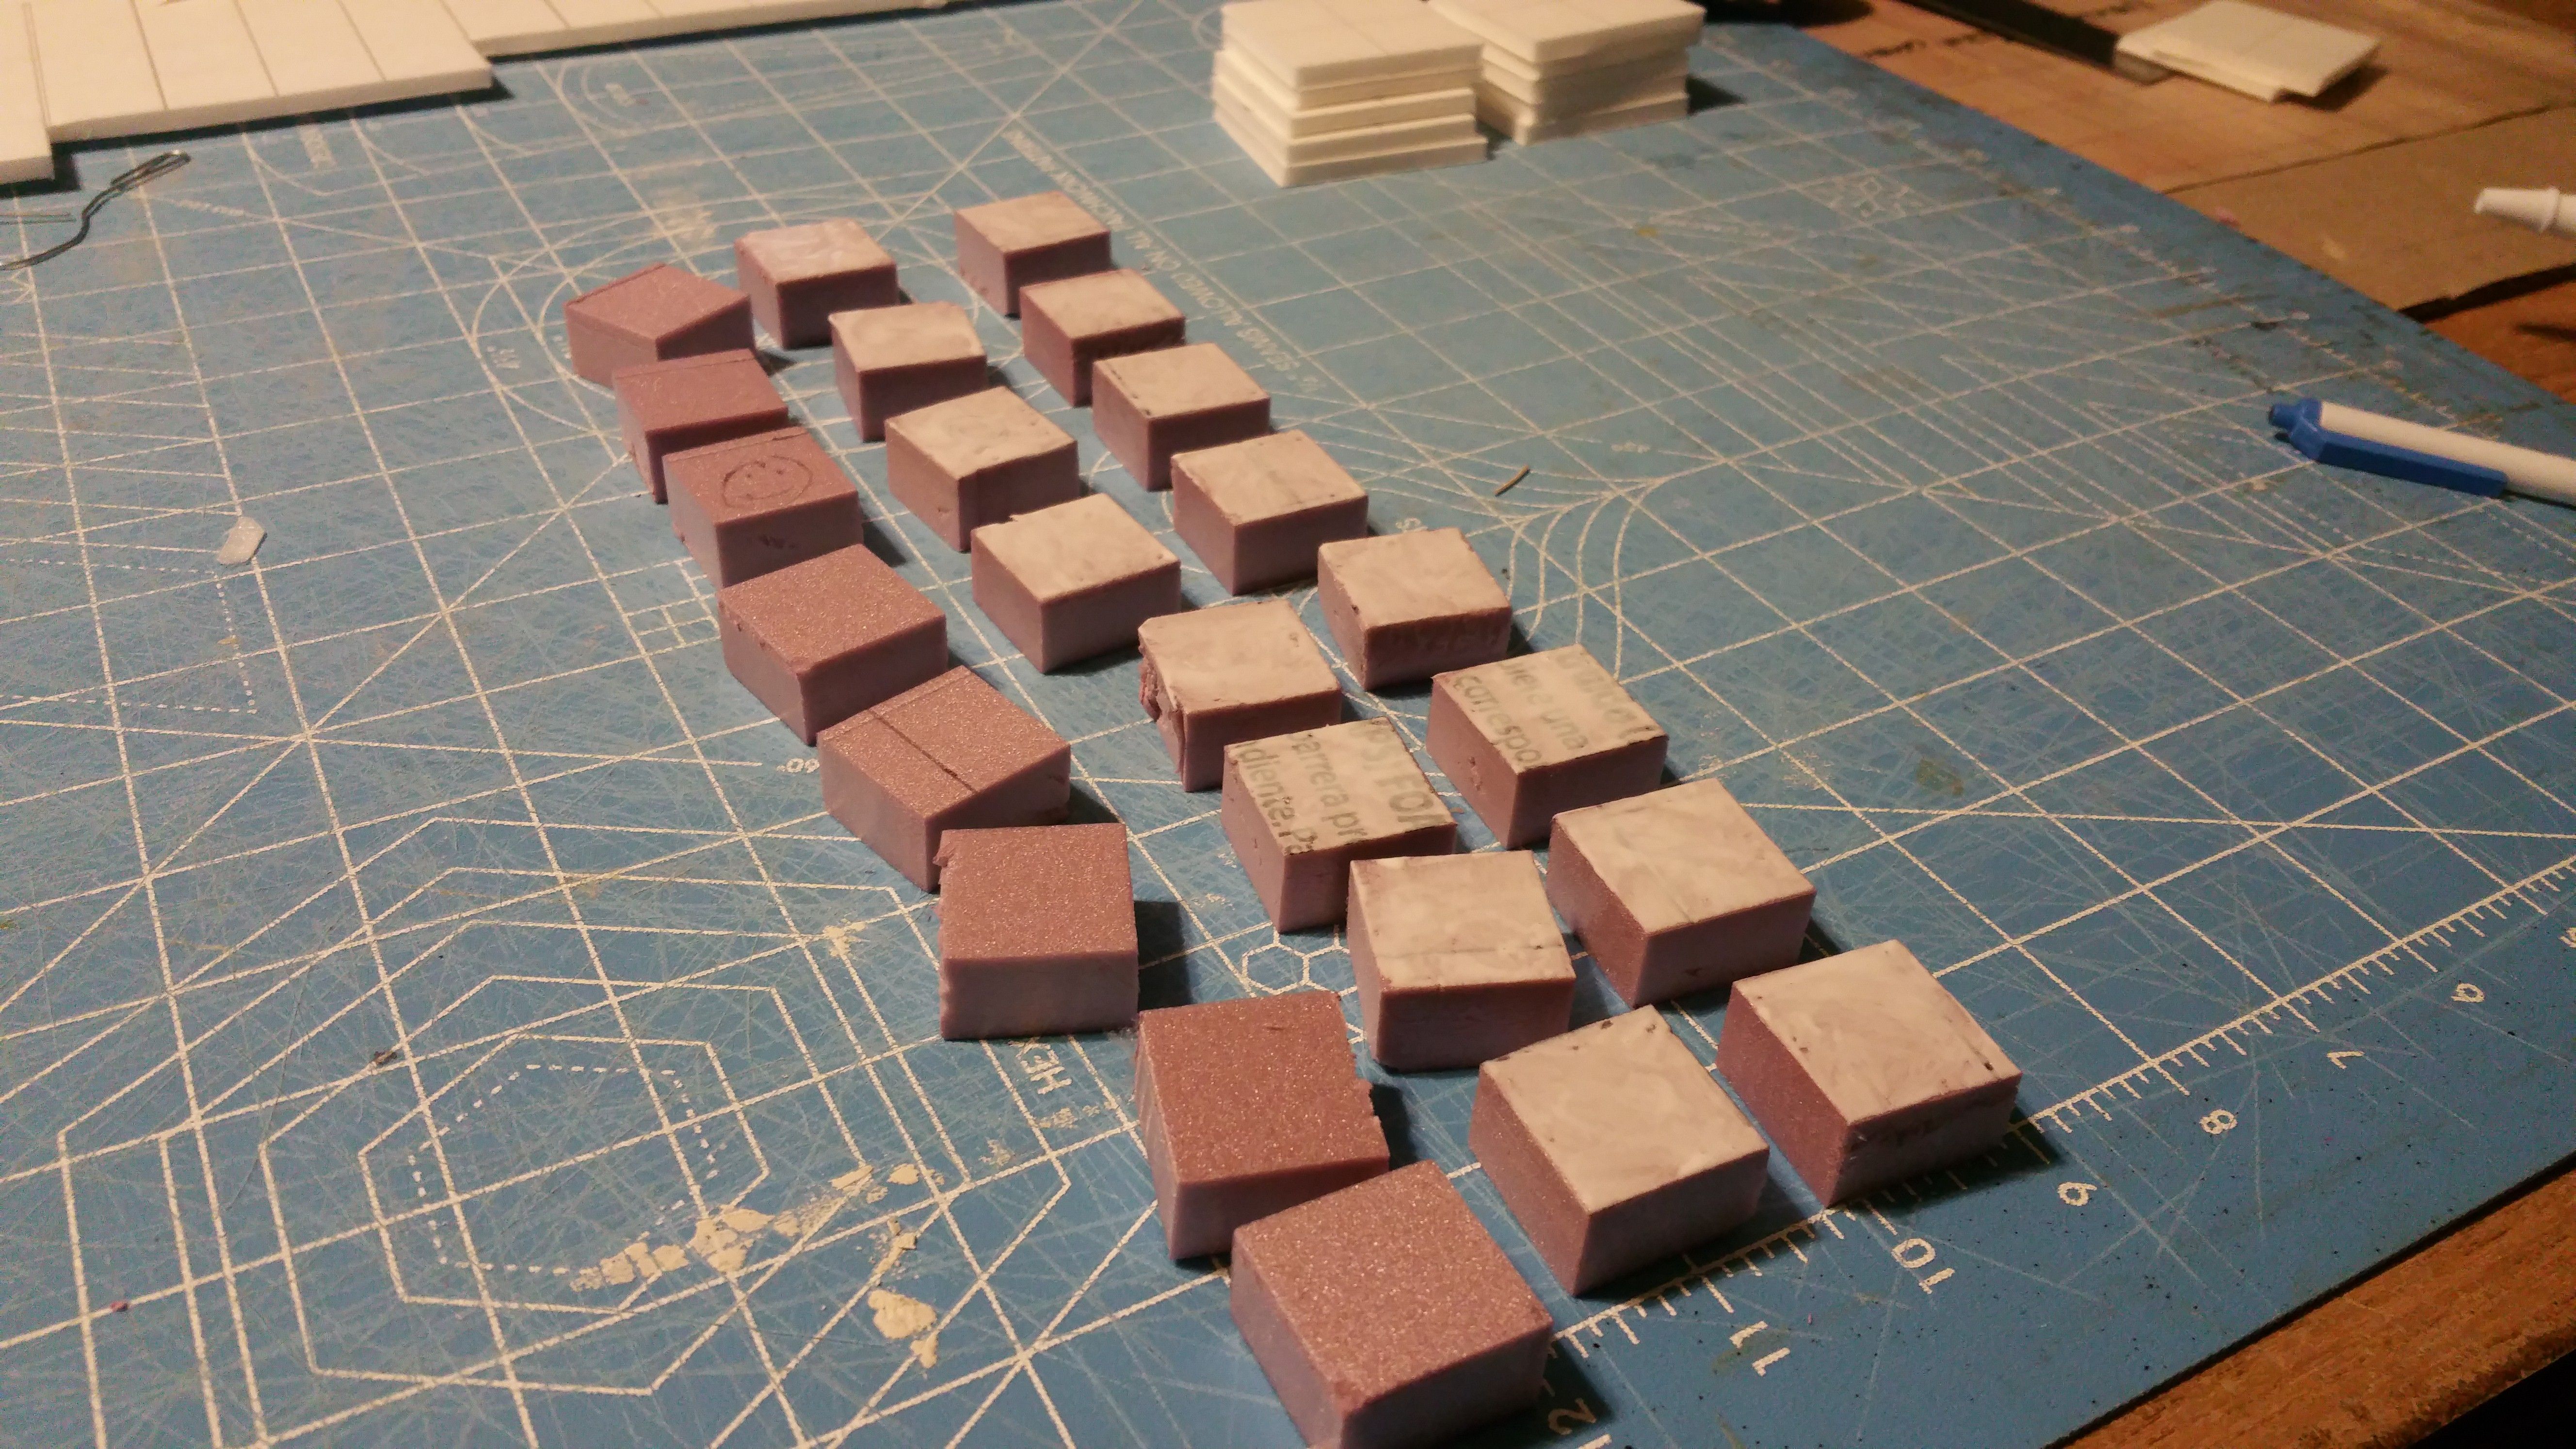
Then cut out little blocks that are 1-1/8th x 1-1/8th, You should have a bunch of little blocks like so:
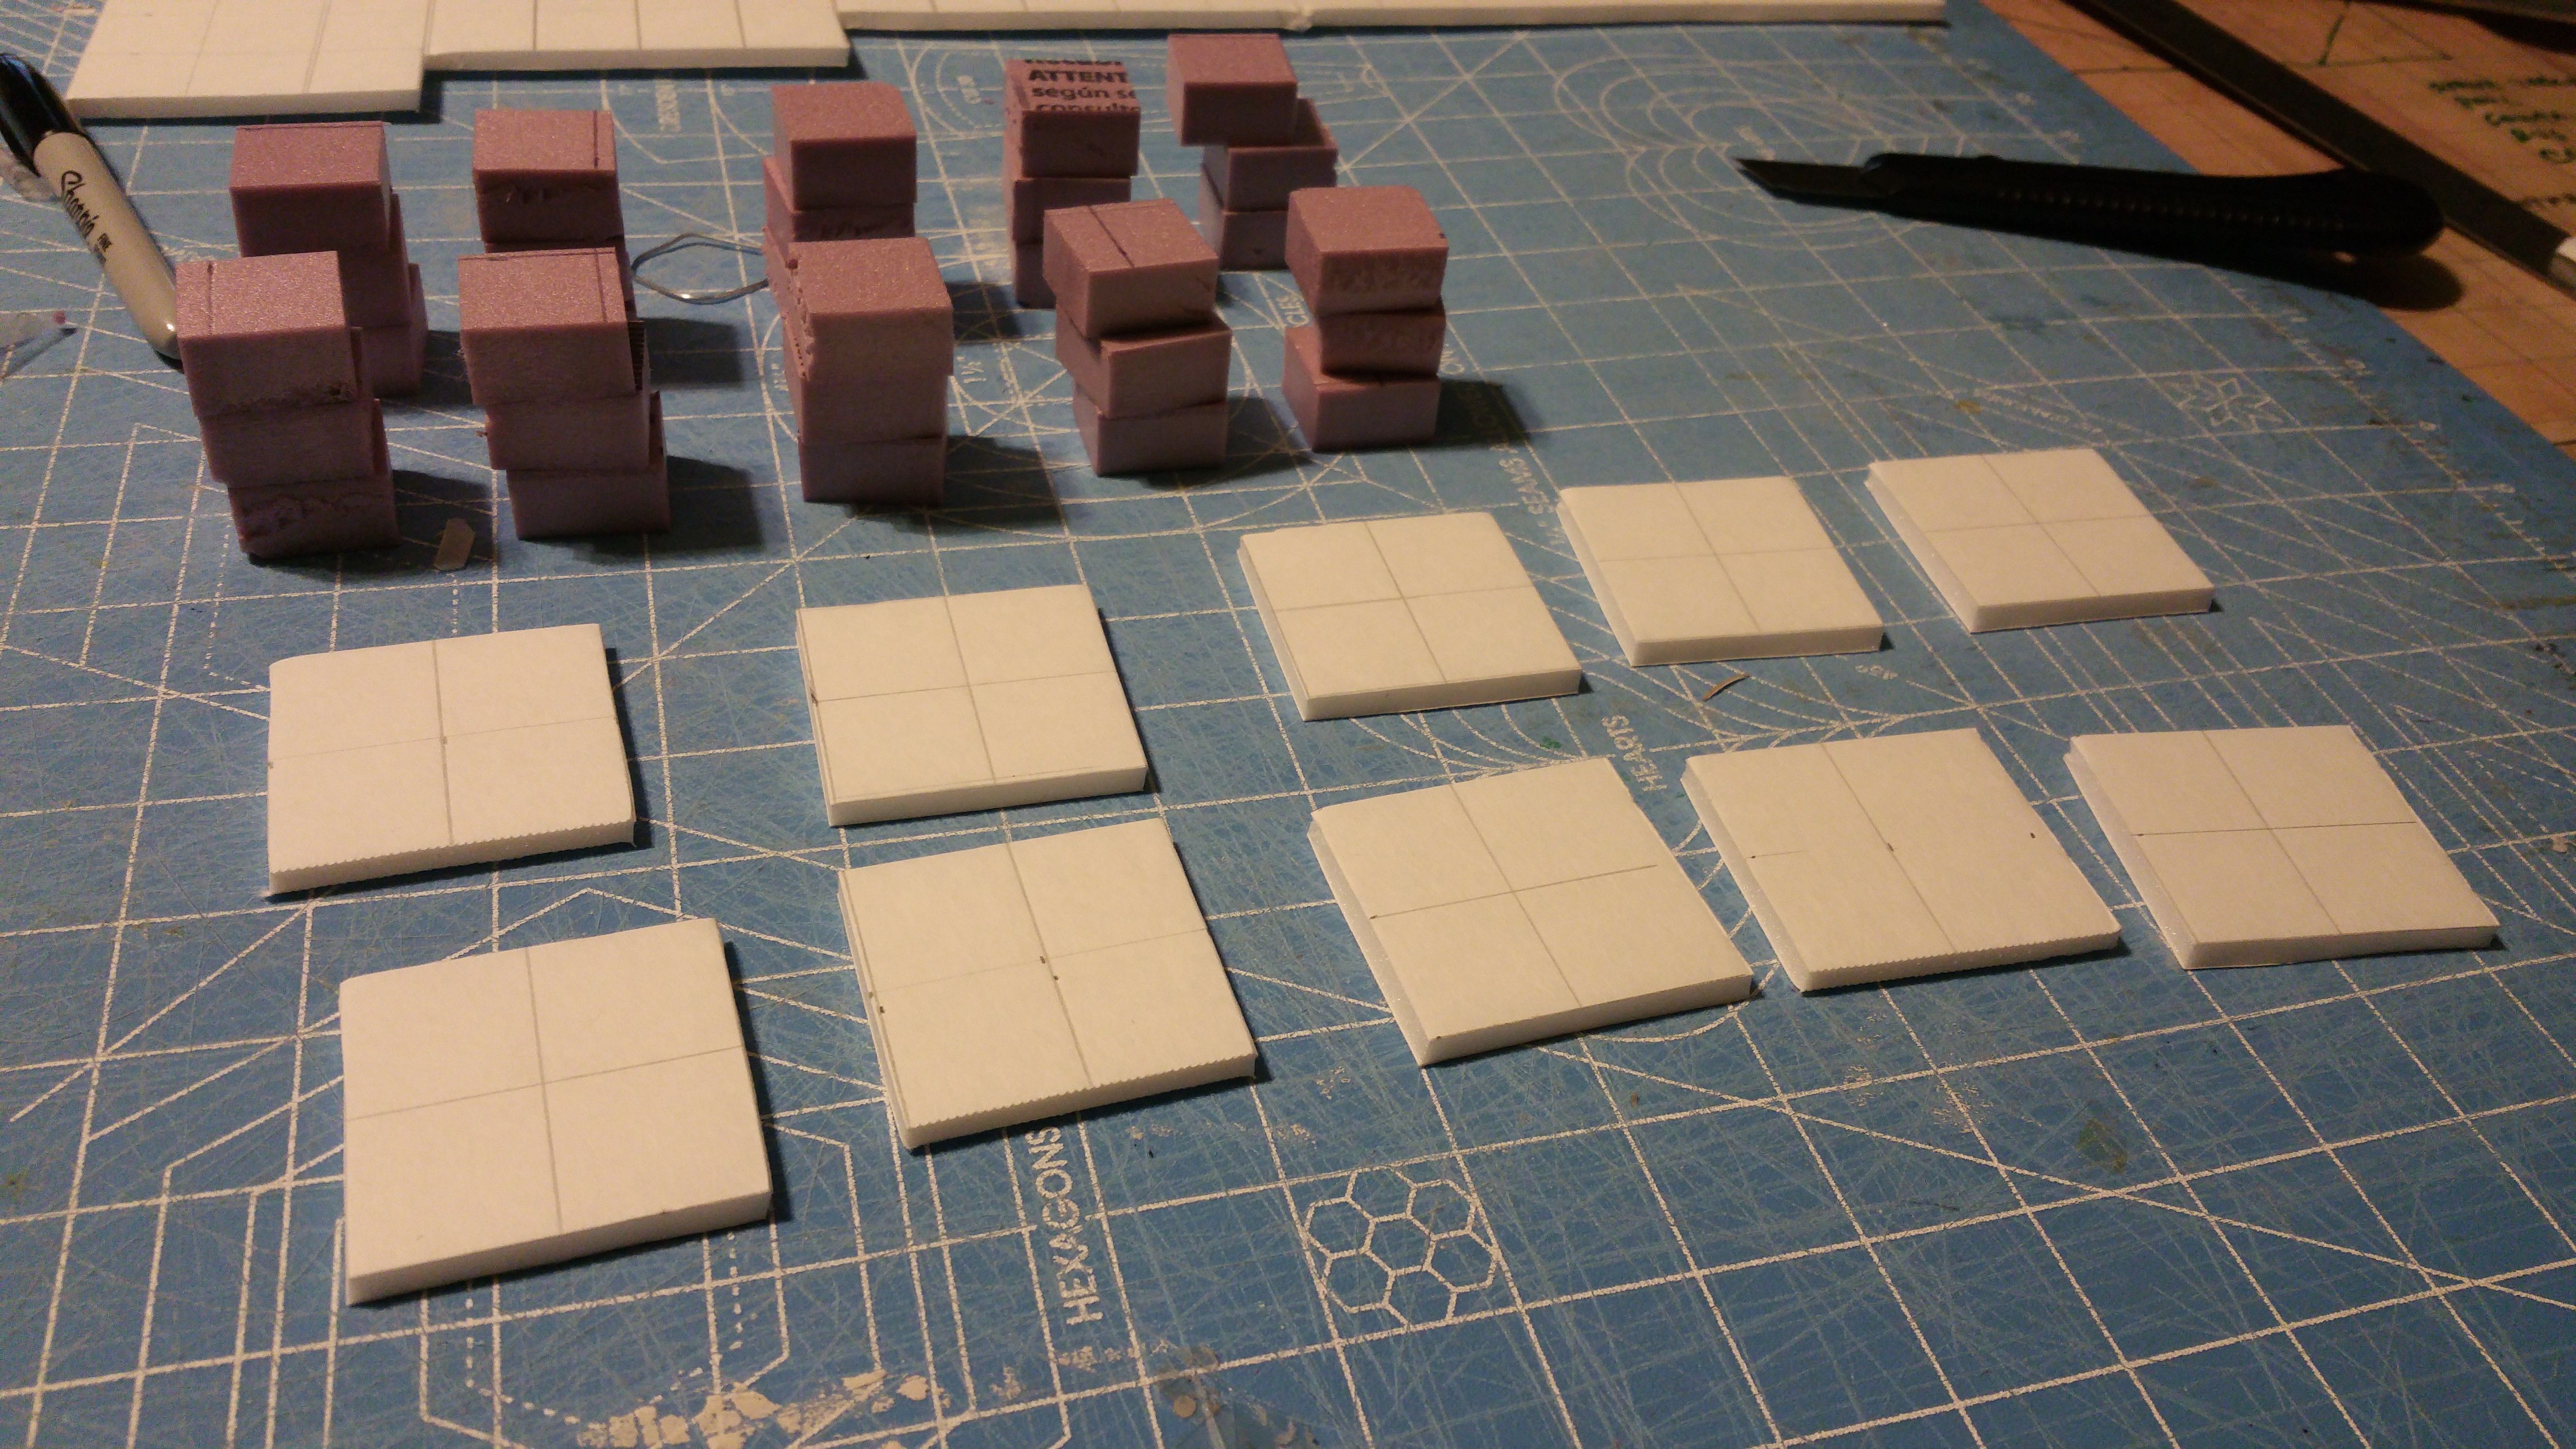
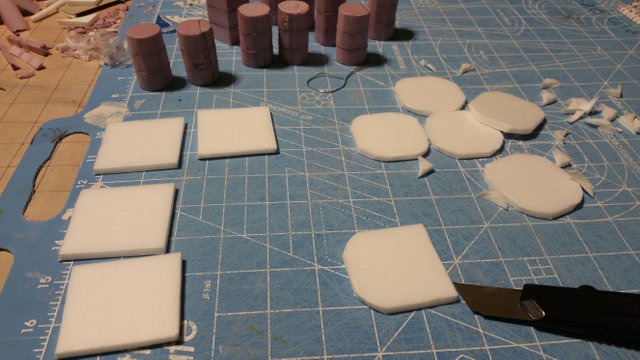
Next, cut out your foamcore into 2x2 inch squares, These will be the base for all your pillars. So there should be a 3 blocks to 1 base ratio. Example: 3 blocks and 1 base makes 1 pillar:
NOTE: Before gluing, If you do not have a hot wire cutter, you'll need to trace a circle on the top of each block, then use your box cutter to cut the circle out of each one. Then after you glue them together, use sandpaper to make your cylinder shape a bit more smooth

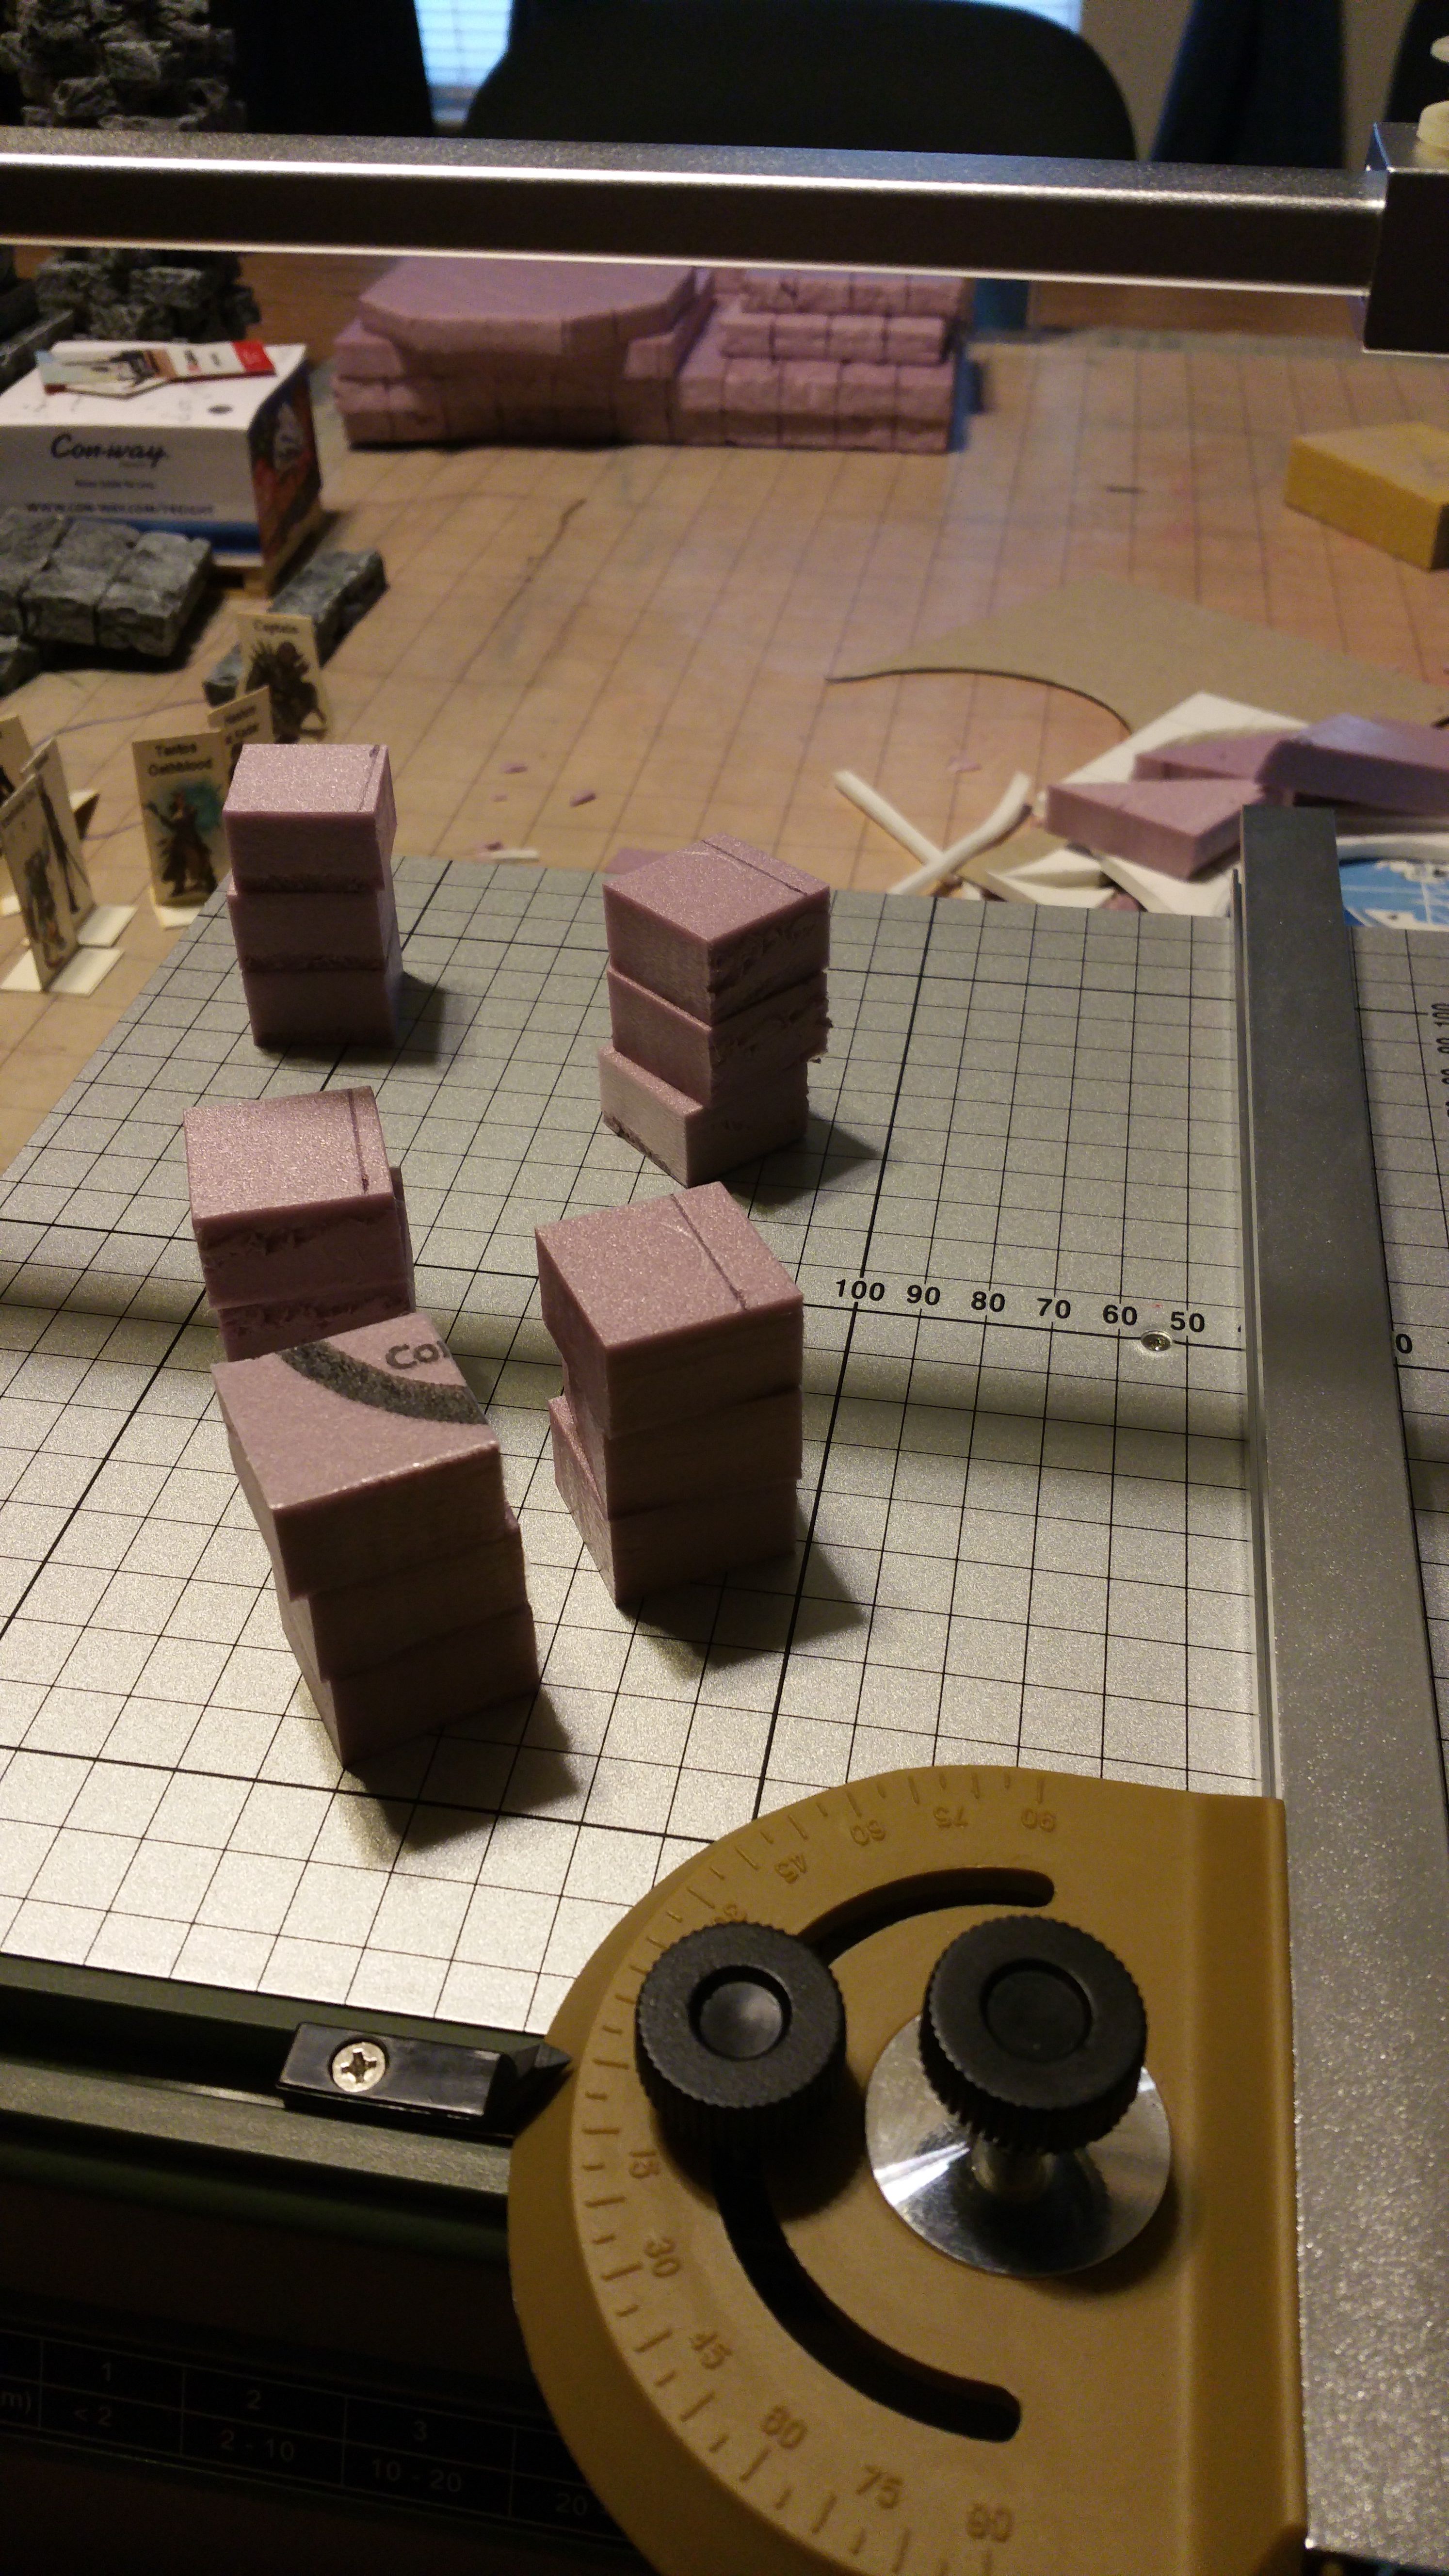
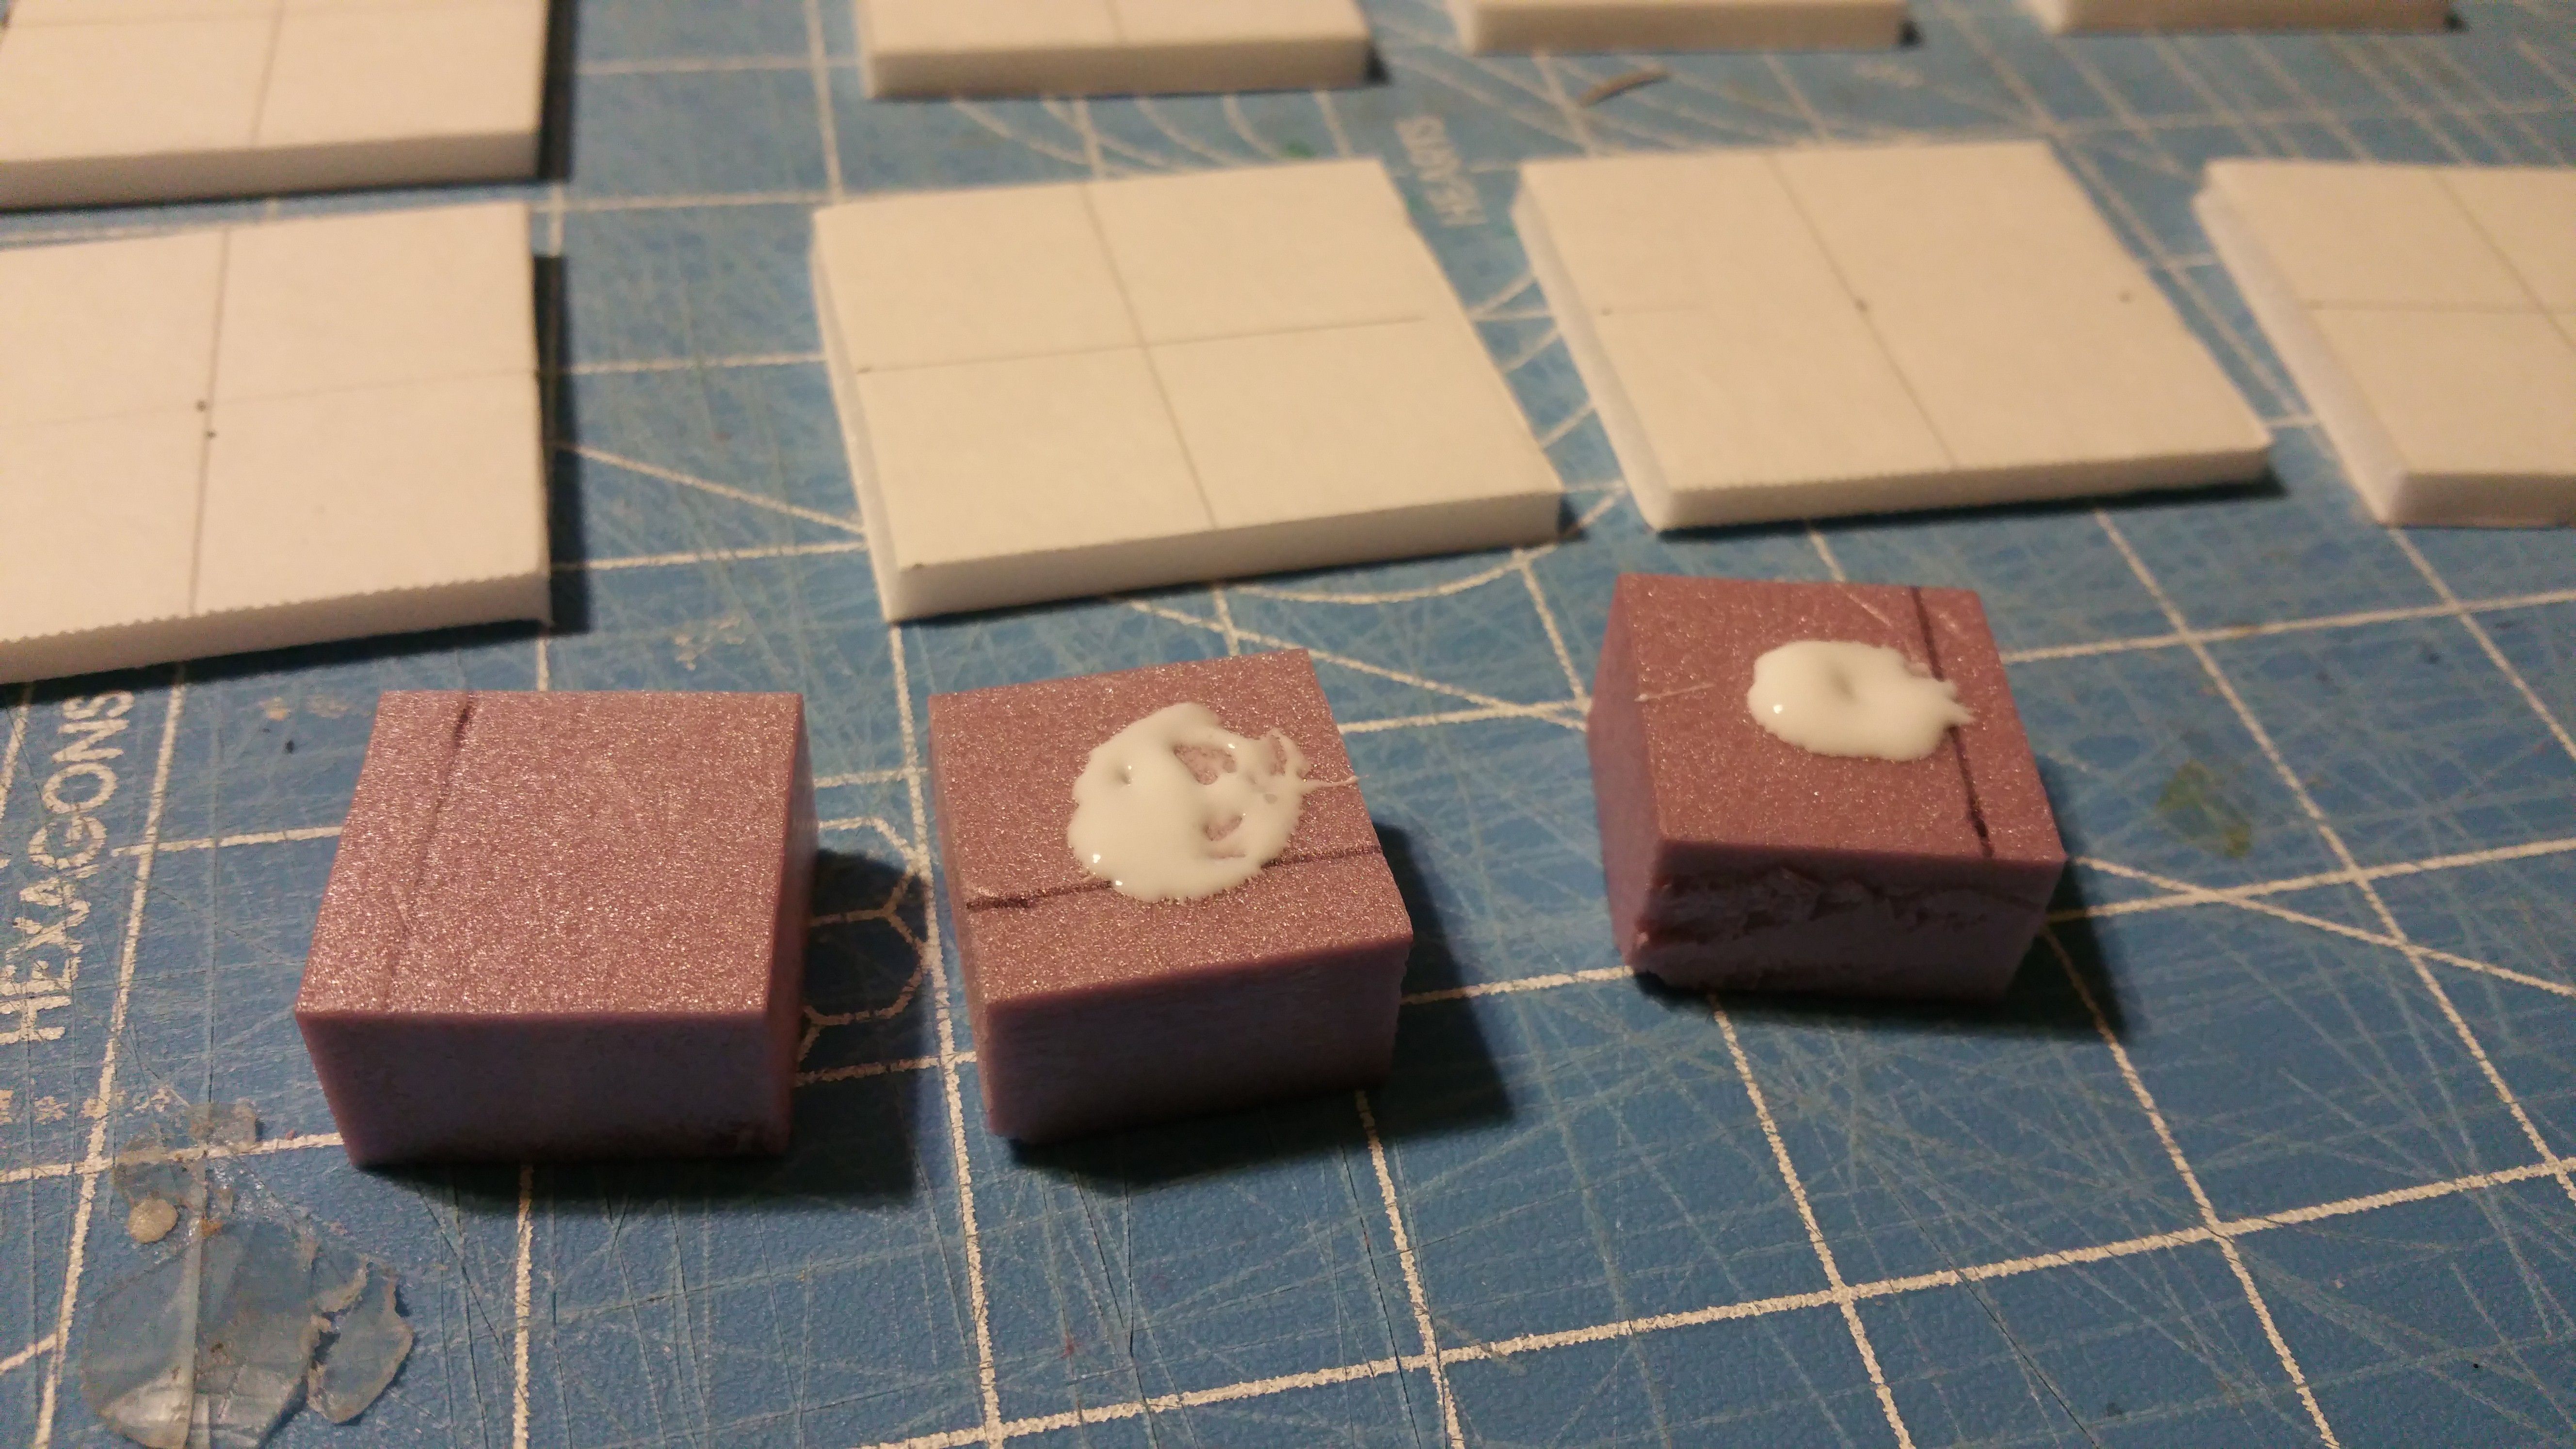
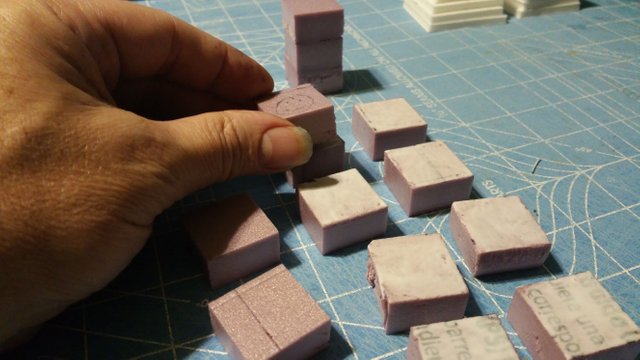
Now, we move on to gluing the blocks together. I use TackeyGlue, but any white glue will be fine.
NOTE: Only put glue on 2 of the blocks, as shown
It's as easy as 1, 2, 3!:
1.
2.
3.
Here's another angle:
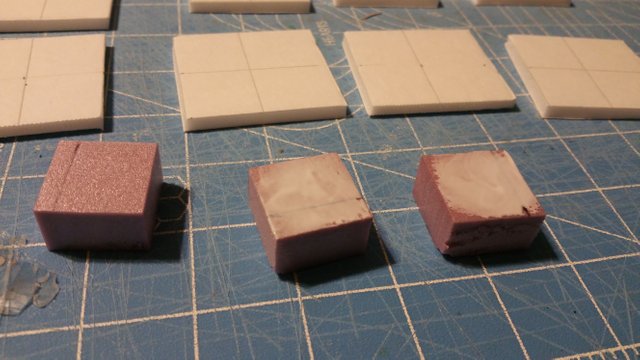
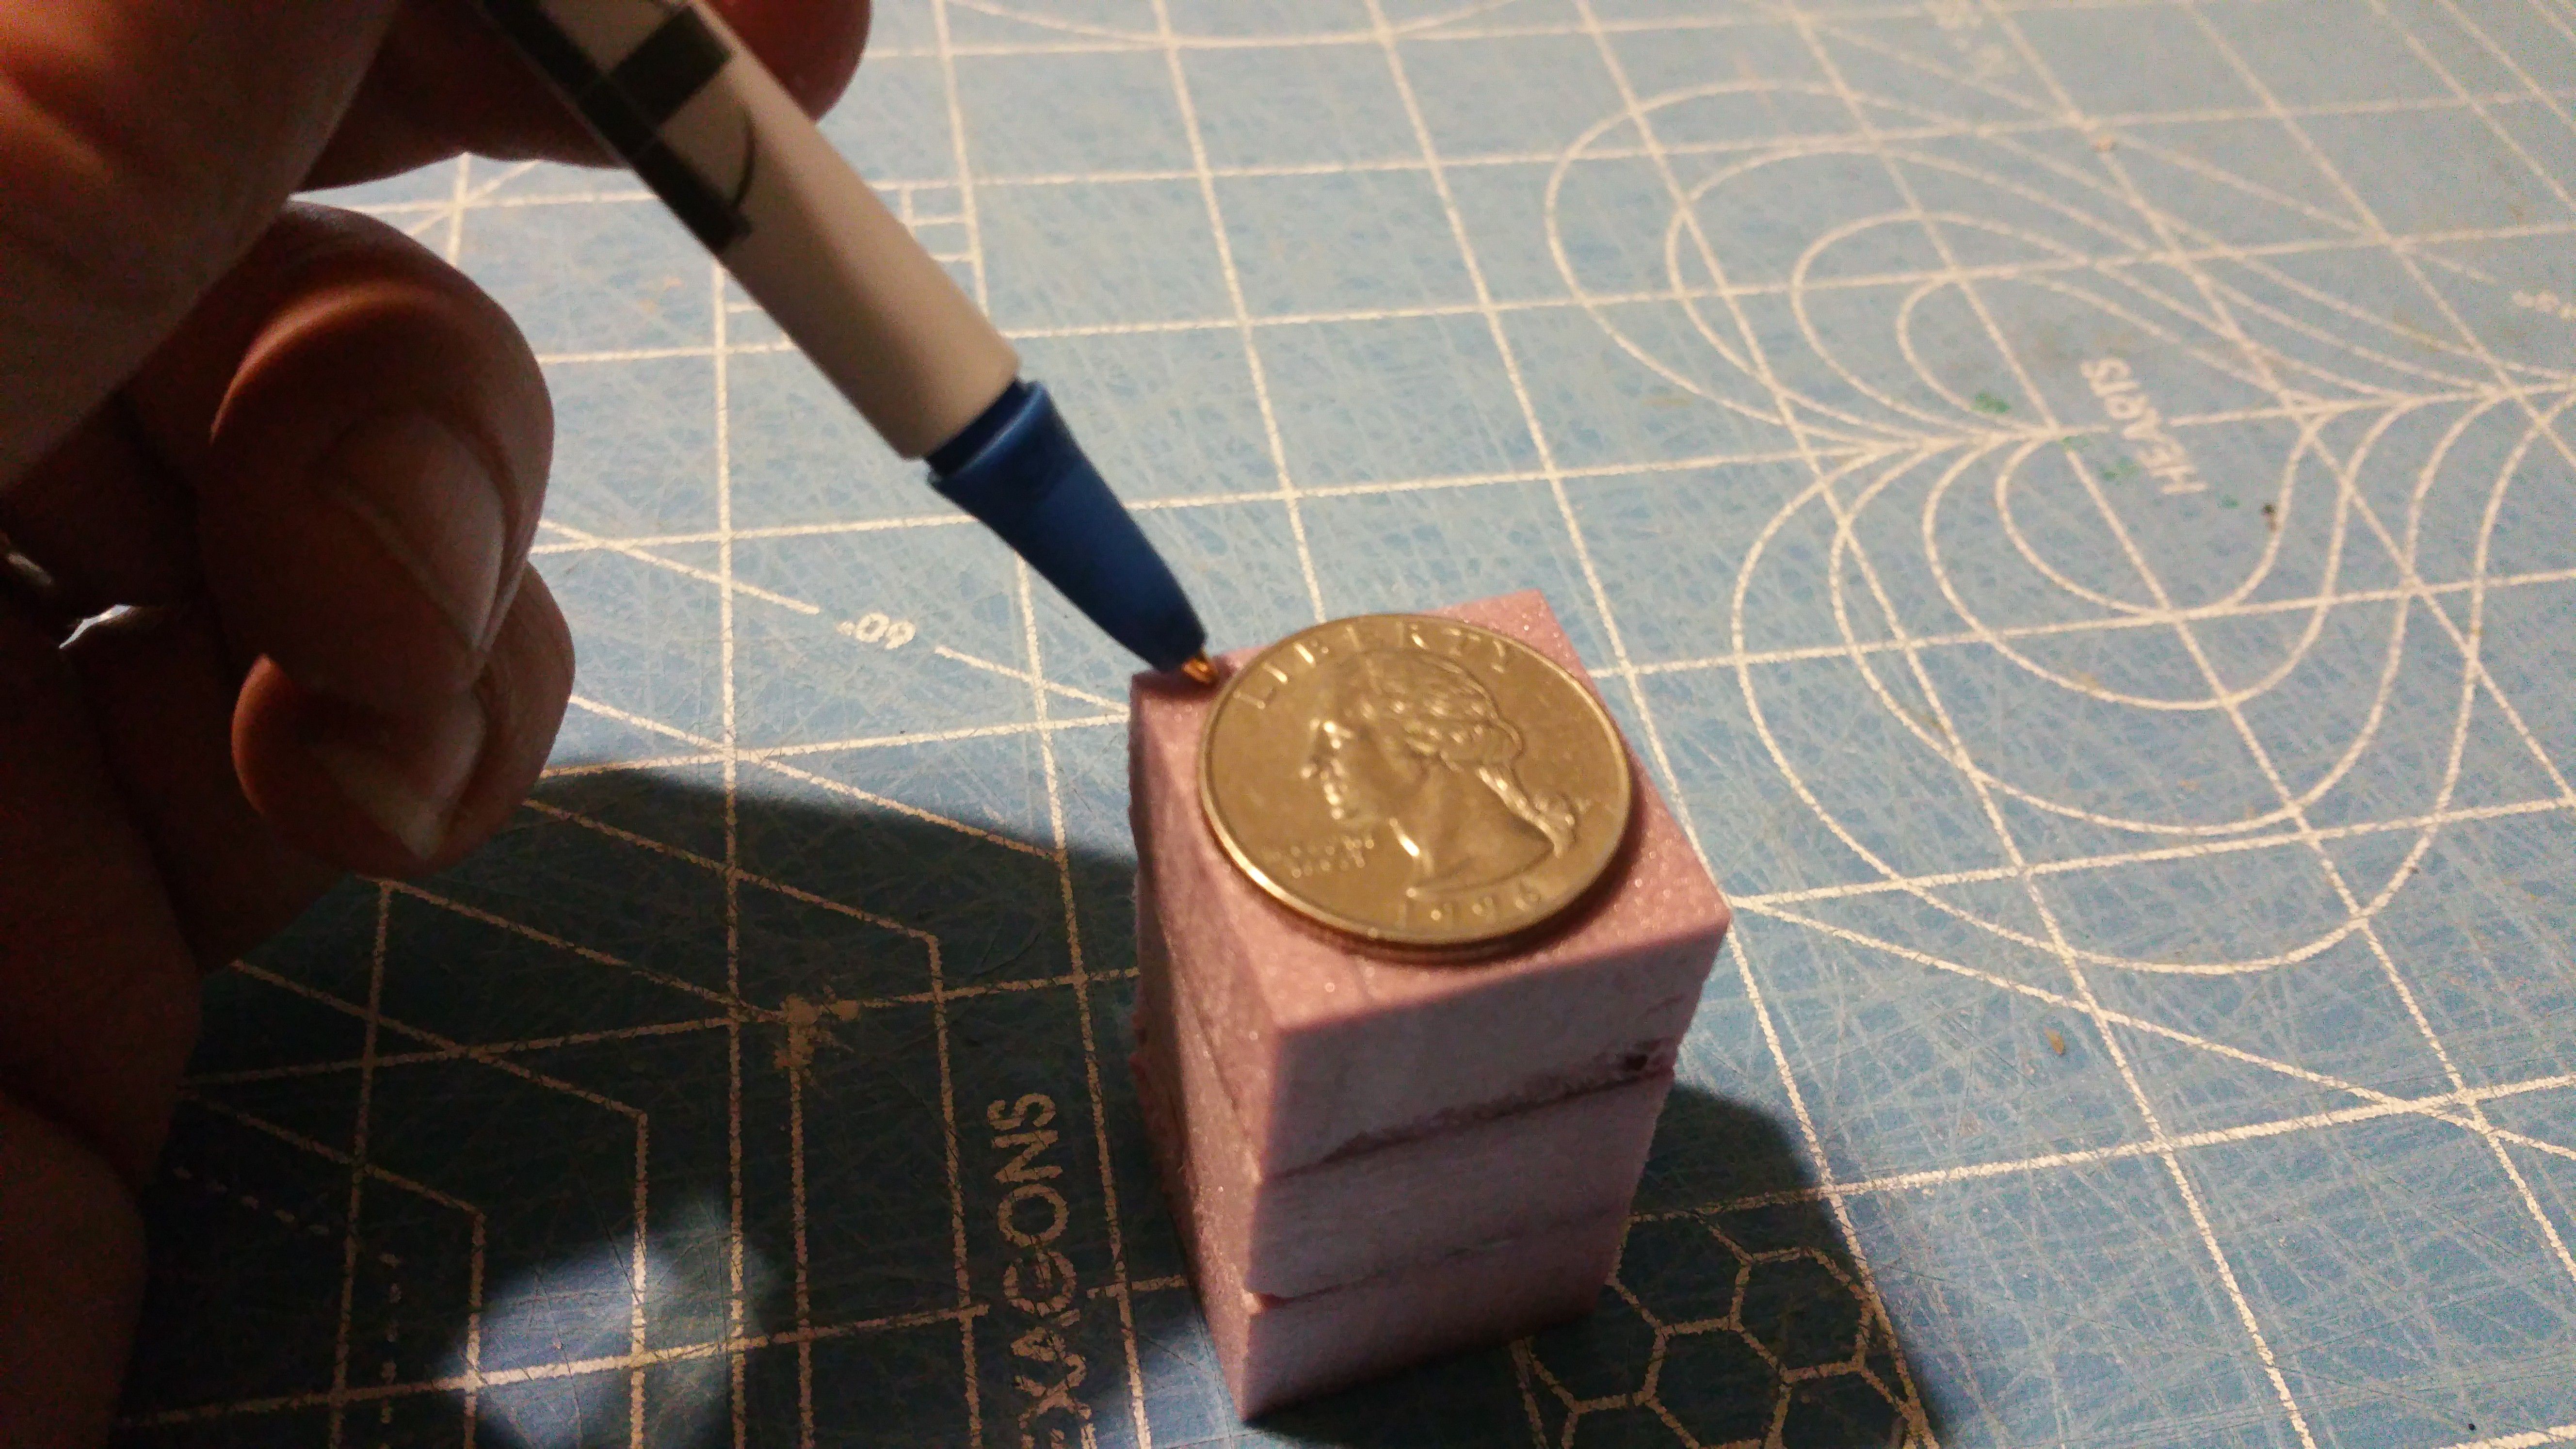
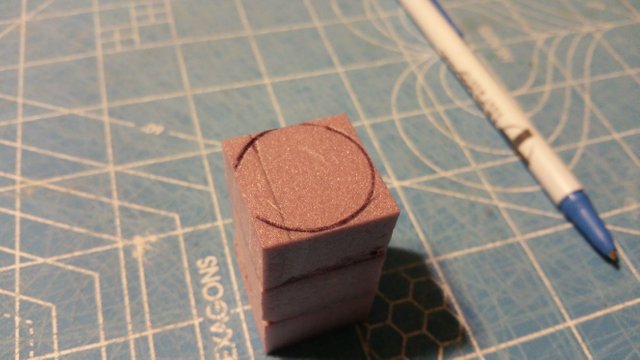
If you have a wot wire cutter, use a Quarter to draw a circle around the top. A Quarter is about 1 inch wide. Otherwise, cut the circles with your box cutter before gluing (mine were too small, that's why I upped the measurements from being only 1 inch to 1-1/8th inch):
 :
:

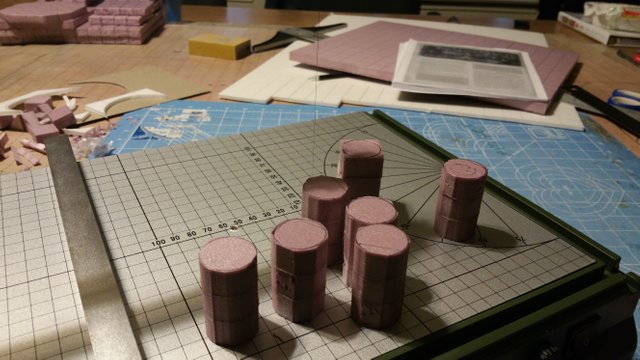
Now, once you have them all stuck together, They will need to dry (probably overnight). But I used my hot wire cutter to cut out the pillar shape (you may want to wait and let them dry):
If they are dry, you want to sand off the rough lines to make the pillar smooth all the way around:
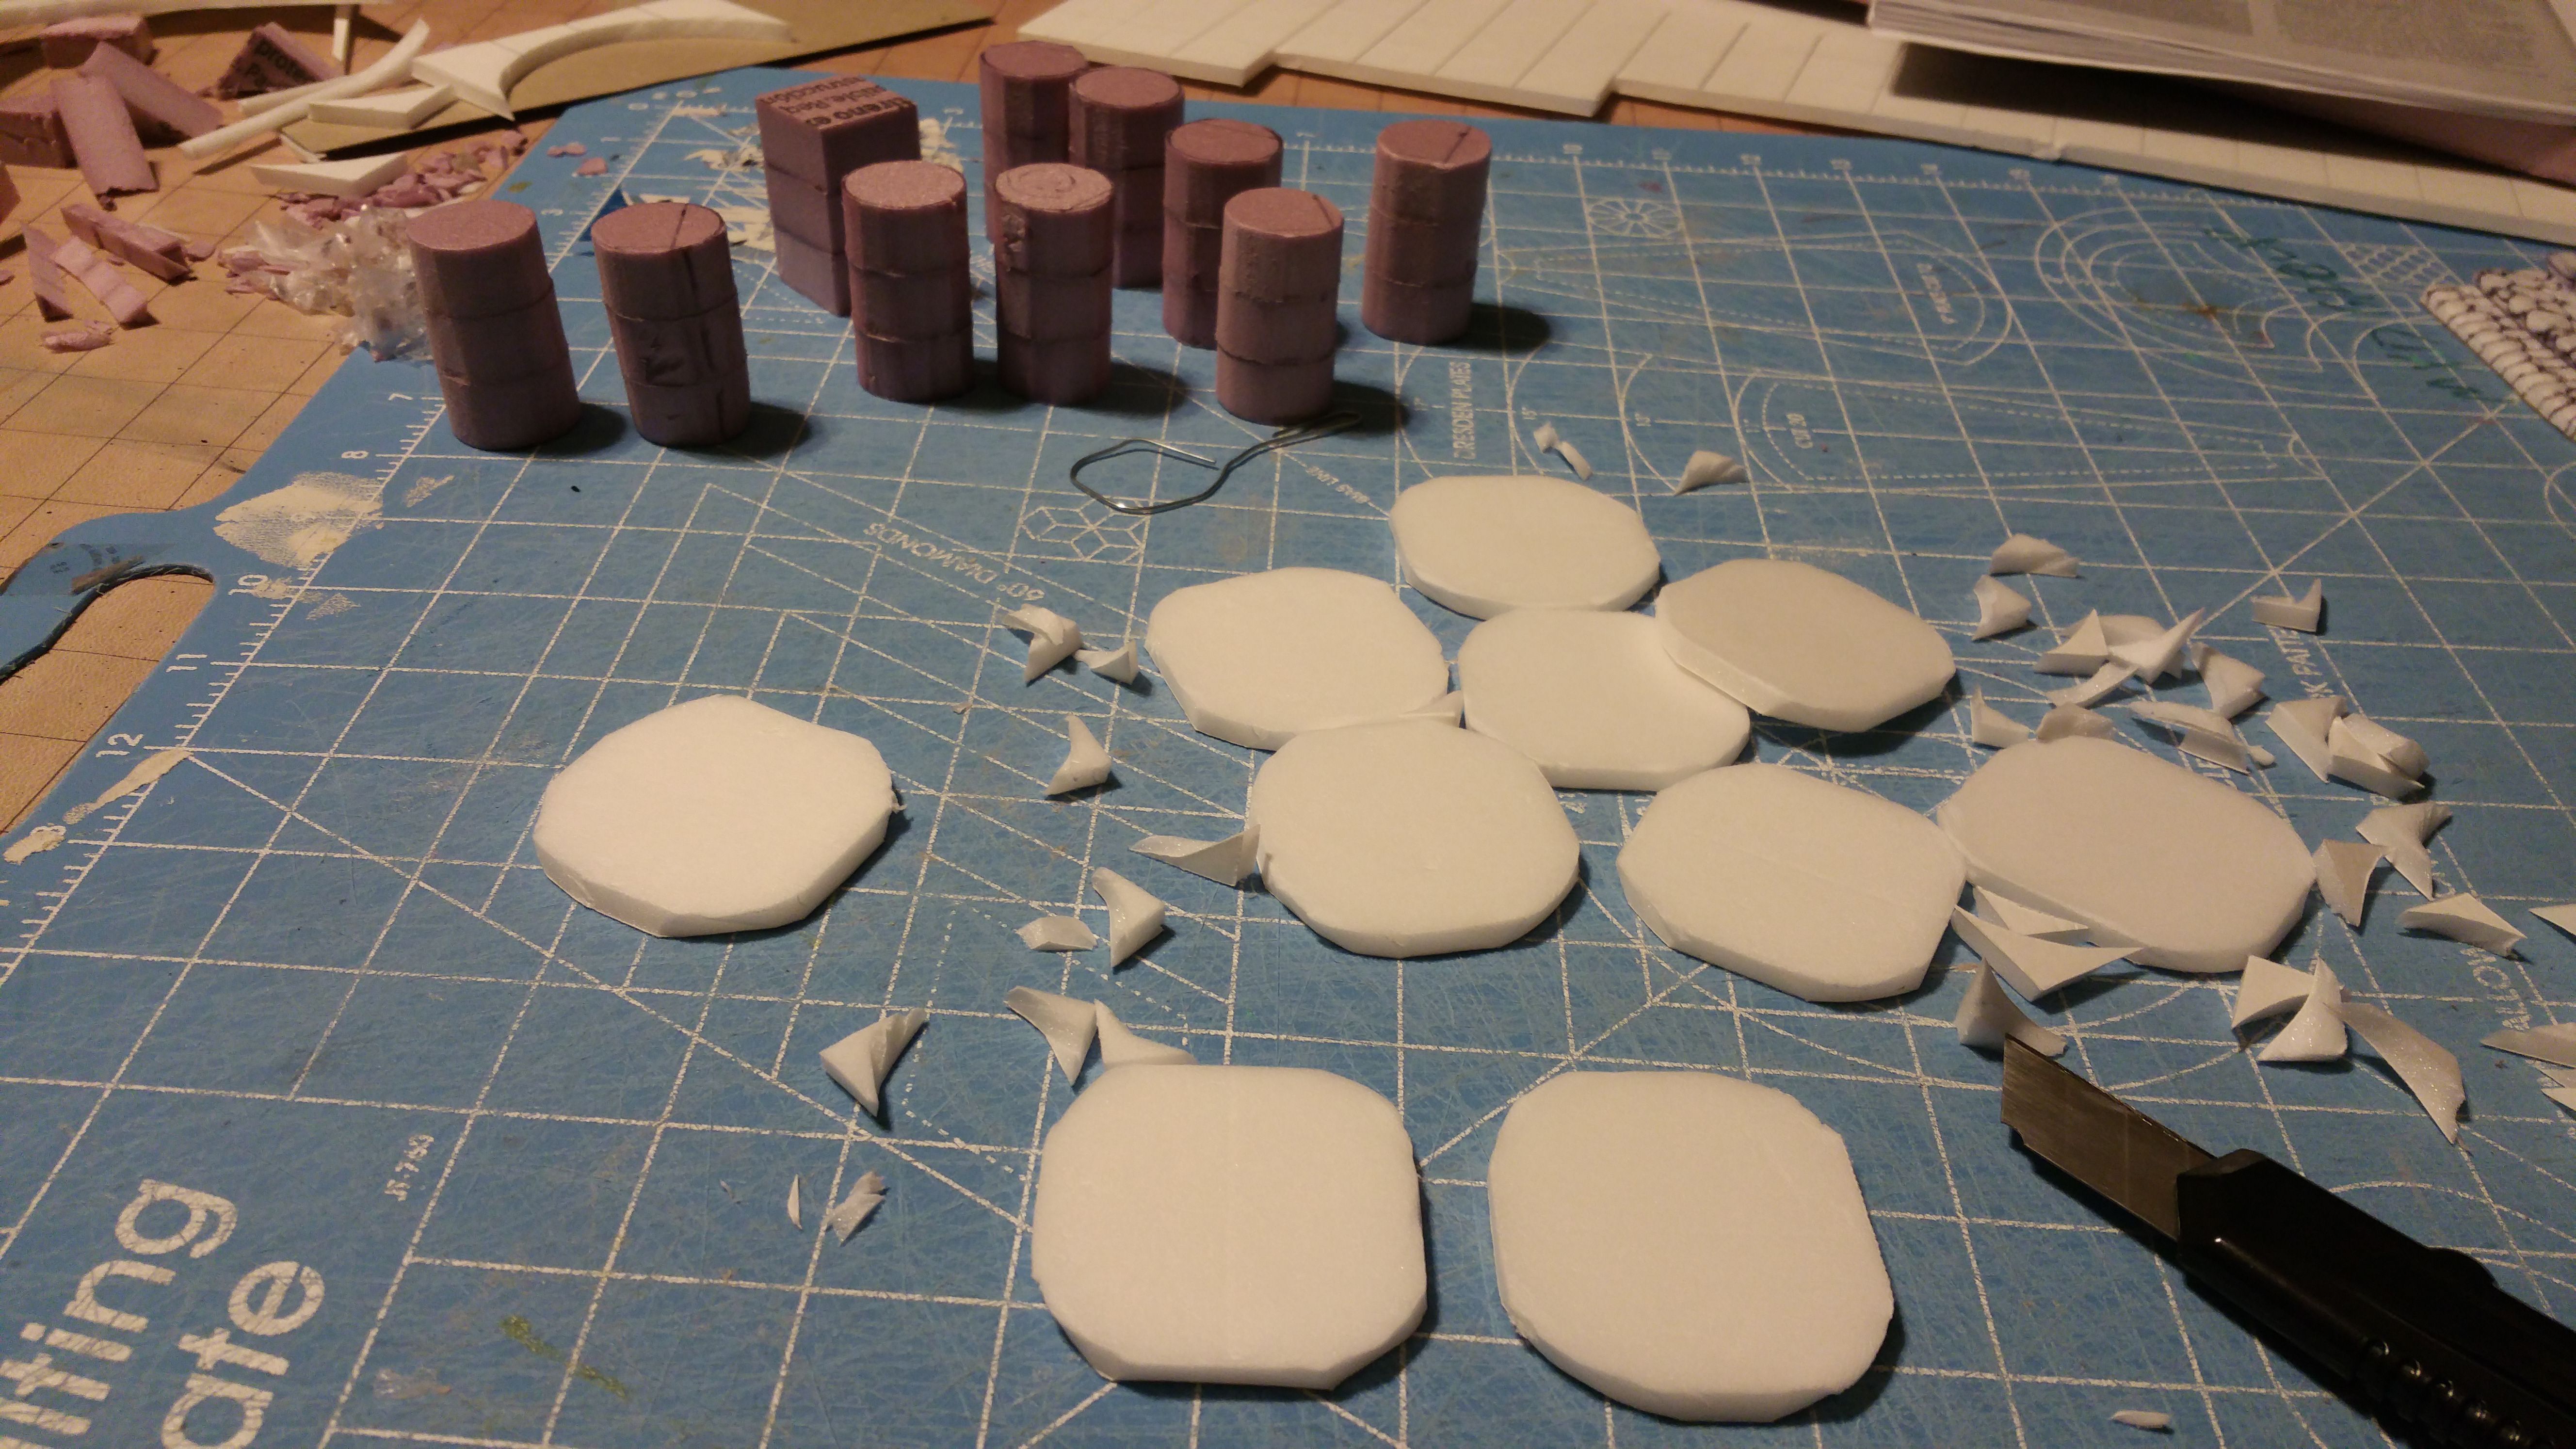
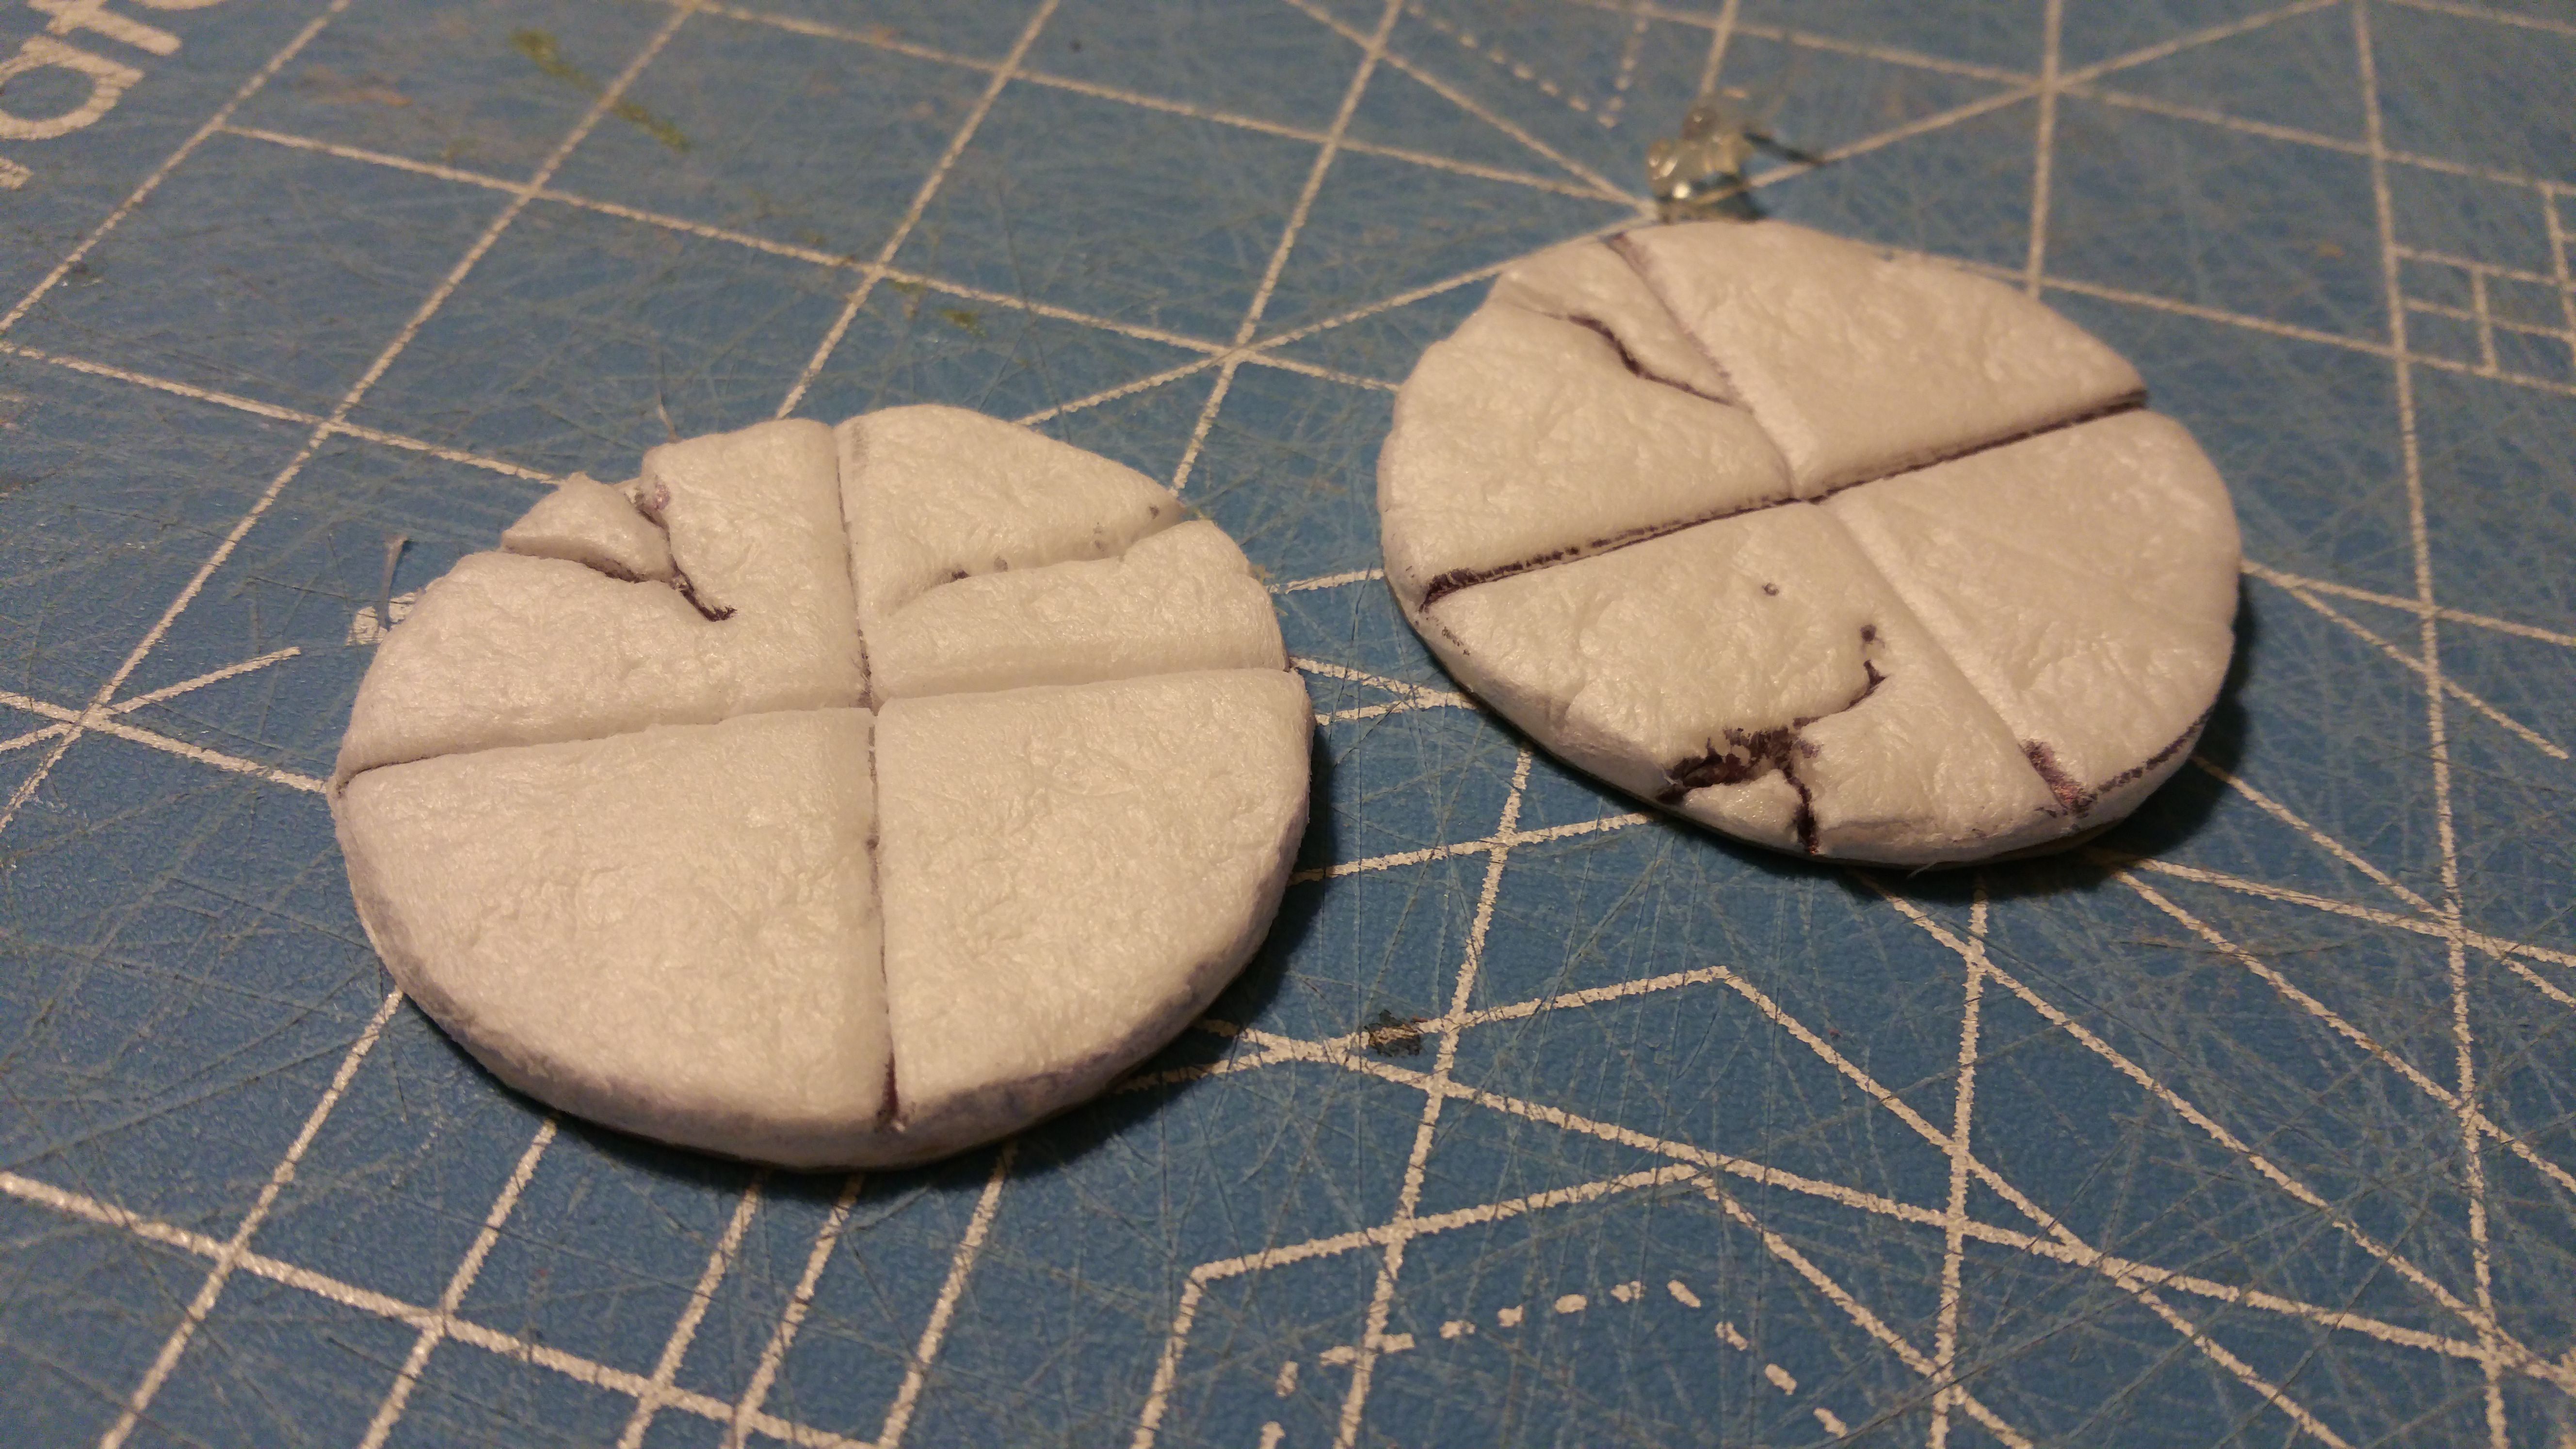
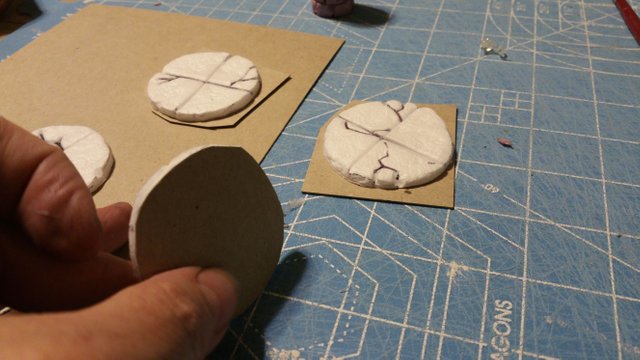
Grab the 2x2 bases and cut them into circles. However you want to. I just free-handed the circles, it gives them a more rugged look. After that, you'll need to peel off one side of the paper to expose the foam. You can do this by spraying alcohol on one side, then peeling off the paper. This will allow you to texture the base, and draw some finer tetails:
Now that one side has no paper and the foam is exposed, you take a ball of aluminum foil, and roll it over the base to give it a "stoney" look. Then makes some random cracks with your pen. Make sure you press hard enough to make the cracks cracks deep to show the detail of your work (I also went ahead and made the grid lines for each 1 inch "tile"):
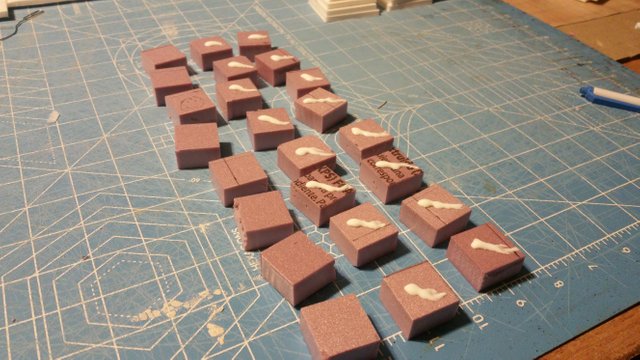
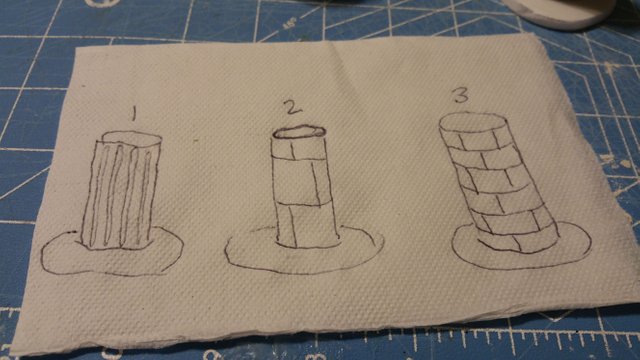
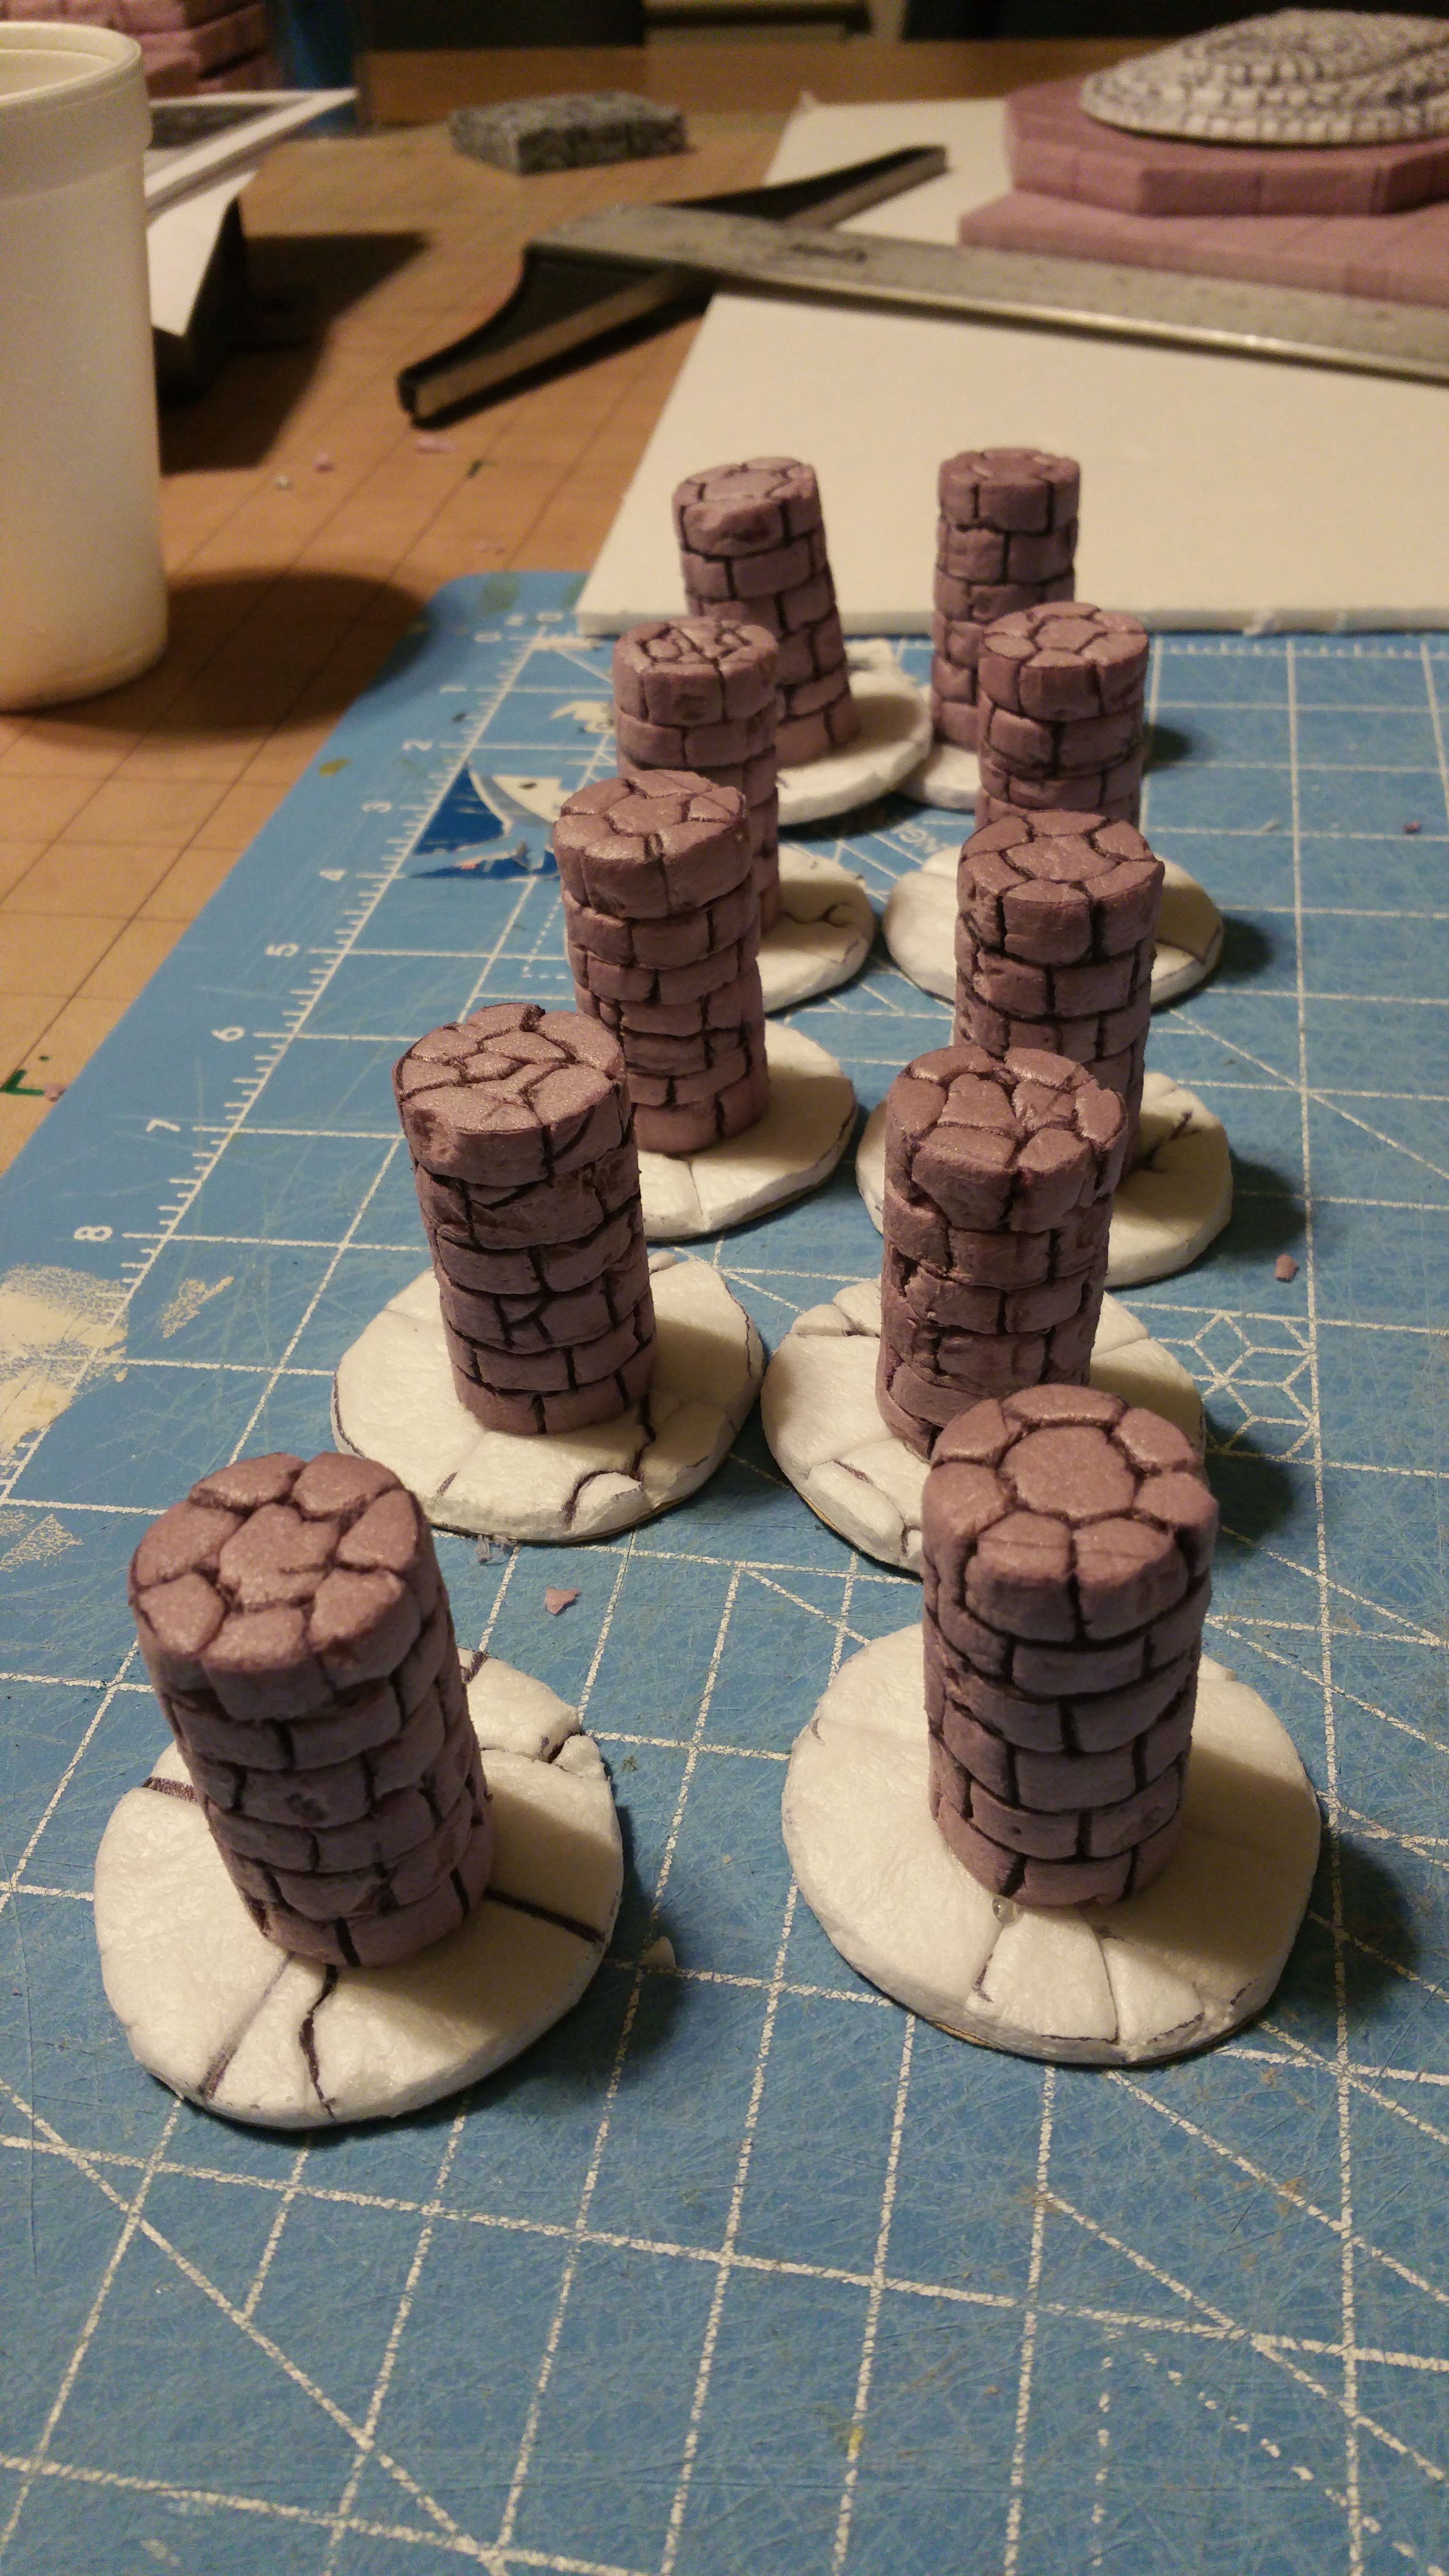
Then, decide what kind of brick design you would like to have on your pillars. I made a few samples for myself, then asked around on what others thought they would like to see. The majority went with the 3rd option:
Using your ink pen, draw the design on the pillars. Then keep pressing until you get deep grooves that represent the joints or grout.
NOTE: This step is optional, I just wanted to add a little more weight to the bottom
OPTIONAL
I cut out some chiopboard, and glued it to the base:
ALSO OPTIONAL
I used a Dremmel to make a hole in the bottom to add some washers, to add more weight. You don't have to do this:
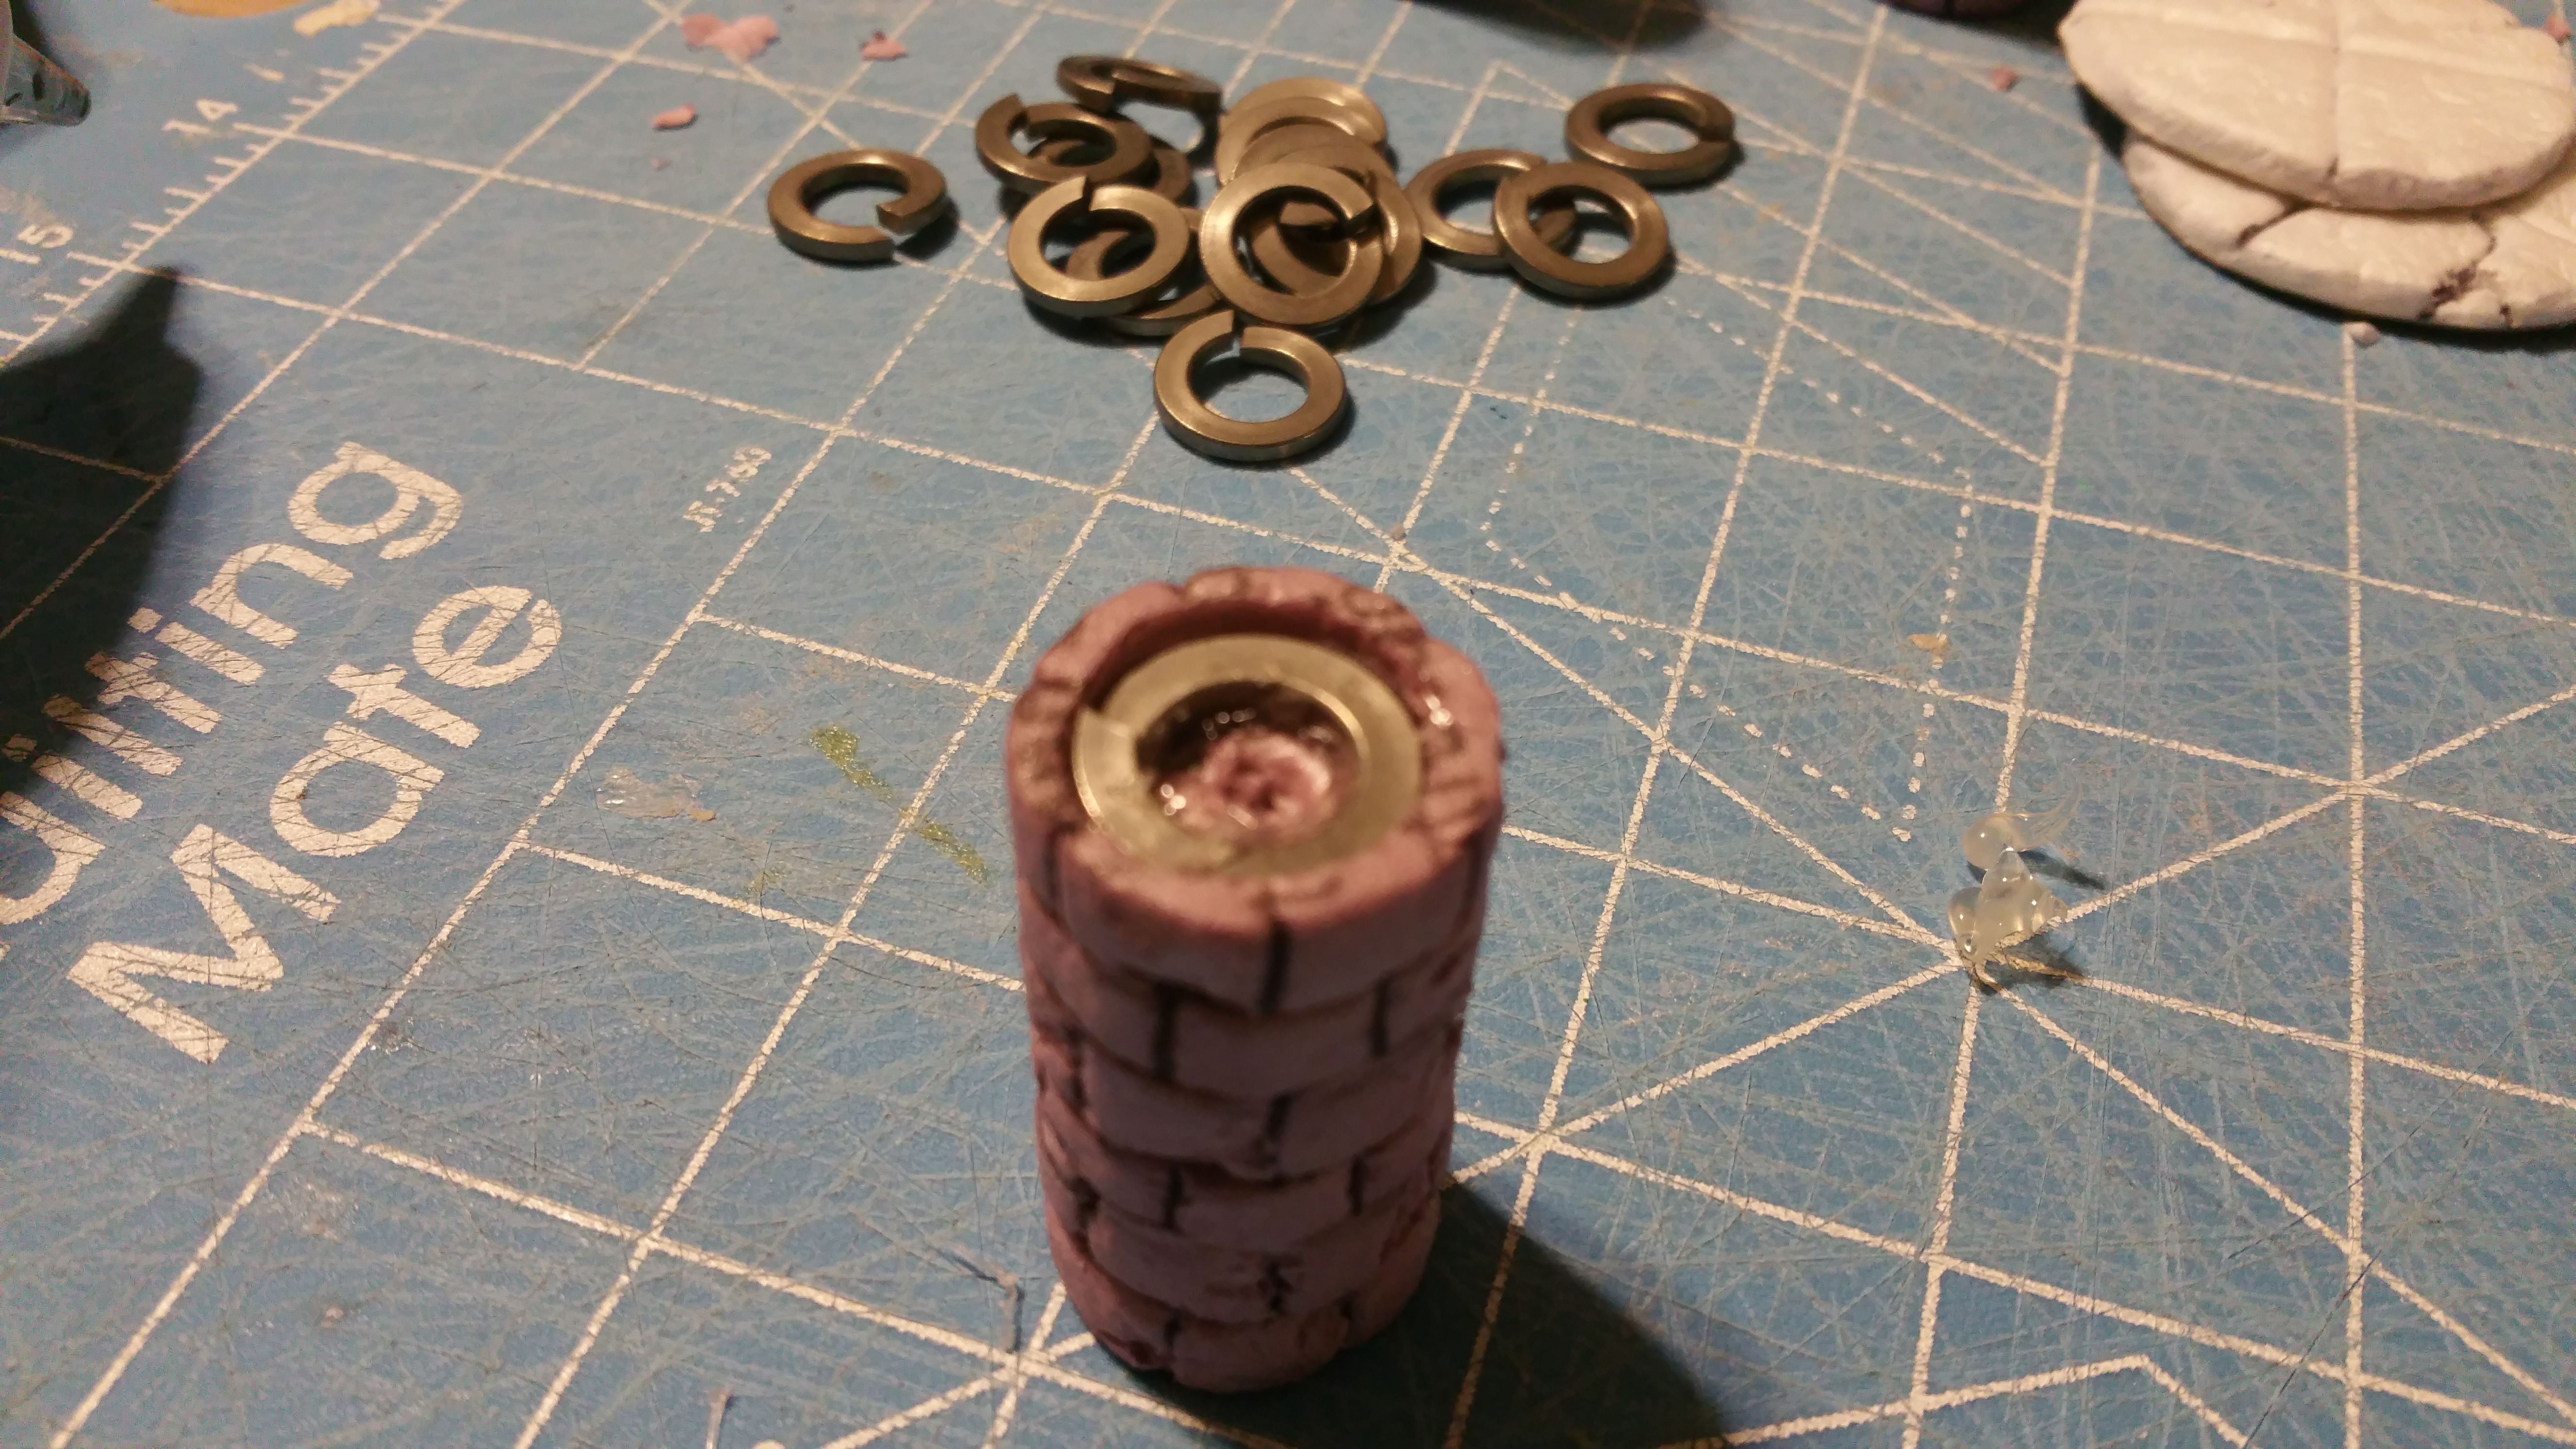
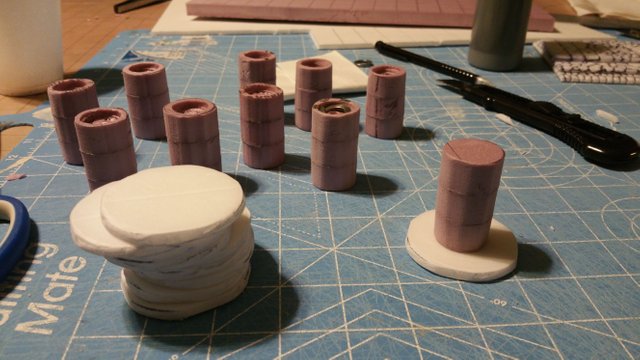
Now, glue the base to the pillars like so:
Now you want to base coat everything in your 50/50 mix of acrylic black paint and ModPodge. This will seal it as well as base coat your project in black. Honestly, you are better off making a big batch of this mixture. That way, you'll always have some ready to go!):
Get your gray paints ready:
NOTE: Dry-brushing is a painting technique that has very little paint on your brush. You do not want a lot of paint on your brush for the next few steps
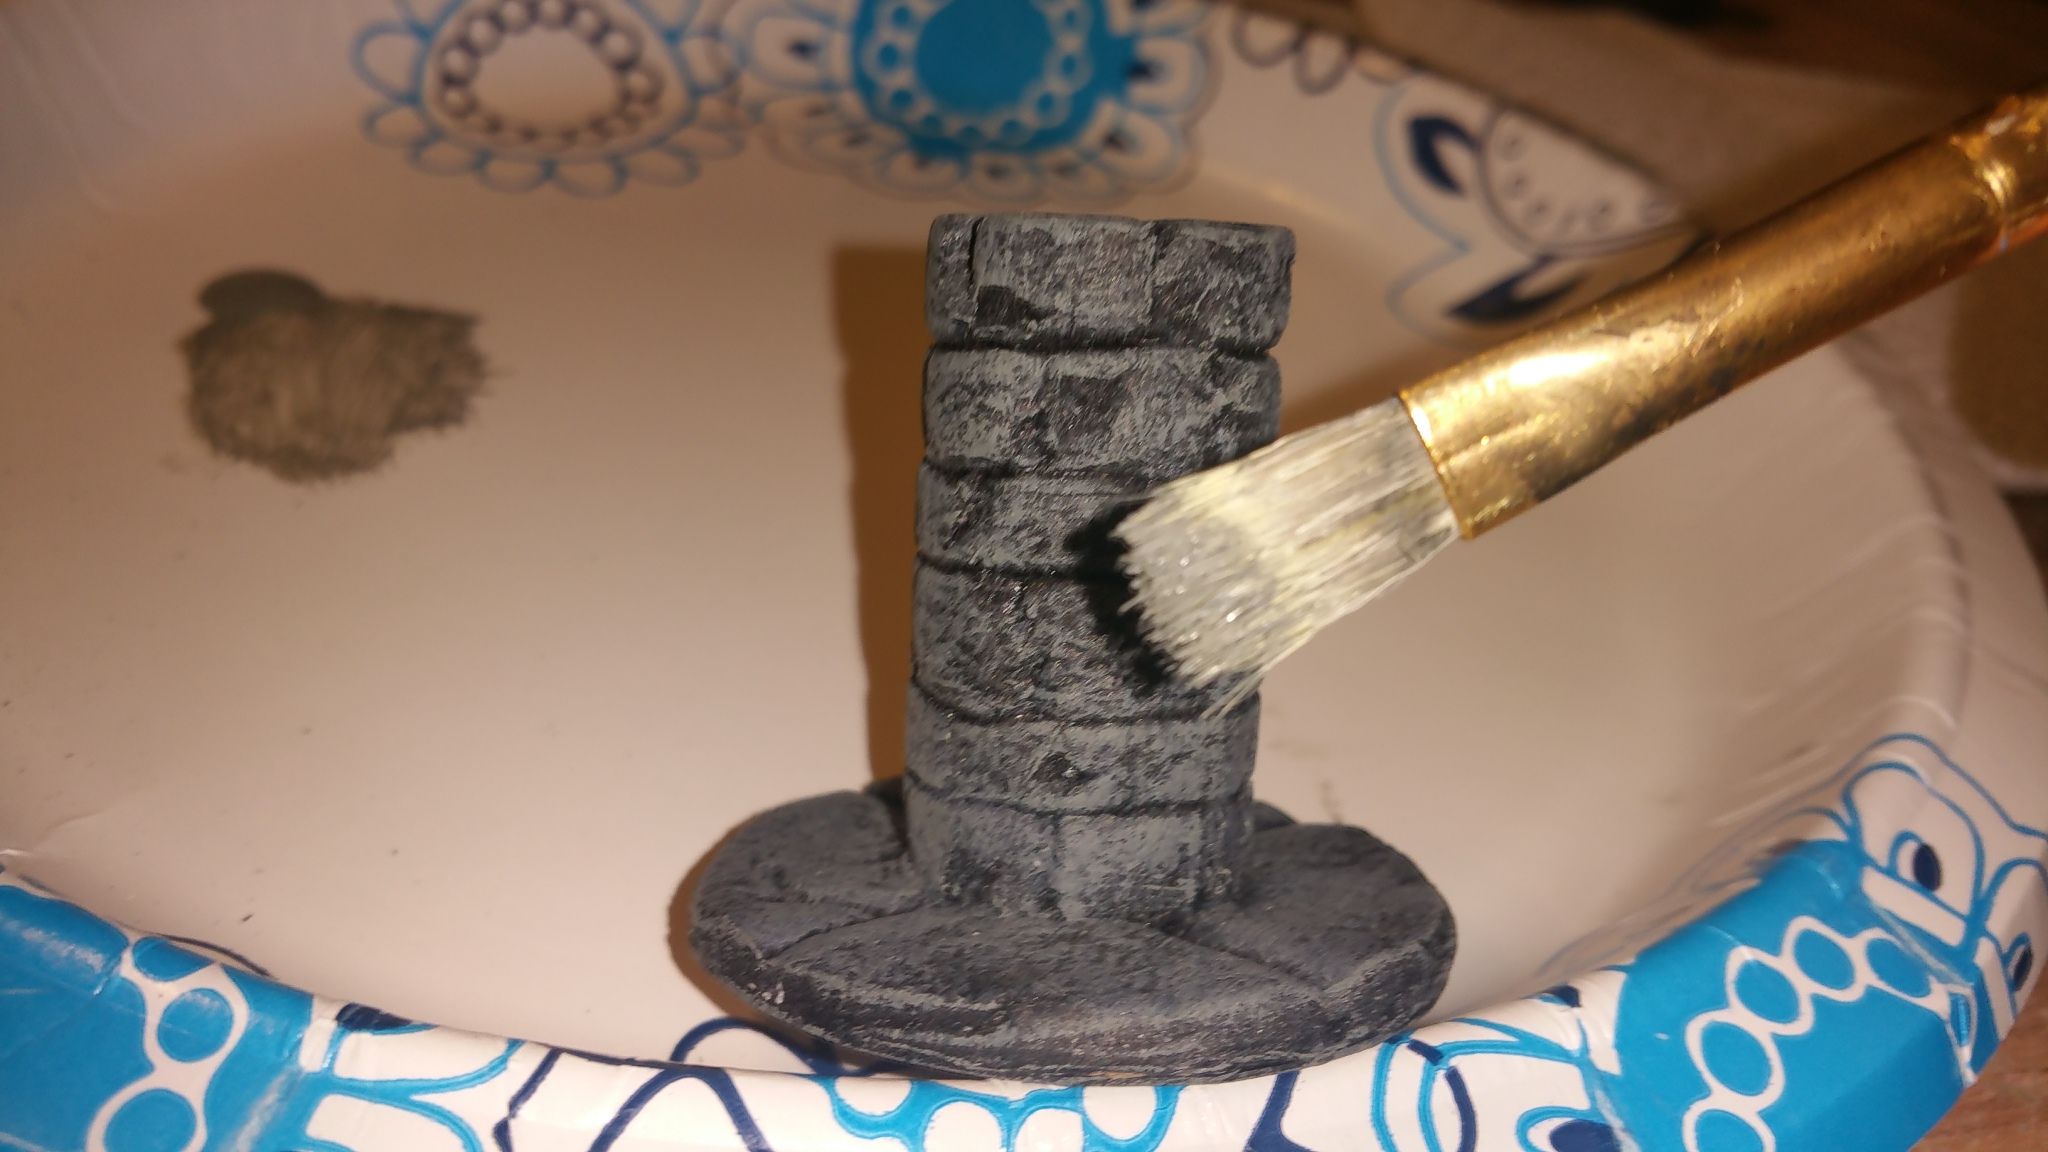
Put a little Pewter Gray paint (a medium dark gray) on your paper plate. Grab your paintbrush, and dab it in the paint. Then you want to use a paper towel to get most of the paint OFF the brush.
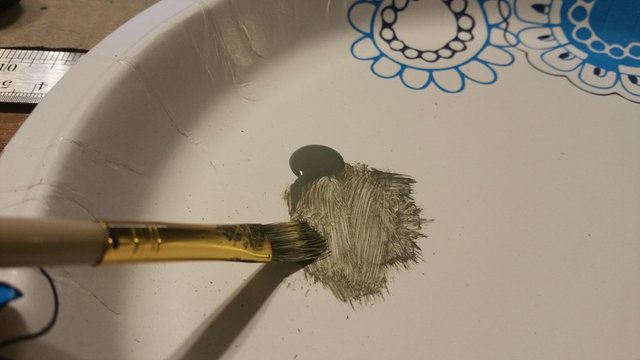
Lightly stroke the pillar (giggity), just getting paint on the very surface of the bricks. You don't want to get gray into the cracks. This is called "dry-brushing"
You should have just enough paint to barely cover the pillar, like so:
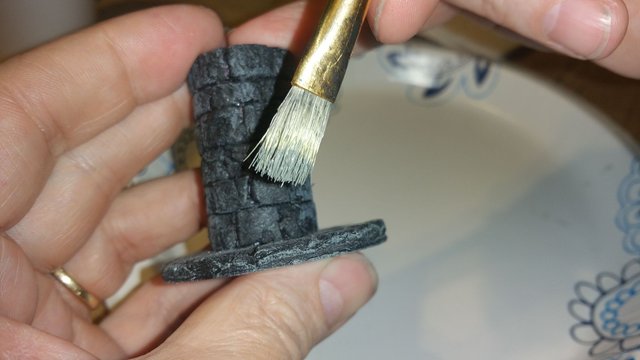
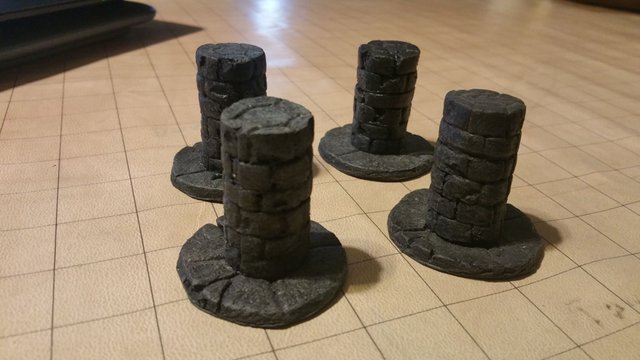
Then do the same with the lighter gray, I use Granite Gray. The color variance should progress like this:
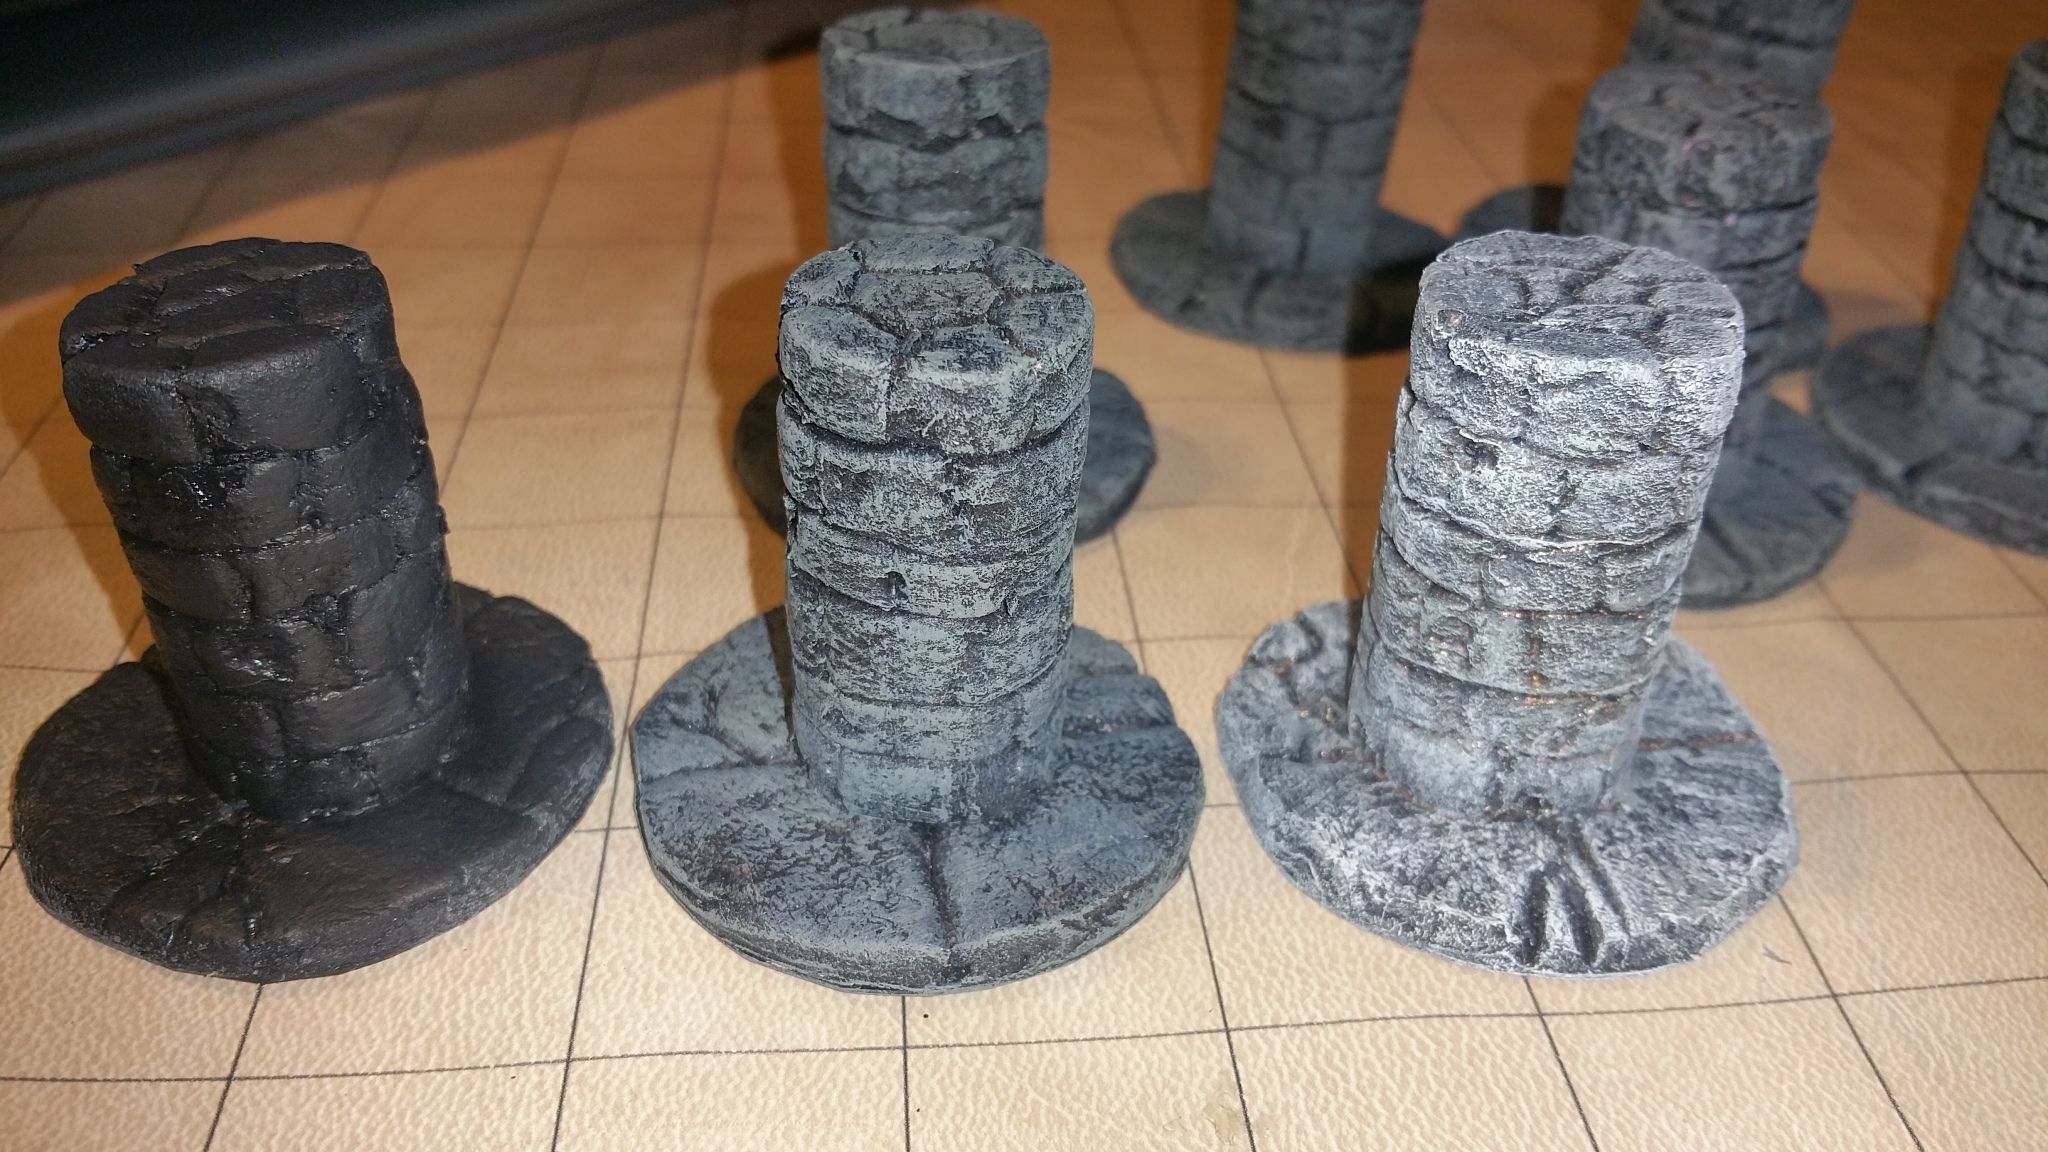
Now, you're ready to place them on the battlefield! Give that pesky rogue a place to hide in the shadows. Even let the ranger have cover from being targeted by a spell!
Well gang, I hope you enjoyed this build. I'm sure you'll put them to good use.
Let me know what you think.
Ask some questions if you feel i may have forgotten something.
Happy building!
They look great!
Thank you so much!