In Depth - How I created The Simpsons Trippy Edit
Link to Full Video
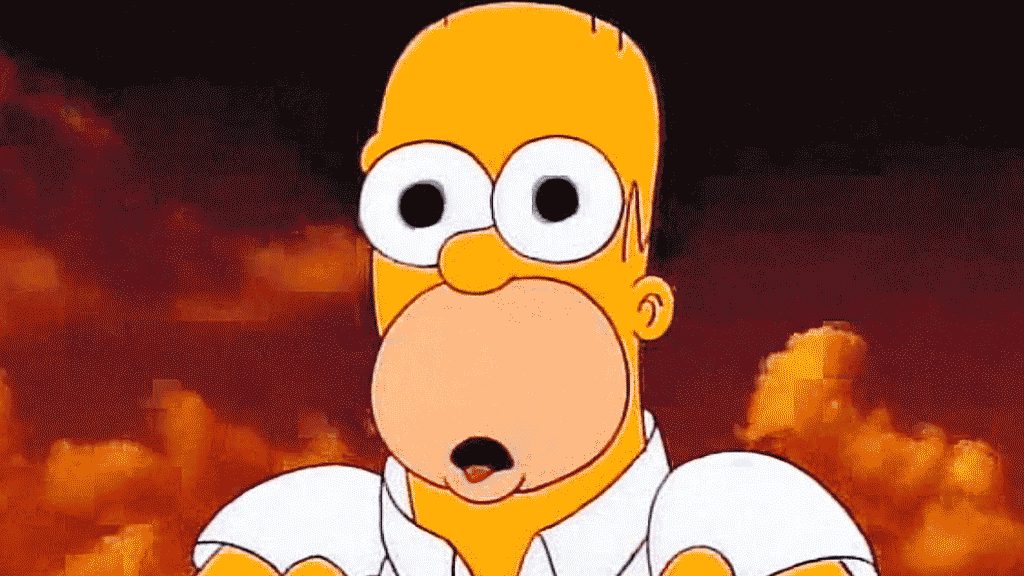
The goal for this project was to take the trippy scene from The Simpsons episode
"The Mysterious Voyage of Homer" and edit it to the beat of some music.
Most importantly applying a variety of visual distortions and effects to the video clips.
This project was completed using the following Software:
- Adobe Premiere Pro
- Adobe After Effects
- Avidemux2
- VLC Media Player
- Fruity Loops Studio
Adobe Premiere Pro CC:
- Cut the song to the part I wanted.
- Cut The Simpsons Episode into the clips I wanted.
- Arranged the clips in an appealing order.
- Increased some of the clips speed to fit well with the music.
- Exported Full Lossless Video File for use in After Effects.
Here's a link to the video before effects were applied.
Avidemux and VLC Media Player
Before doing anything in After Effects I actually applied an effect known as Data Moshing to four parts of the video. This was done using Avidemux and VLC Media player.
Datamoshing Tutorial
Portions of the video were corrupted/broken on purpose to achieve the desired look.
I wanted the 2nd 3rd and 4th clips to corrupt in this way so as to appear as a single cohesive transition. They were however 3 separately rendered files.
When I corrupted the scene of the tower of stairs it didn't produce very effective results. It wasn't until I applied a zoom to the original footage and then corrupted that with the p-frame Data Moshing Technique that I got the effect I was looking for.
I also wanted to have homer 'run through' the result of the 2nd clip which was achieved by i-frame Data Moshing that 2nd clip along with the 3rd. Finally the 4th clip was added as a transition to tie the previous Data Moshed clips in with the following scene of homer leaping long distances.
All those corrupted files were 'fixed' and saved using VLC Media Player and added to the After Effects Project along with the rest of the Footage.
Fruity Loops Studio
Still before doing any work in After Effects I opened up FL Studio.
The point of this was to take the song section I had chosen and identify the tempo of the music.
Once I had adjusted the project to the correct BPM I could accurately 'tap out' the kick and snare as two separate tracks and save those 'taps' as two audio files for use in AE to sync effects to the beat.
The resulting audio files are the exact same length as the music section but contain no audio other than the beat of the snare or drum respectively.
This whole method can be avoided by instead using the 'sound keys' tool within After Effects.
I just did it this way because I could.
Adobe After Effects
A lot happened in AE and I don't totally remember what order I did things in but let's discuss some of it.
I took the two audio files I had created and converted each into their own keyframe layers using Keyframe Assistant. The key frame tracks were linked with the opacity slider of various duplicate layers of the base footage using the property pick whip tool. These duplicate layers atop the original footage remained in time, however had additional effects applied to them.
The layer linked to the beat of the Kick contained the following effects:
- 'Difference' blending mode
- Random Position adjustment using the wiggle expression
The Layer linked to the beat of the Snare contained the following effects:
- 'Luminosity' blending mode
- Random Position adjustment using the wiggle expression
- Keyframed 'zoom in/out' once per snare hit
The rest of the effects used within AE were applied individually to relevant portions of the footage. There is a masked transition near the beginning where Homer runs screening across the grass. This was done using the Rotoscoping Brush Tool in AE to mask out frame by frame one layer to let another show through. This was applied three times in the whole project.
First: Homer's Eyes were roto-masked out to transition from the clip of Barney burping to Homer screaming.
Second: The clip of Homer screaming was roto-masked above the fence line to transition to the clip of homer in the sky.
Third: The clip of the Snake was roto-masked to separate it from Homer and the background so it could have it's hue changed. The hue was keyframed to change rapidly while the opacity of that layer matched the kick and snare.
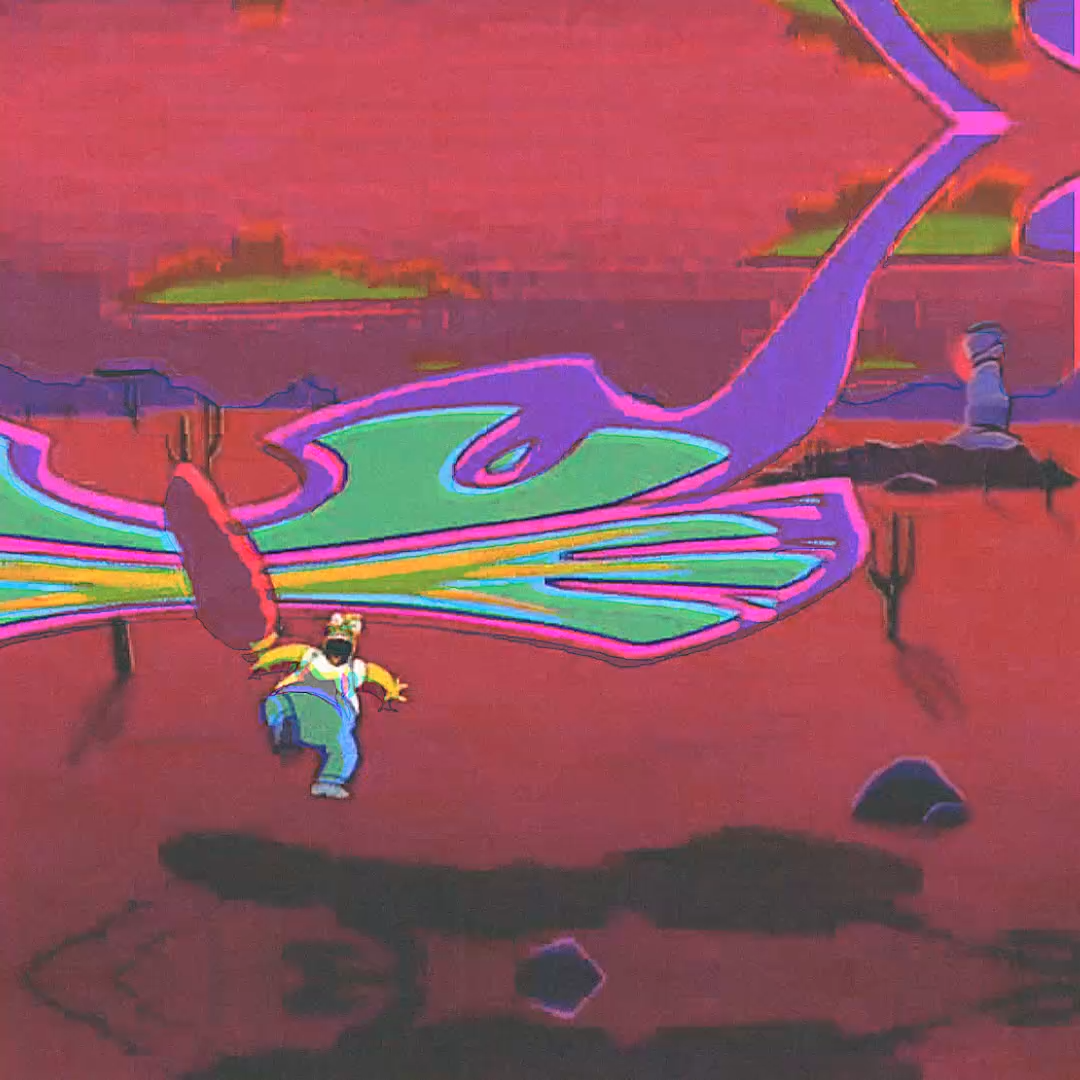
The Butterfly Effect (no pun intended) had the effect' Displacement Map' applied to it. The Displacement map was key framed to change the horizontal and vertical displacement of the butterfly clip in time with the glitch sound of the song.
The same thing was done as Homer stumbles and kneels by the water.
Over top all the footage a layer of VCR distortion was applied with the blending mode 'screen'.
The opacity of this layer was linked to the Keyframe layer of the kick.
In the beginning transition where it zooms between Flanders and Barney, and Barney and Homer, I used the 'smooth zoom' technique.
I won't get into how this is done but here's a tutorial.
A mirror effect was also applied near the top and bottom of the project to increase the total aspect ratio to 1080x1080 as the video was initially made for Instagram.
Finally some color correction, sharpening, and film grain were added to adjust the overall mood of the video.
If you got something out of this let me know. Currently not even sure why I spent so much time explaining this when I don't really have an audience yet haha.
Thanks for reading.
Hello! I find your post valuable for the art community! Thanks for the great post! ARTzone is now following you! ALWAYs follow @artzone and the artzone tag, and support our artists!