Learn Web Design: Working with texts (Part 2)
Hello Steemians, welcome to my blog.
This is the second out of series of other tutorials to come on Web design.
The first part here is more or less like an introduction to web design and getting familiar with the dreamweaver interface.
Today, we will be working with texts and formatting texts as we aim to visualize what we create in the dreamweaver software.
In the first part, we started working on a file. We have to open that file by going through the following steps.
Open your dreamweaver software and press Ctrl + O to open your files. Navigate to the file directory where you will see our working file.
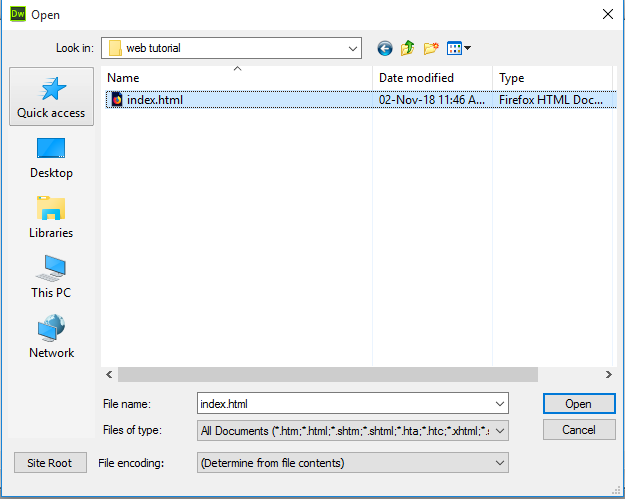
You have to click open.
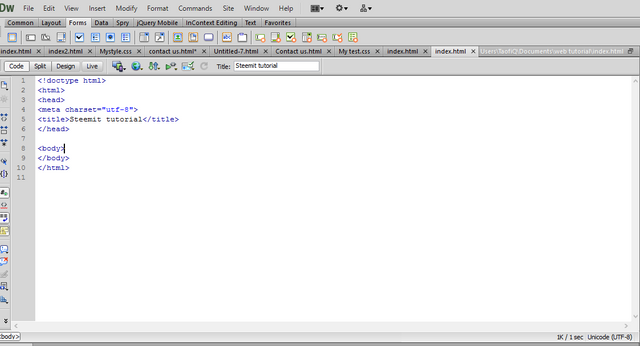
On opening this, move your cursor after the opening body tag and expand the tag since we will be working on the body section of the site.
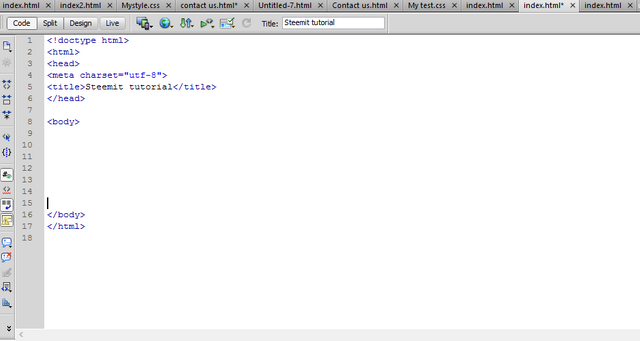
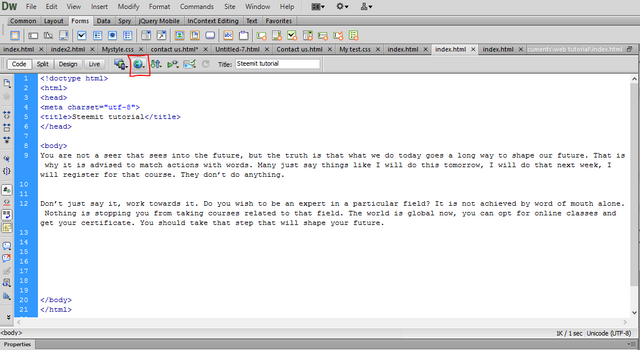
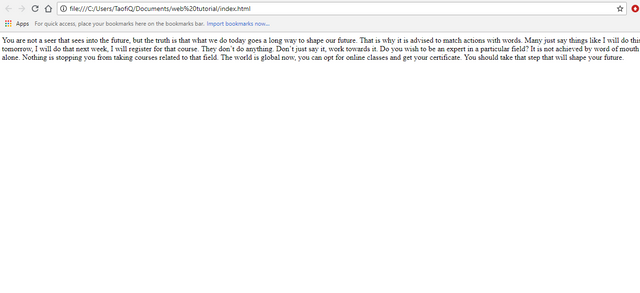
You have to type in some words after which we will preview on our browser. Type in few sentences with space and ensure you save them. In order to view on your web browser, there is a button to preview in browser. The button is circled with a red colour. You can see the preview in chrome beside the dreamweaver screenshot. The first thing you should notice is the absence of space that was present in the code body. This is to show that HTML does not recognize space. It only recognize tags. Tags such as
<p> </p> means paragraph while <br> </br> means line break. They can be used to format texts in order for it to look good in the web browser.
Now let us apply some tags to format our texts.
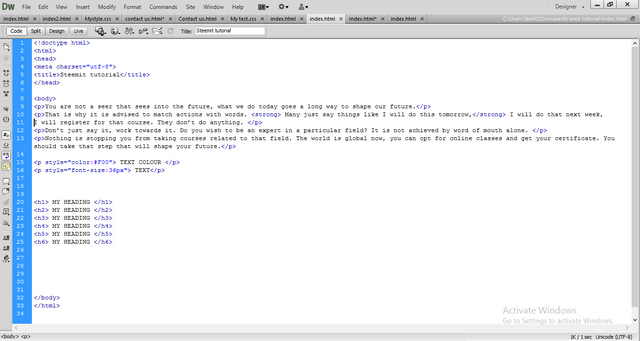
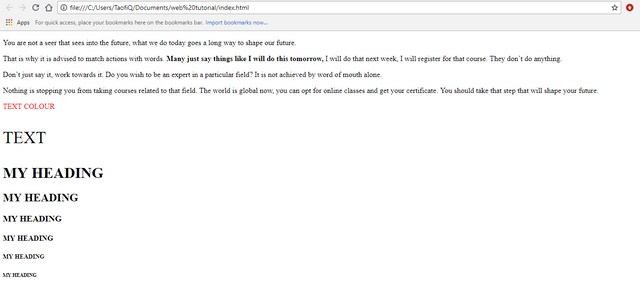
You can see the code and the result shown in the browser.
<p> </p> is used for paragraph. <strong></strong> is used to make your texts bold. By typing <p style="color:#F00">, you can select your preferred text color. This is a straight forward code to type. Once you hit the <p, enter a space and select style from the drop-down menu then select and choose your preferred color. You can do the same for font size <p style="font-size:36px">. Here, you just need to select font size instead of color.
The next formatting showcased here is heading
From <h1> </h1> to <h6></h6>, each gives different types of heading as shown in the screenshot above.
You can practice more on text tags.
The next tutorial will be on creating tables in Html.
Hello! I find your post valuable for the wafrica community! Thanks for the great post! We encourage and support quality contents and projects from the West African region.
Do you have a suggestion, concern or want to appear as a guest author on WAfrica, join our discord server and discuss with a member of our curation team.
Don't forget to join us every Sunday by 20:30GMT for our Sunday WAFRO party on our discord channel. Thank you.
Thanks for using eSteem!
Your post has been voted as a part of eSteem encouragement program. Keep up the good work! Install Android, iOS Mobile app or Windows, Mac, Linux Surfer app, if you haven't already!
Learn more: https://esteem.app
Join our discord: https://discord.gg/8eHupPq