#ulog (Life @ 007): Checking the Rain Gauge Used in a Weather Station
Let us learn how to clean a rain gauge
Good Afternoon Steemians and Uloggers!
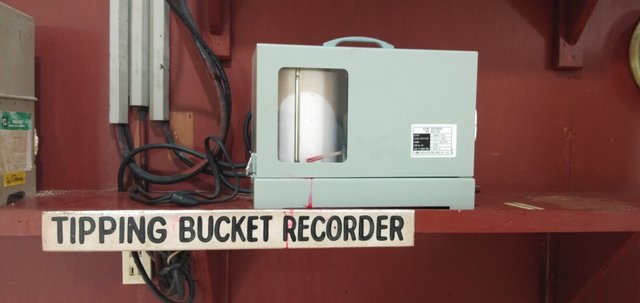
Working in a weather station requires a person to be willing to learn every inch of the field as well as the tiniest details. For this day, our coordinator was wondering on why does the tipping bucket recorder did not function this early morning when it was raining and he told us that the problem was caused by the air gauge. So we, interns, were assigned to check the rain gauge.
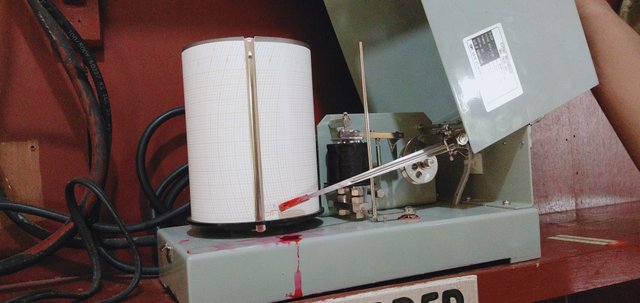
This is the inside view of the tipping bucket recorder itself. Once in a week, the measuring paper is being changed. With every fluctuation of the swing inside the rain gauge wi be encoded and measured through this recorder.
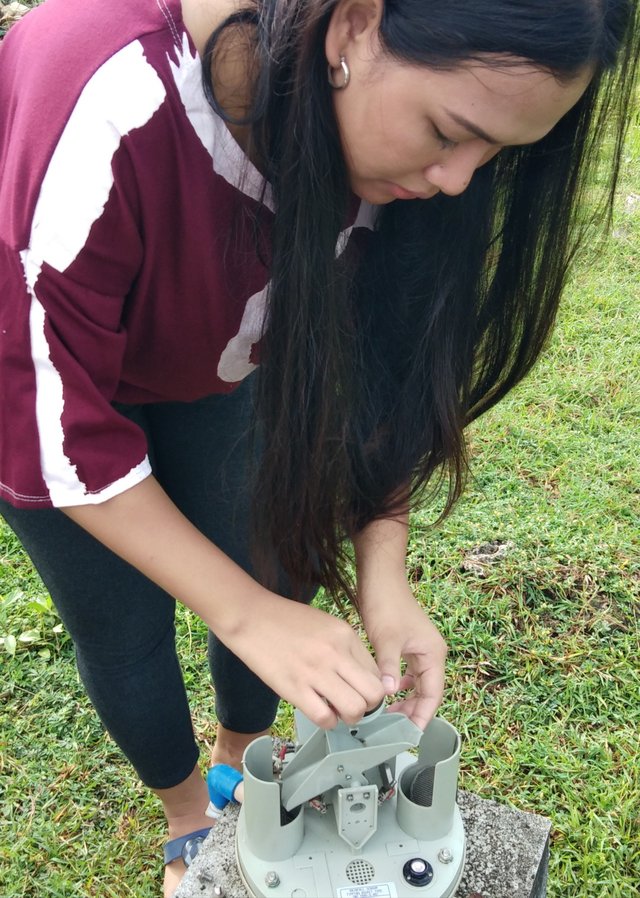
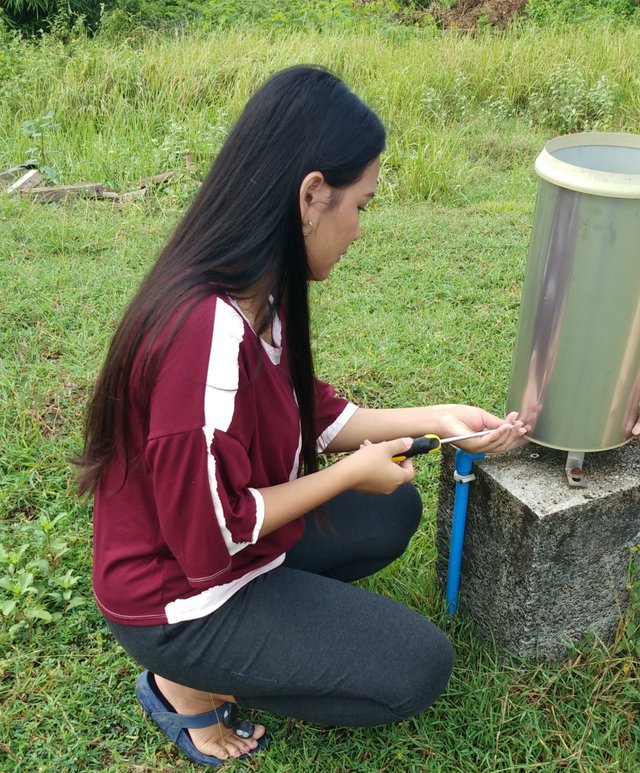
As the only girl among all the interns, I insisted to be the one to do the checking. They all agreed and thereafter, I proceeded in checking the gauge. At first sight it seemed like nothing is wrong.
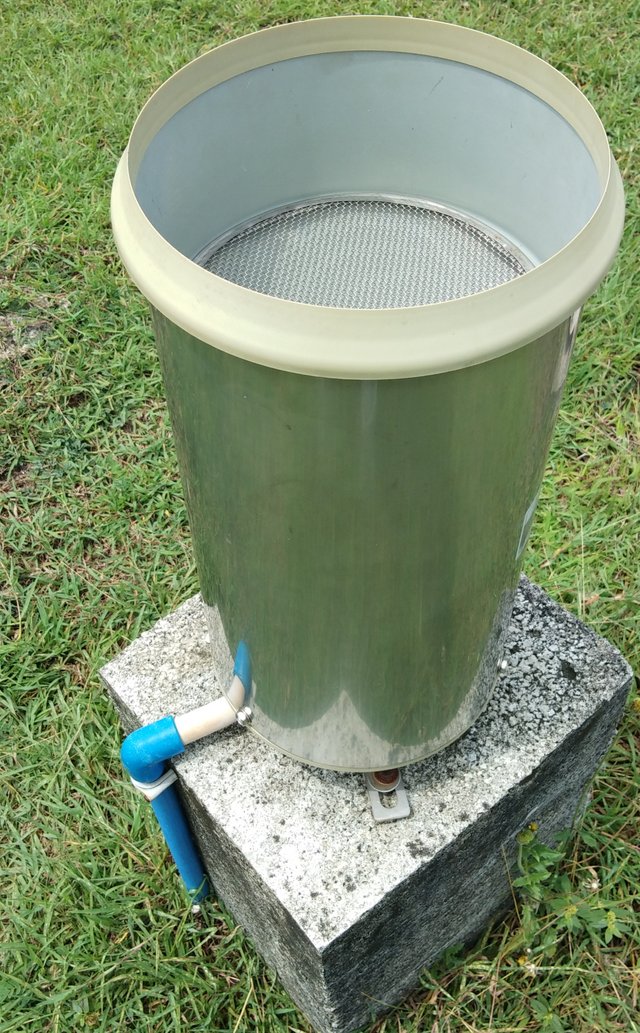
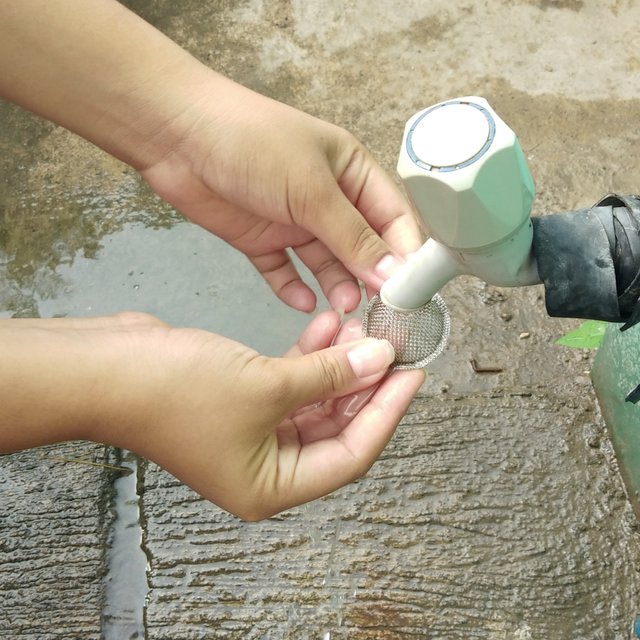
There’s a strainer that is use to filter out the some dust or dirt in the air that can be drown inside the gauge by the rain. But looking at it, there’s nothing wrong, and no dirt in it.
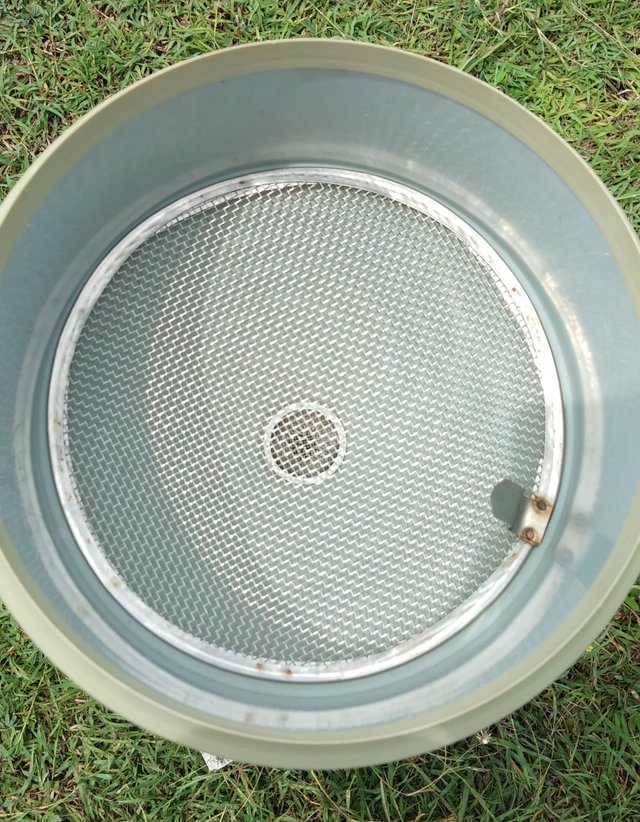
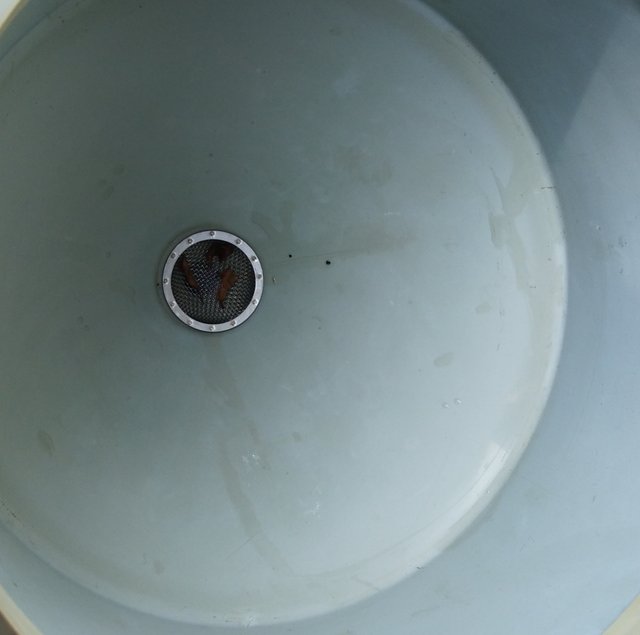
Next thing I did is I held that metal attached to the strainer. I took it off and as you can see, there is a tiny strainer inside that has much tinier holes. And guess what, there’s dirt inside. This maybe the reason why no water can get through to the sensor causing the recorder to not detect the rain.
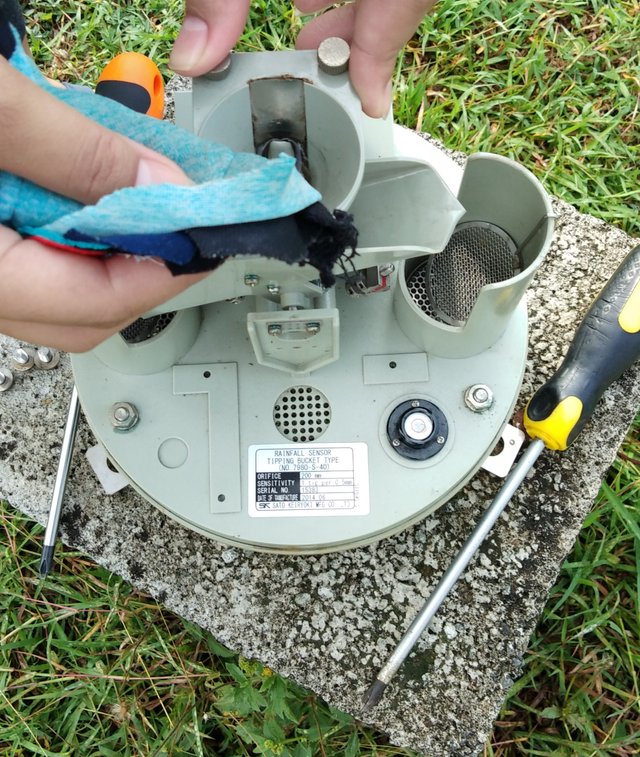
To correct the problem then I cleaned the strainers but first, I loosen up the screws to take off the body of the gauge and to also check the inside.
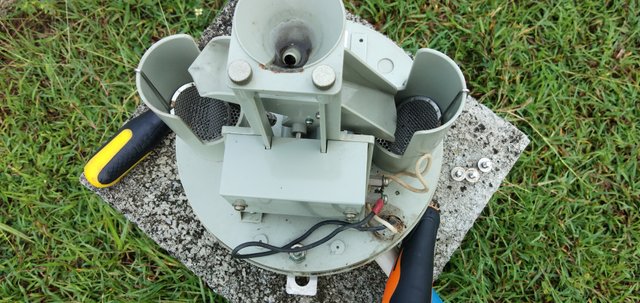
After losing up the screws, I then taken off the body of the gauge. This is what you’ll see inside a automatic rain gauge.
__
I washed the strainers and wiped off the dust around the body of the rain gauge.


Before attaching it back to the equipment itself, I also cleaned the mouth of the rain receiver.
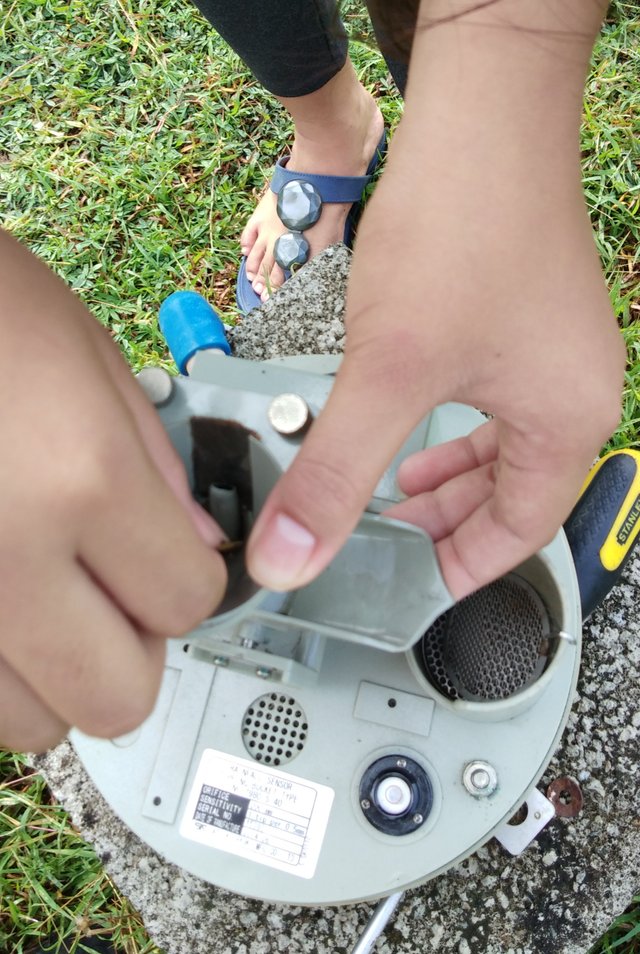
While cleaning, I made sure to hold the other end of the seesaw like sensor because once it swings to the other side then the tipping bucket recorder will record that there is rain and that can be detrimental to the recorded values and will cause falls reading for the amount of rain in a day.
After cleaning everything, it is a must to put back the cover and to place the strainers properly.

That’s an easy work to do but it’s very interesting for me. Seeing a physical appearance of a rain gauge used in a weather station and to have the opportunity to learn about it is amazing.
Please help me my new post
May we request for you to credit your photos? Thanks.
okay sir. i'll just put my name on it since these are my photos.
Congratulations @sissyjill! You have completed some achievement on Steemit and have been rewarded with new badge(s) :
Click on the badge to view your Board of Honor.
If you no longer want to receive notifications, reply to this comment with the word
STOPTo support your work, I also upvoted your post!
Do not miss the last post from @steemitboard!
Participate in the SteemitBoard World Cup Contest!
Collect World Cup badges and win free SBD
Support the Gold Sponsors of the contest: @good-karma and @lukestokes