Understand and Implement Custom Views in Android - Part 1

Repository
https://github.com/enyason/custom_view
What Will I Learn?
- How custom views works
- How to extend a built in view
Requirements
- System Requirements : Java JDK, Android Studio
- OS Support for Java : Windows, mac OS, Linux
- Required Knowledge : A fair knowledge of Java ,OOP and Android Studio
Resources for Java and this tutorial
- Oracle Website - https://www.oracle.com/index.html
- Java Docs - http://www.oracle.com/technetwork/java/javase/documentation/api-jsp-136079.html
- Android Docs - https://developer.android.com/docs
- Difficulty
Beginner
Tutorial Duration 20- 25 Minutes
Tutorial Content
This is the first part of this tutorial series. By the end of this part 1, we are going to have understanding of custom views in android and how to implement it.
Android Views
we can categorize android built in views into 3:
- Simple view
- Container
- Compound control
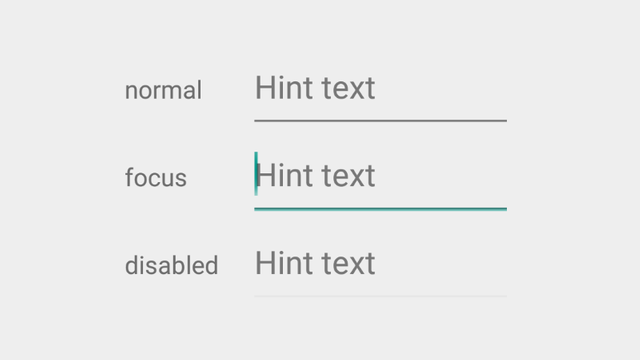
The simple view could be a TextField, a TextView or a Button. it displays one simple piece of information.
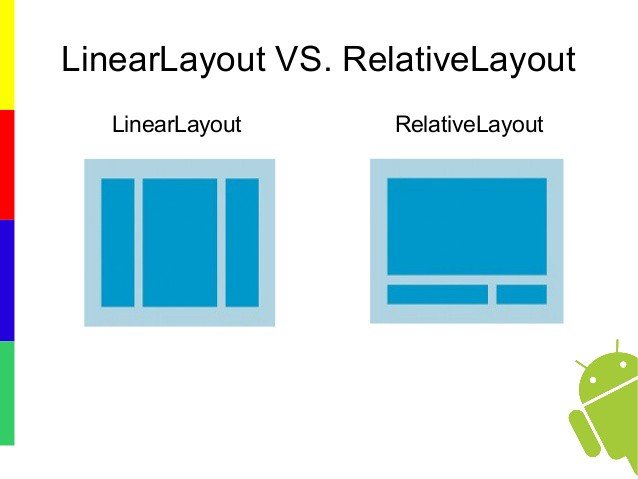
The container contains other views. Example of the container view includes: Linear Layout, Grid View, Relative Layout etc.
GridView

LinearLayout Vs RelativeLayout
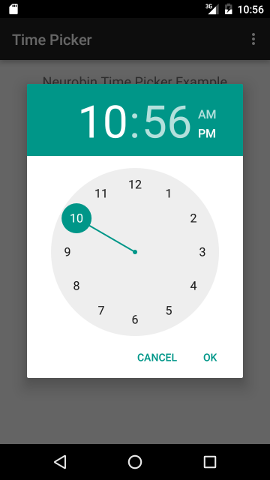
The compound control is similar to container in that it has multiple views inside of it. It also has specific views inside. Example is a time picker.
TimePicker
Why Custom Views
Most times we would love to have looks and feels that goes far beyond what the android built in views offers. To achieve this we either extend any of the built in views (e.g textview, framelayout ) or we directly extend the view class if we want to have full control of the custom element. The following are advantages of using custom views
- Modularize repeated code: Putting code you often use into a custom component
- Access protected methods: Inheriting a view gives you access to overriding methods
- Optimize rendering speed: You can reduce the number of views you are drawing on screen and hence optimize rendering speed.
- Complete control with the draw, measure and layout
Extending Built in Views
The simplest way to build a custom view is to extend a simple view (Android Built in component). To do this, you pick a view that is close to what you need and extend that so that you can reuse the parent class functionality while only writing codes for the parts you need. With this way, you don't have to handle all the drawing and layout complexity.
Steps to Create a custom view
For this tutorial, we are going to extend the text view component
Choose a parent class view closest to what you need. We will use a Text View
we extend textview then we have 3 constructors, 1 for java, 1 for xml, and the other for xml with style
public class UtopianTextView extends android.support.v7.widget.AppCompatTextView { public UtopianTextView(Context context) { super(context); init(); } public UtopianTextView(Context context, @Nullable AttributeSet attrs) { super(context, attrs); init(); } public UtopianTextView(Context context, @Nullable AttributeSet attrs, int defStyleAttr) { super(context, attrs, defStyleAttr); init(); }- After extending the built in text view, we have 3 constructors. Why is because this we can use this view in 3 ways
- The first constructor allows you create this view in Java
- The Second and the third are for using in XML. The difference between these two is that the 3rd constructor also allows you specify a style in XML
- The
init()method defines our extra functionalities and is applied to all constructors. This is to ensure the view works as expected regardless of where it's being called, whether java or xml.
- After extending the built in text view, we have 3 constructors. Why is because this we can use this view in 3 ways
Add extra functionality
void init() {

        setText("UtopianDroid");
        setTextSize(20);
        setTextColor(getResources().getColor(R.color.colorPrimary));
        setCompoundDrawablesWithIntrinsicBounds(null,            getResources().getDrawable(R.drawable.ic_android), null, null);
        setOnClickListener(this);

    }
In the
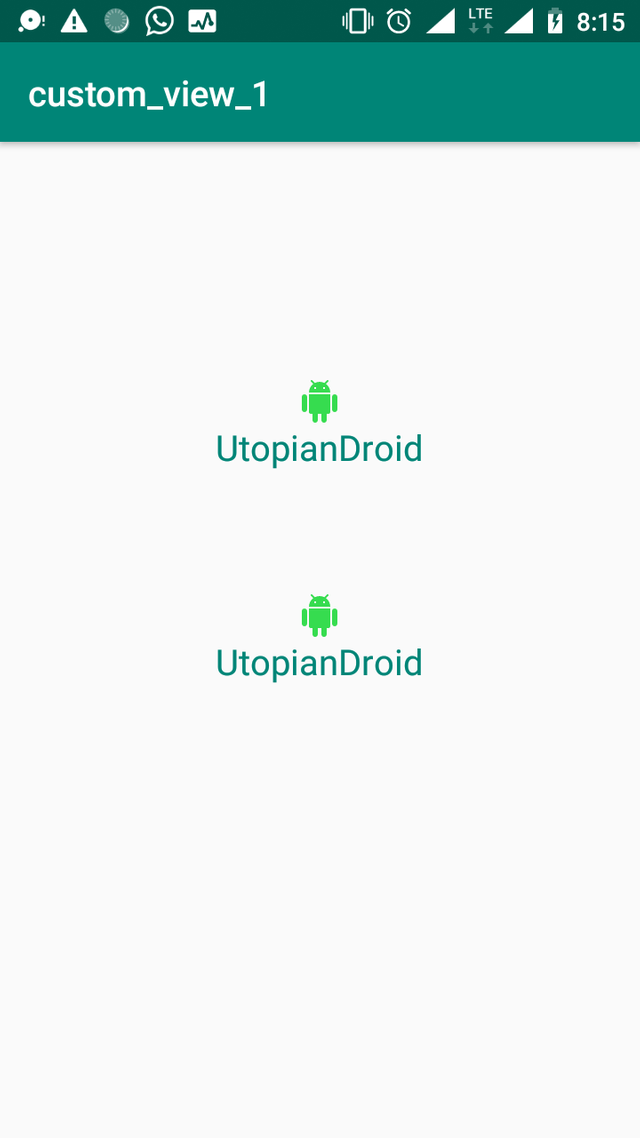
init()method, add extra functionalities to our custom textview.- We first set the text of our view to UtopianDroid
- Then give it a size of 20 points and the color to primary
- We give it a top drawable to display an icon on the top.
- We finally set an onclick listener for the view. Whenever the view is clicked, it will open up the utopian site
 @Override
    public void onClick(View v) {
      Toast.makeText(getContext(),"Hello Utopian",Toast.LENGTH_SHORT).show();
        Uri webPage = Uri.parse("https://utopian.io");
        Intent intent = new Intent(Intent.ACTION_VIEW, webPage);

        if (intent.resolveActivity(getContext().getPackageManager()) != null) {

            getContext().startActivity(intent);
        }
    }
This is our onClick method where we put the logic to navigate the user to the webpage.
the intent object is created with the action type and uri as parameters.
we then navigate to the web page if there is any supported application for the implicit intent defined
Using the custom view we created above should reproduce what is in the image below
Summary
To create a custom view
we extend textview then we have 3 constructors, 1 for java, 1 for xml, and the other for xml with style
Choose a parent class view closest to what you need
Add extra functionality
Demo video of the app:
Proof of Work The complete source code can be found on gitHub https://github.com/enyason/custom_view
Thank you for your contribution @ideba.
After reviewing your tutorial we suggest the following points listed below:
Your tutorial is quite short for a good tutorial. We recommend you aim for capturing at least 2-3 concepts.
We suggest you put comments in your code sections. The comments in the code are very important because it helps a lot less experienced readers to understand your code better.
Images that aren't yours is necessary to put the source.
It's interesting to have a short video with the presentation of the features that developed.
Thank you for your work in developing this tutorial.
Looking forward to your upcoming tutorials.
Your contribution has been evaluated according to Utopian policies and guidelines, as well as a predefined set of questions pertaining to the category.
To view those questions and the relevant answers related to your post, click here.
Need help? Chat with us on Discord.
[utopian-moderator]
Thank you for your review, @portugalcoin! Keep up the good work!
Hi, @ideba!
You just got a 0.56% upvote from SteemPlus!
To get higher upvotes, earn more SteemPlus Points (SPP). On your Steemit wallet, check your SPP balance and click on "How to earn SPP?" to find out all the ways to earn.
If you're not using SteemPlus yet, please check our last posts in here to see the many ways in which SteemPlus can improve your Steem experience on Steemit and Busy.
Hi @ideba!
Your post was upvoted by @steem-ua, new Steem dApp, using UserAuthority for algorithmic post curation!
Your post is eligible for our upvote, thanks to our collaboration with @utopian-io!
Feel free to join our @steem-ua Discord server
Hey, @ideba!
Thanks for contributing on Utopian.
We’re already looking forward to your next contribution!
Get higher incentives and support Utopian.io!
Simply set @utopian.pay as a 5% (or higher) payout beneficiary on your contribution post (via SteemPlus or Steeditor).
Want to chat? Join us on Discord https://discord.gg/h52nFrV.
Vote for Utopian Witness!