Kdenlive Series - Use Cases And First Person Workflow(Part 2)
Repository
https://github.com/KDE/kdenlive
Introduction
![]()
If you are not a Linux user, you might already have a video editor on your computer. Windows 10, for instance, does not come with a video editor, however, it has a store called "Windows Store", and with a quick search, you can find a couple of free video editors. Macs also come with a native "app store" where you can search for nearly anything and find an app for everything. Linux, on the other hand, not always come with an app store as there are many flavors of Linux distributions, this series is for those people, I hope that, by sharing what I have learned and by showing you my experiences with Kdenlive, you can see if it fits your needs. Linux does not have as many users as the other operating systems, so sharing our knowledge and reviewing our experiences is important, so future newcomers to Linux can have some sort of guide.
What is Kdenlive
Kdenlive is a free and open source video editor, that is available for every major desktop operating system (Windows, Linux, and Mac), they describe themselves as a "libre video editor", being "libre" a Spanish word that translates both into "open" and "free". It is the same word choice used by another open source package of software called "libre office". The project has been running since 2003 and, according to the team, the program is designed to fulfill most needs, from basic video editing to professional work.
Big companies won't go after you
If you are a Linux user you might already be used to this situation, most software you used to use on Windows or Mac is not available natively on Linux. Of course, there are a few tricks that can allow you to run Windows applications, even some Mac software, on Linux, but bugs and are inherent to such "hacks" and chances are you will get a huge performance hit, so you MUST find a native software.
Big software companies will always prefer to develop for big operating systems, so they can have a return of the investment (ROI) faster, so, until Linux users become a reasonably large chunk of the desktop market users, we won't grab too much attention from companies like Adobe and Sony, that develop the leading video editing software. And that is understandable, they must be profitable, else they run out of business and then not even Windows and Mac users will have access to their software. Those big companies have tight budgets for development and huge budgets for advertisement, so the budget for development goes into making new features and improving the ones that are already on their product.
Porting their products to Linux would be expensive, they would need a team to translate their software and the tools, all the years of development and optimization for another platform would have to be resumed into a few months to make the program run smoothly on our system, and that is understandable. Luckily we have choices that are free, open source, and in many cases and for most people, just as good and efficient and their proprietary counterparts.
Kdenlive name
According to wikibooks KDENLIVE stands for KDE Non-LInear Video Editor
KDE, from its name, stands for K Desktop Environment, which is a group of operating systems with a graphical user interface that is released free and open source. The K is inherited from the K desktop, a project of interface for desktop computers that originated KDE.
Workflow
I use Kdenlive almost every day to edit short clips.
I will, now, demonstrate a few of the features I use. Nothing I do is advanced or high end, it mostly cutting clips, snapping things together and adding text above the image.
This is the workspace I use for kdenlive.
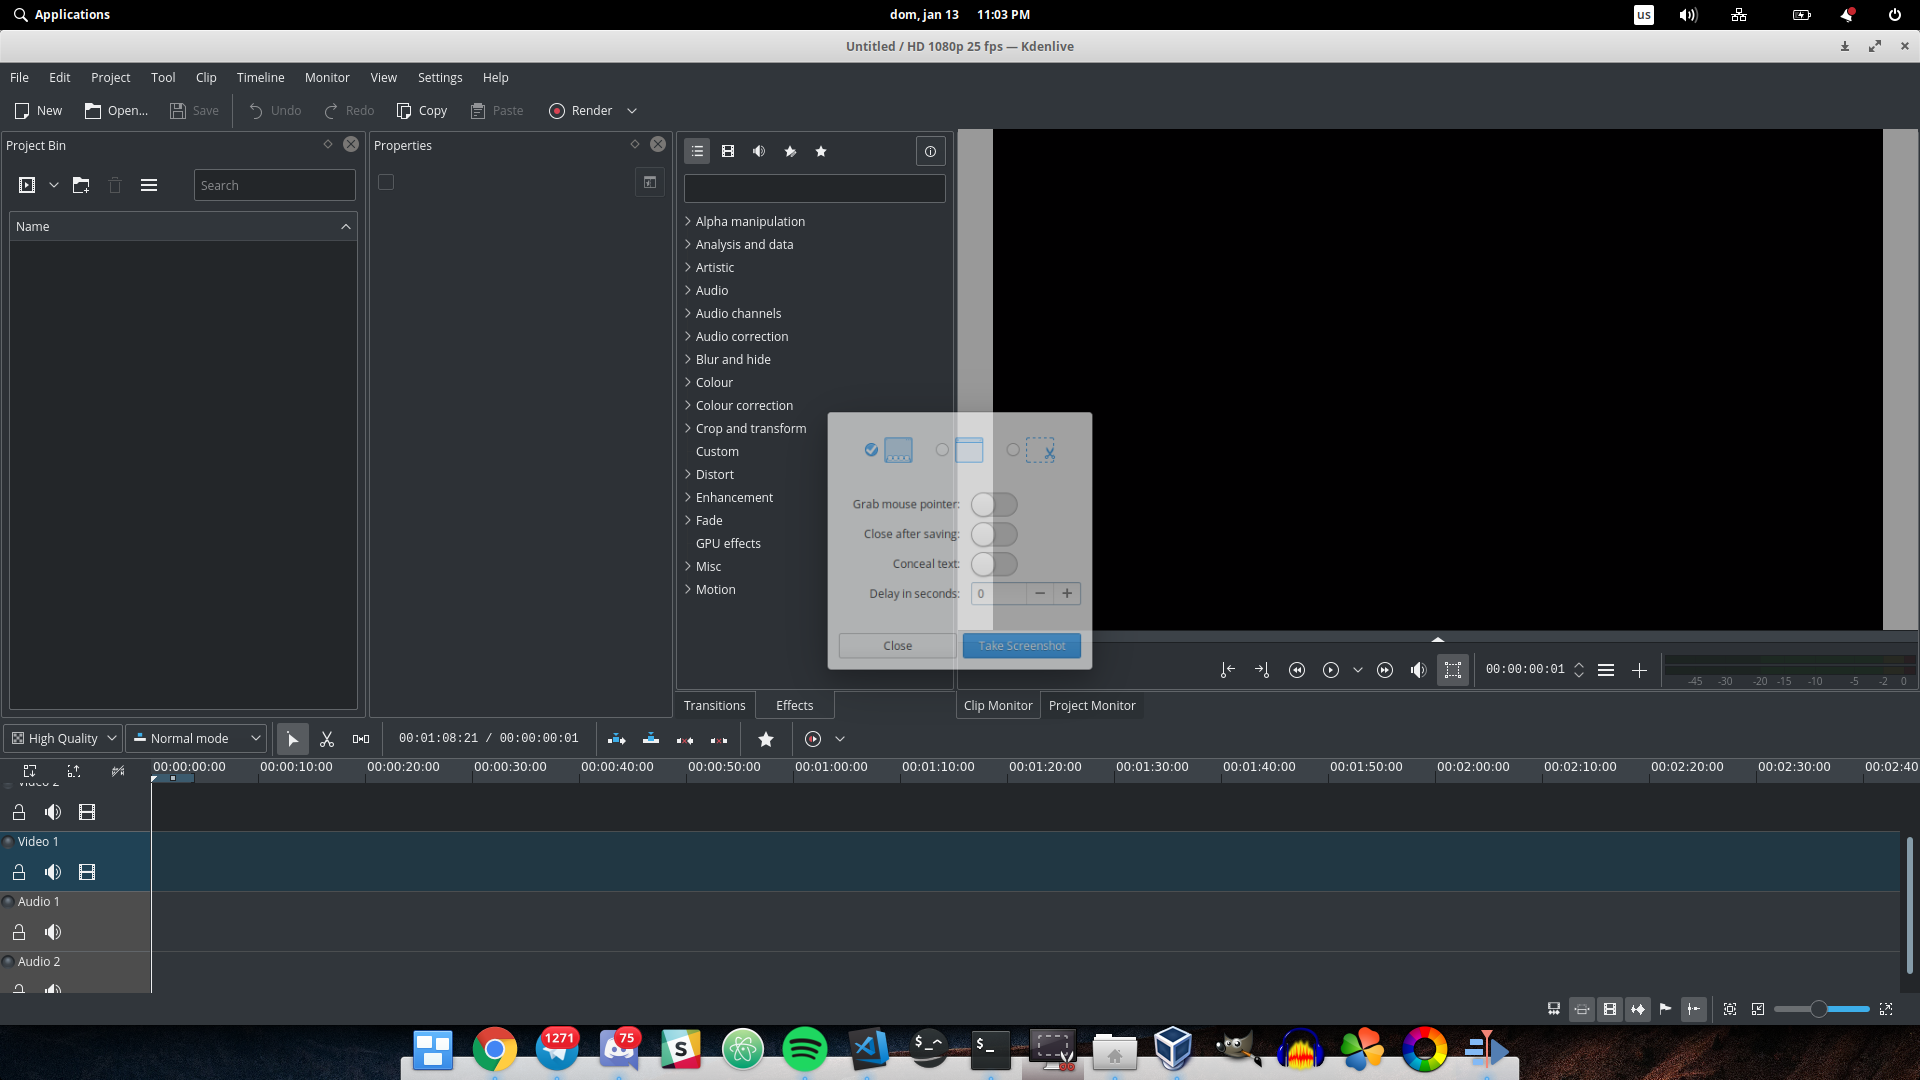
The only difference from my work environment and the default one that comes with the software is that mine uses a dark theme, as I work a lot at night, it is easy on my eyes. Though Kdenlive, pretty much like every other open source project, has a wide array of possibilities for personalization, mine is stock, all features I am gonna show (which are just basic ones) come as default on the software and you will be able to use them just like I use them on my computer
Inserting videos on the workspace is as easy and intuitive as most paid and proprietary competitors, just drag and drop
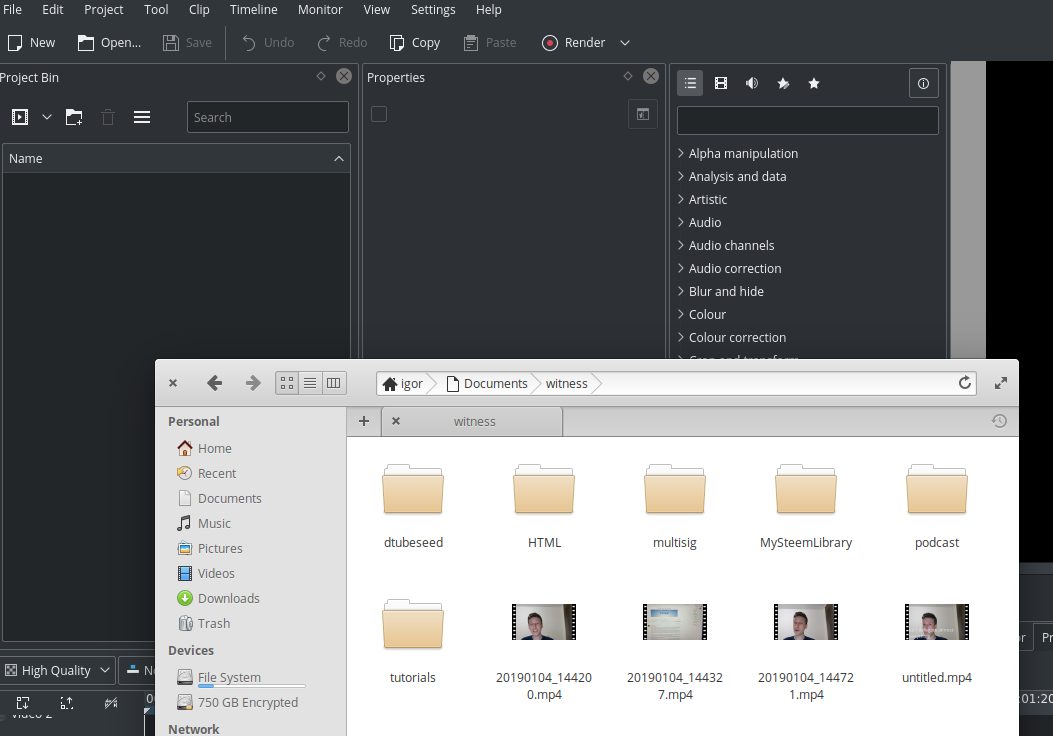
And they are imported and ready to edit
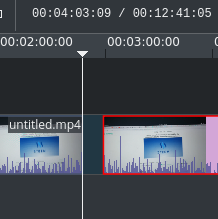
In this case, I have imported many clips into the workspace, to snap them together, just like before, the interface is pretty intuitive, just drag and drop them into the timeline.
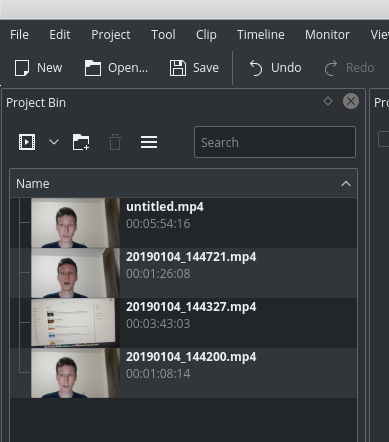
If you select more than one file from the Project Bin and drop them at the same time into the timeline, they will be sorted according to their name. In my case, as all the clips are recorded from the same camera, their names are "in order", so they snap together perfectly in the order which I recorded them.
At this point, it is ready to render if what you wanted to do is just to snap many clips together.
In case there is some piece of a video you want to cut off for whatever reason, you can see the option to crop when you right click with the timeline needle on the right spot
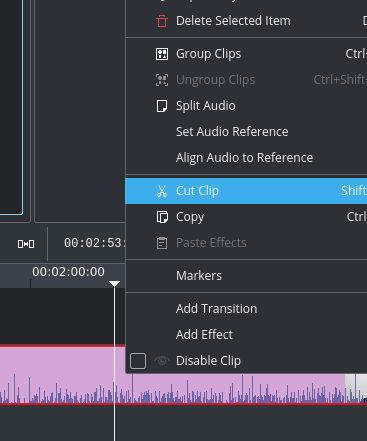
Or you can use SHIFT+R on Linux. As Kdenlive is compatible with multiple desktop operating systems, your shortcuts may be different
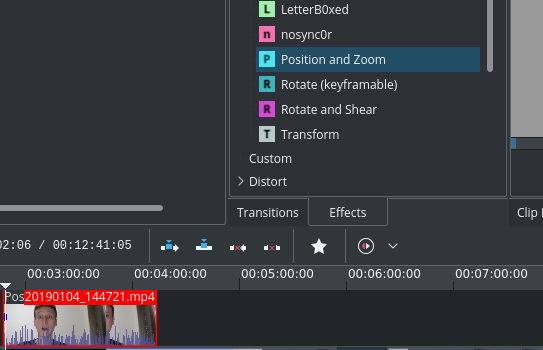
Adding effects to the video is also extremely simple. On Kdenlives workspace there is a tab for effects, I just need to choose and drag the desired effect to the clip I want.
Let's say I want to add a picture in picture effect, with a video of my face over a video of something else, I just drag and drop the "Position and zoom" effect on the video that will be reduced in size
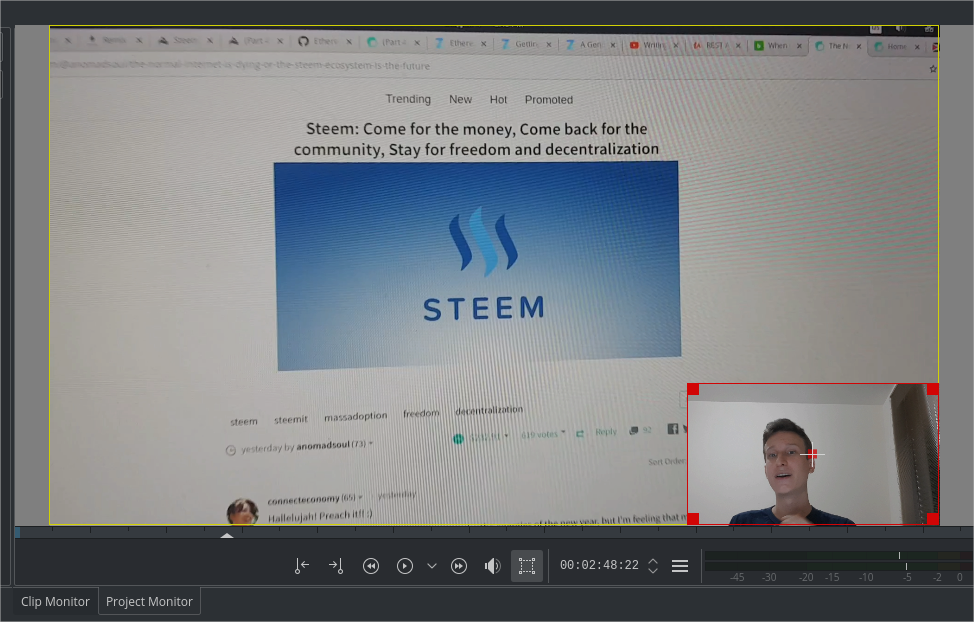
And with that addon, I can resize the previews image and put it on the corner of the video
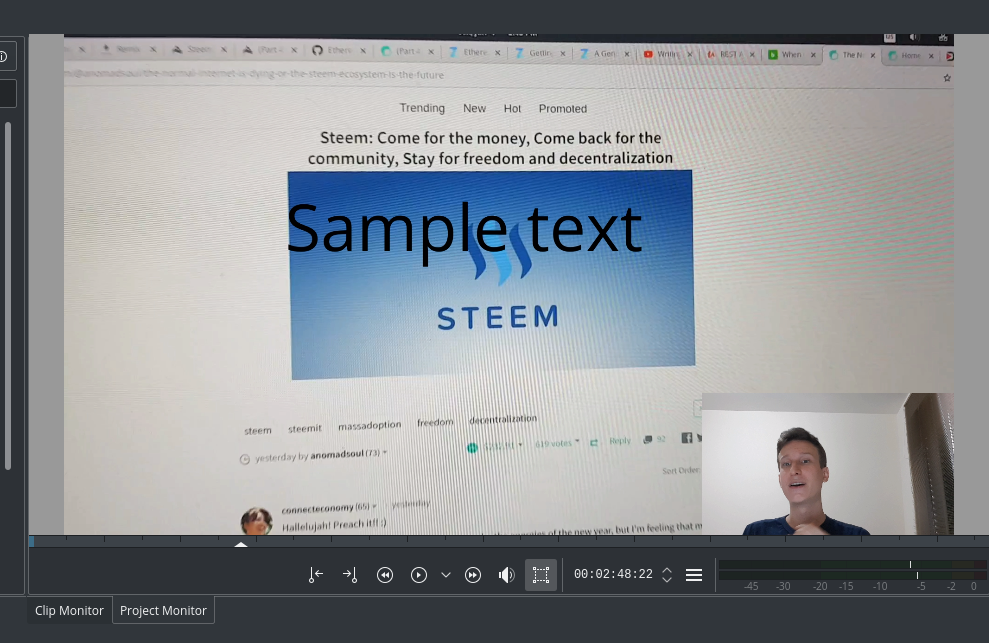
The last feature I use frequently on my small projects is the "titler", which is a title generator inside Kdenlive

Using that tool I can generate a small clip with text in it
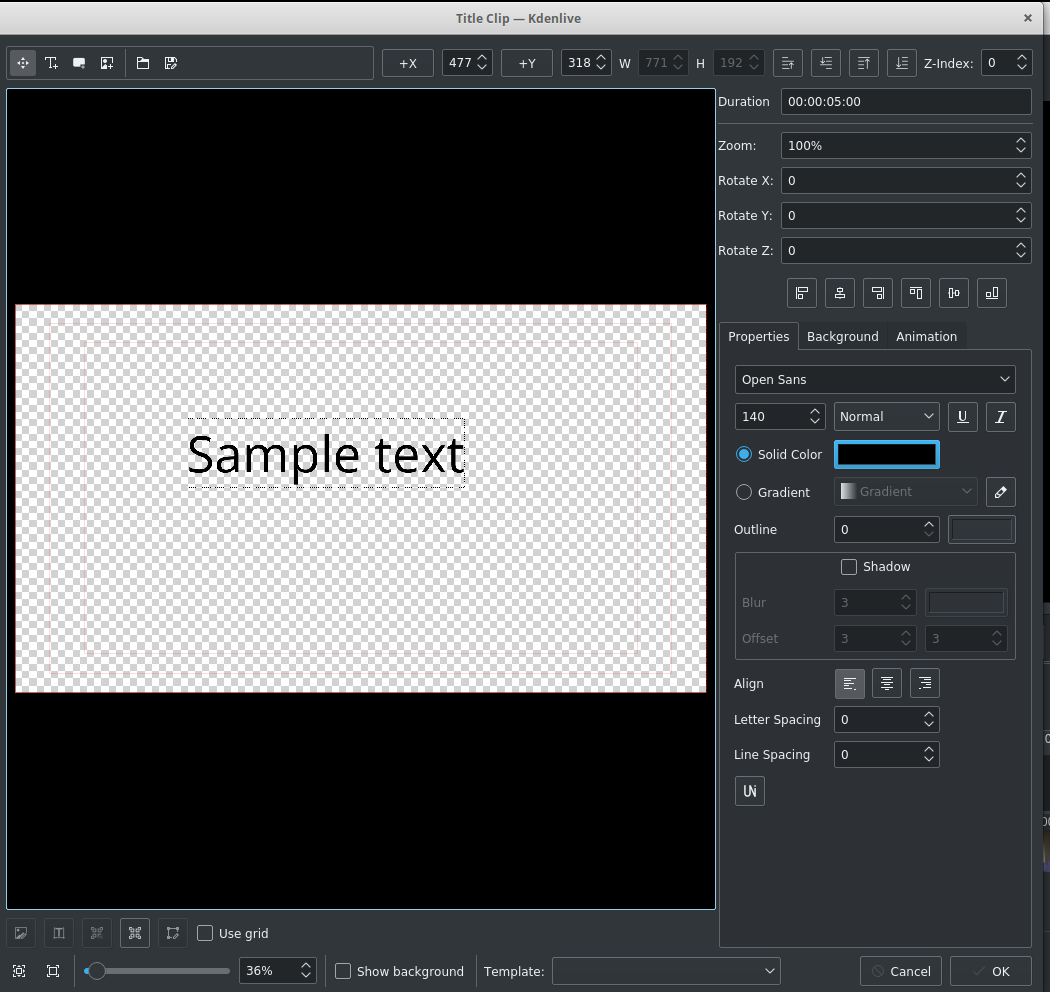
In this case, I have written just "sample text" to demonstrate how it works
All this editing took me around 1 minute or so for all the features and tools are self-explanatory and intuitive to use.
There is a dedicated render button and by pressing it you will be prompted to choose your desired render settings
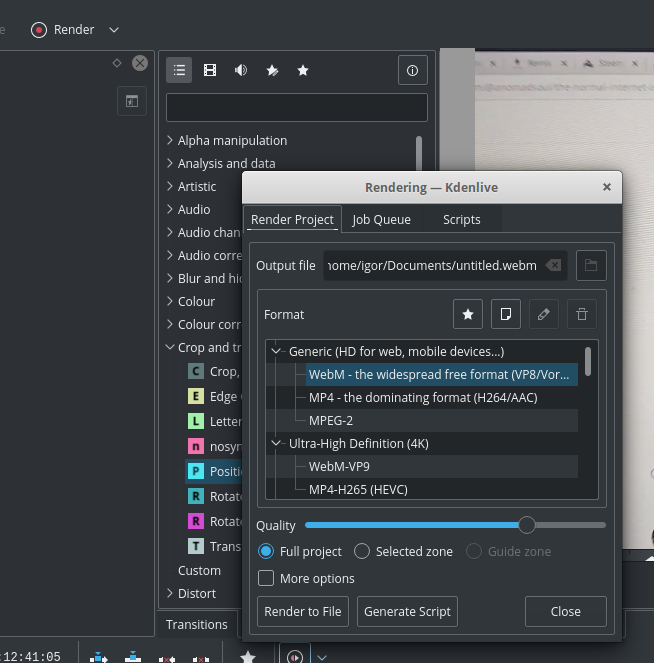
From there, to finish the render of your video, it will depend on many factors, from your computer raw performance to the size of the video and render options you have chosen.
My laptop is an Alienware and is a bit more powerful than the average, it has an i7 4800MQ and 2 graphics card in SLI, 2 GTX770m, so I can render Full Hd videos pretty fast, but independently from your computer specs, Kdenlive is efficient enough, I have not, personally, seen a substantial increase in render time from the software I used on Windows to Kdenlive on Linux.
Simplicity and performance
If your use case, like mine, is unprofessional, Kdenlive can cover most of your needs. I also have Openshot on my computer, but I don't use this one as often because I prefer the interface of the other. I can't speak for more professional use cases because I have never worked on high-end video editing, though, on their website, Kdenlive promises it aims to satisfy the needs of both kind of users, and even shows examples of how professionals can use the software for color correction and other more advanced tasks.
But in either case, amateur and professional, performance is important, and in this regard, I am totally satisfied. On my computer, from an around 4 years old SSD, Kdenlive opens almost instantly, in less than 1 second. For the video previews, Kdenlive uses a proxy compressed video, so you can edit higher resolution content without taking a performance hit, this is important, as when I used Windows some software could show the full resolution video on the preview, making my machine very slow depending on the size of the file.
Resources
Kdenlive repository
https://cgit.kde.org/kdenlive.git/
Kdenlive main website
https://kdenlive.org/
Feature list
https://kdenlive.org/en/features/
User manual
https://userbase.kde.org/Kdenlive/Manual
Beneficiaries
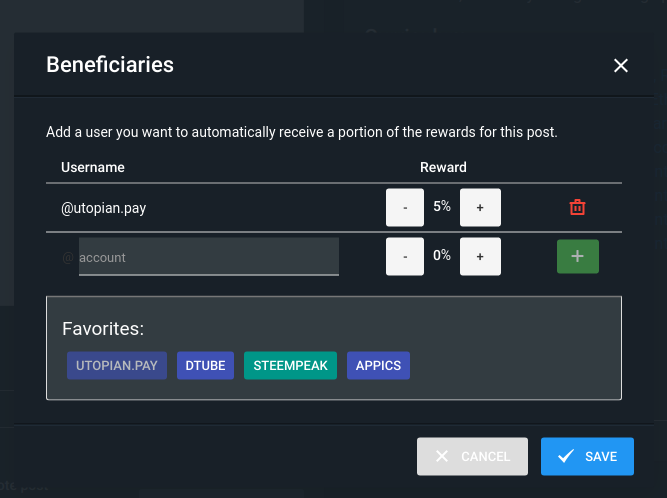
This post has as beneficiaries
@utopian.pay with 5%
using the SteemPeak beneficiary tool
Hello, @igormuba!
Thank you for another contribution. As I have mentioned before, this is a very interesting series about a very useful project. Your review is informative and well-illustrated with quality screenshots.
On the content side, I like all the information provided. This post is full of information about your personal experience, and this is the kind of content we like to see in blog posts. Moreover, your review contains your own knowledge and views, making it rather interesting and fun to read; keep up the great work.
In conclusion, I enjoyed reading your post in spite of the punctuation and proofreading errors I spotted. You did a really good job, and I expect to see more of the same in the future.
Your contribution has been evaluated according to Utopian policies and guidelines, as well as a predefined set of questions pertaining to the category.
To view those questions and the relevant answers related to your post, click here.
Need help? Chat with us on Discord.
[utopian-moderator]
Thank you for the review, and sorry for the grammar inconsistency. I think the app grammarly has helped a bit on improve my grammar and punctuation, but I actively trying to improve my writing beyond that automatic tool, youtube has helped quite a bit I think
Once again, thank you for your time
Posted using Partiko Android
Thank you for your review, @lordneroo! Keep up the good work!
Congratulations! Your post has been selected as a daily Steemit truffle! It is listed on rank 1 of all contributions awarded today. You can find the TOP DAILY TRUFFLE PICKS HERE.
I upvoted your contribution because to my mind your post is at least 8 SBD worth and should receive 189 votes. It's now up to the lovely Steemit community to make this come true.
I am
TrufflePig, an Artificial Intelligence Bot that helps minnows and content curators using Machine Learning. If you are curious how I select content, you can find an explanation here!Have a nice day and sincerely yours,

TrufflePigCongratulations @igormuba! You have completed the following achievement on the Steem blockchain and have been rewarded with new badge(s) :
Click here to view your Board
If you no longer want to receive notifications, reply to this comment with the word
STOPTo support your work, I also upvoted your post!
Do not miss the last post from @steemitboard:
Hi, @igormuba!
You just got a 0.32% upvote from SteemPlus!
To get higher upvotes, earn more SteemPlus Points (SPP). On your Steemit wallet, check your SPP balance and click on "How to earn SPP?" to find out all the ways to earn.
If you're not using SteemPlus yet, please check our last posts in here to see the many ways in which SteemPlus can improve your Steem experience on Steemit and Busy.
Hi @igormuba!
Your post was upvoted by @steem-ua, new Steem dApp, using UserAuthority for algorithmic post curation!
Your post is eligible for our upvote, thanks to our collaboration with @utopian-io!
Feel free to join our @steem-ua Discord server
Hey, @igormuba!
Thanks for contributing on Utopian.
We’re already looking forward to your next contribution!
Get higher incentives and support Utopian.io!
Simply set @utopian.pay as a 5% (or higher) payout beneficiary on your contribution post (via SteemPlus or Steeditor).
Want to chat? Join us on Discord https://discord.gg/h52nFrV.
Vote for Utopian Witness!