Tutorials Editing audio using the Audacity Open Source

Audacity is an open source Sound Processing (Audio) processor program provided by Audacity vendor, for users or fans of Mixing songs. Compared with other paid Audio processors, Audacity is practically enough to process Audio, especially for beginners. Now, I present Audacity Software Usage tutorial for beginners.
Sometimes we need to edit Voice Files for various purposes. Such as enlarge the recording sound, cut the song to make the ringtone HP, Cut the sound because of the sensor (speak impolite), Combine the sound file recording with backround music, edit the recording sound to be echoed, remove the noise, set the sound at the end of the music shrink or various other needs. All that can be done by using a simple application that is Audacity.
Guidebook
If you are interested in learning the use of Audacity Applications, my friends can also Download the Ebook that is distributed by Air White for Free. This ebook is very good and I recommend it for you to read.
Ebook Audacity By Air White or here
Some examples (some from water books), how to edit sound files (music) using audacity applications are described below:
Importing, Editing, and Rendering Step 1
The first step is, Make sure you already Install Audacity Software on your Computer. If not, then install this Software first!
Step 2
Once ready, go to the Audacity worksheet, by clicking START - All Programs - Audacity, or by double clicking on the Icon Audacity icon on your desktop.
we start editing or sounding sounds in Audacity.
step 3
Click the Project Bar Menu, then select Import Audio. Select the Song or music you want to Edit, then click on Open.
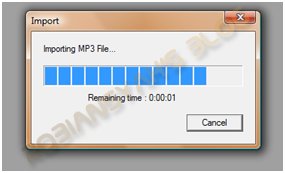
You can insert more than one music file into the Audacity worksheet. After that, the music file will be imported into the Worksheet.
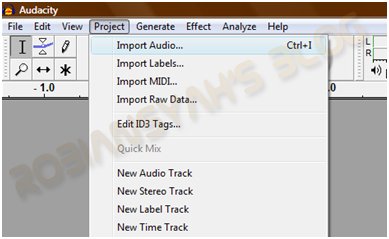
Import process
After you import the music files you want to edit, the editing process is ready to start.
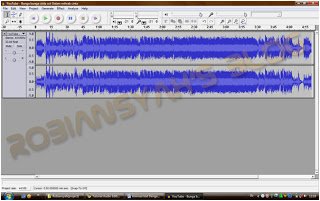
step 4
to edit the file, start by dragging the file you think is less need, then you click the icon cut to remove it.
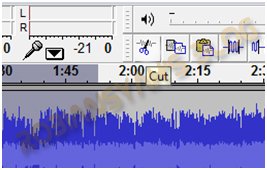
in addition to cut, we can also use the effect-effect already by default provided by the audacity. we try to change the Echo and equalizernya. in this section, sued kekreatifitasan you in memixing songs.
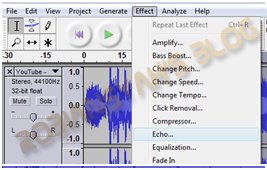
We can set the size of Equalization, Echo, etc according to our wishes. After we set the Effect, then pengaturran will be imported into our music files.
Step 5
If all the settings we want have been completed, then we can listen to the results we have made, by clicking the Play button. We can also record our voice with Record button. We can also Set the volume of the Music we edit.

Step 6
If we have not been satisfied with our edits, then we can change our edits. But, if it is, then we are ready to save our edits. We can export our edited file into WAV, MP3, or Ogg format.
Click File - Export File To MP3. Then type in our Editor File Name, and click Save.
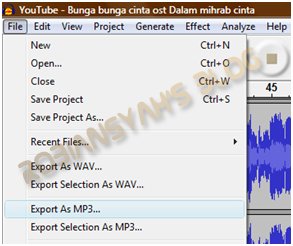
Once we finish exporting our files into WAV, or MP3 format, then we have finished editing our simple music files.
To view the Export Results of our Audio files, we must exit the Audacity worksheet.
Click File - Exit, Then Save Changes Before Closing, Select Yes, then put savean audacity on your harddisk.
To View our Rendering results, then open our WAV or MP3 files on the harddisk or destination folder when we export the file.
…….Good luck…….
Posted on Utopian.io - Rewarding Open Source Contributors
Your contribution cannot be approved because it does not follow the Utopian Rules.
You can contact us on Discord.
[utopian-moderator]