Tutorial create 3D objects (3D Book) with Blender| Blender Tutorial
On this occasion, I will share a tutorial on how to create a simple 3D object that forms a book that can later spin using the software "Blender". Before we discuss further, you should first know about the application of "Blender"
What is Blender?
Blender Software is a free 3D graphics product open source software used to create animated movies, vusual effects, 3D Interactive Applications or A Video Games. Features blender features include 3D Modeling, UV Unwrapping, Texturing, and others. And also has features to build game engine.
How to create 3D objects (3D Books) with Blender
- The first step that we do is open the Blender software, the step to open the blender software can be done in several ways, which can be through the shortcut in the desktop or through the taskbar
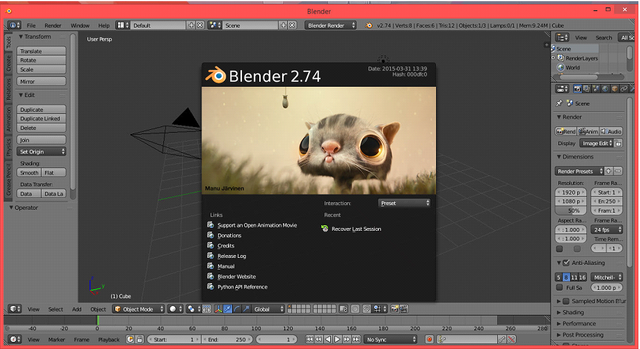
After opening the blender software will display a new window work like the picture above.
- Then after we open a new work window, then by default there will be a cube object inside the windows work.
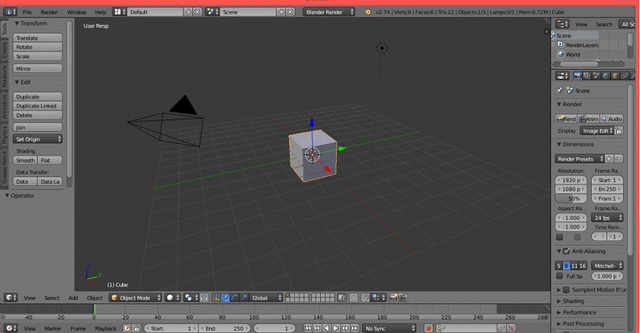
- In the blender we can change our point of view of the object. Starting from the top of the right side, smping left, or bottom. Steps taken to change our point of view is to push the button shotcut below.
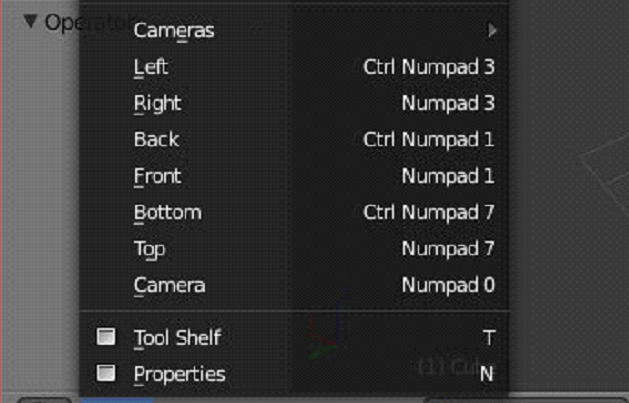
- Left (Ctrl + numpad 3)
- Right (numpad 3)
- Back (Ctrl + numpad 1)
- Home (numpad 1)
- Bottom (Ctrl + numpad 7)
- Top (numpad 7)
Next we will try to change the point of view into the top view. The way in which is to press the numpad 7 or through the toolbar view as the previous step example. If successful, then the view point of view will change to top view as below.
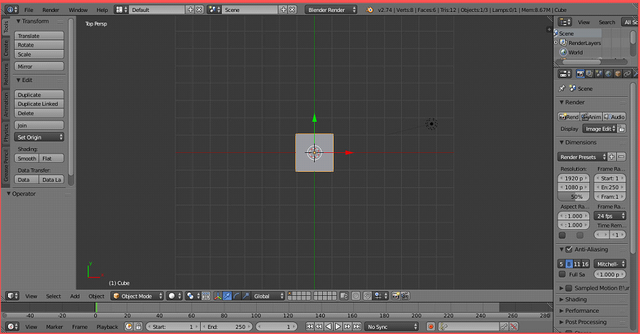
In the blender software, we can zoom-in or zoom-out by using the scroll on the mouse, so when using the mouse will greatly simplify our work process on this software.
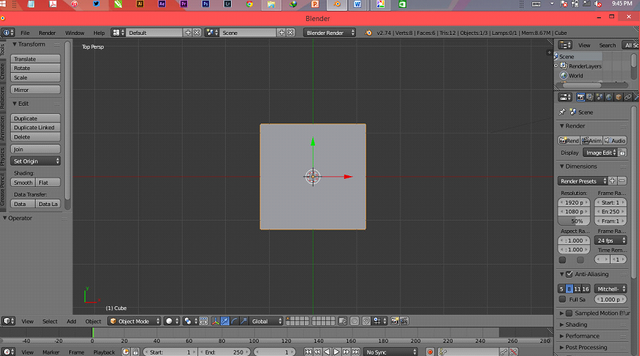
The next step, we change our perspective into top ortho by pressing numpad 5 or through the toolbar view.tampilanya will be like below.
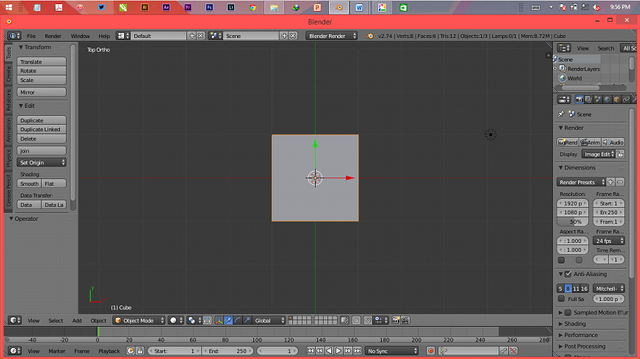
The next step, we can change the size of the object by pressing the S button and then drag the mouse to fit the size we want.
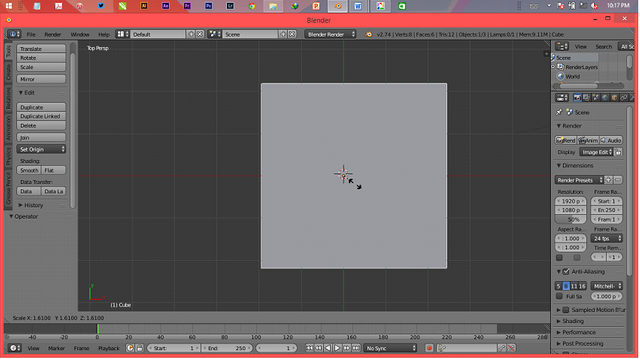
Then we can change the length of the object in a way that is almost the same as changing the size of the object, that is by pressing the S button and then we press the Y button, and we drag the mouse until the object is in accordance with the object we want.
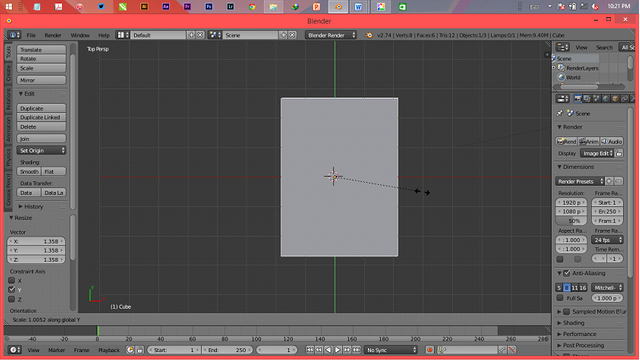
Then the next step we take to create a book form in 3D (Dimension) is to determine the width of the object. The first thing we do to change the width of the object in the blender is to change the point of view. We can use the front and rear corners. Here we will use the front viewpoint. To change the point of view we can press the numpad 1 or through the toolbarview.
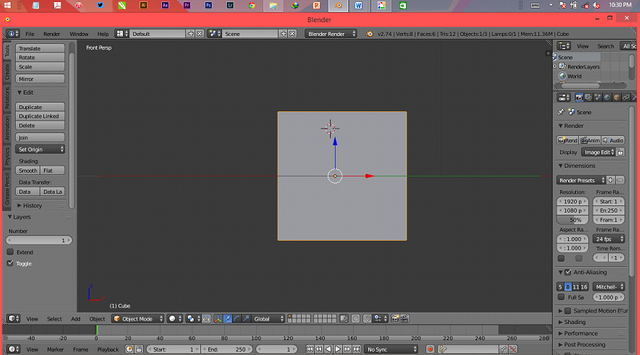
Then step to change the width of the object is by pressing the S and then Z, and we drag the mouse to the width of the object in accordance with our wishes.
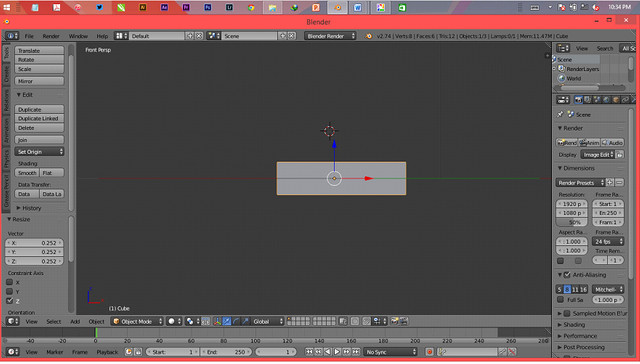
In the object of making up a 3D book this time we will perform on the object beam duplication that we created earlier, and then we minimize the beam size duplicate results. After that we combine with the original object beam, the object will be duplicate beam blocks we will make it as a hole to pierce the inside of the original beam, so that later will be shaped like a book cover.
To duplicate an object we can use the shift + d key shortcut or by pressing the duplicate button on the toolbar.
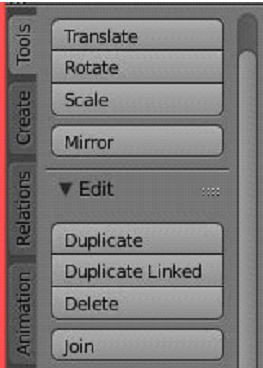
If successfully duplicate it will appear the exact new object.
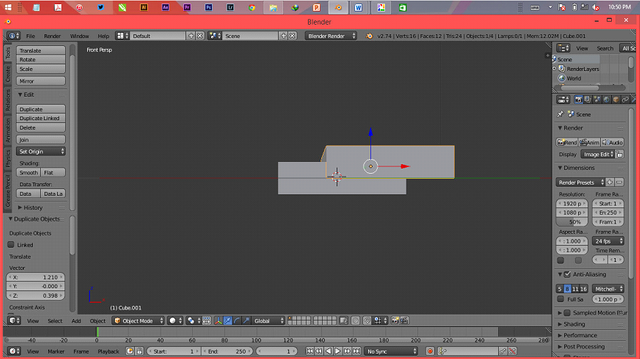
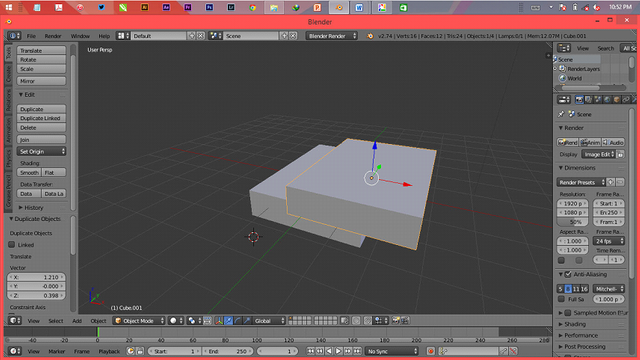
- The next step that we do is to reduce the size of the object of our duplicate results, which we will later make as a mold to perforate the middle of the object beam so that it can be a cover book.How to change the size of the object is the same as the previous step, that is to change the length we press button s and y then drag maouse. And to change the size of the object we press the S and Z and then drag the mouse up to the size according to our wishes.
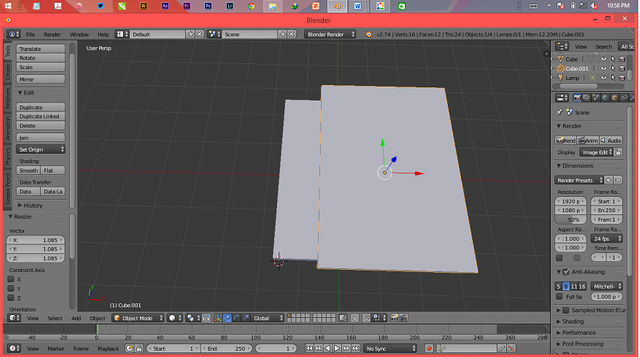
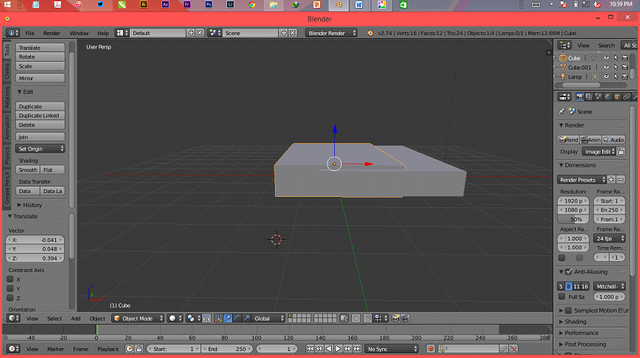
Change perspective so that it can facilitate our work process.
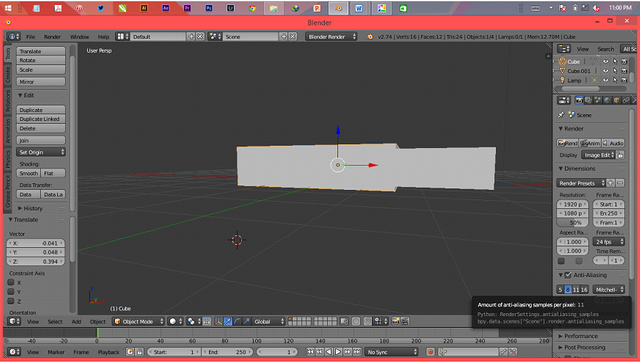
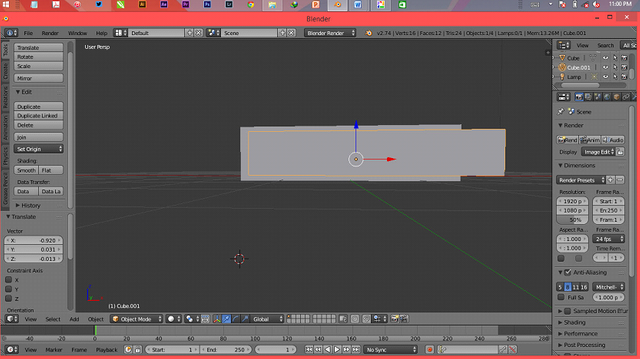
The next step is to pierce the inside of the beam object by using the duplicate beam as a mold. The trick is first, we select the beam that we will hole. We can do this by left-clicking on the object or by selecting the object in question on the layer. Then we click the modifiers object on the toolbar. The steps are like the picture below.
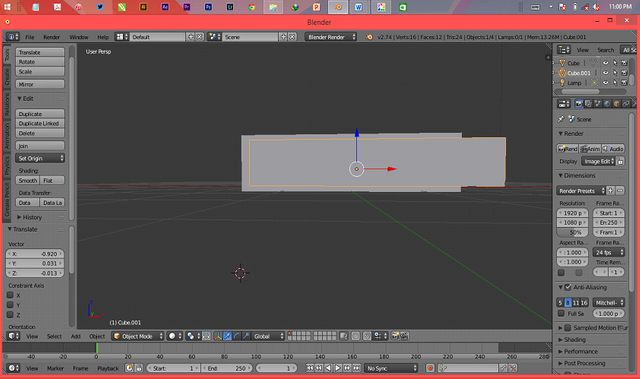
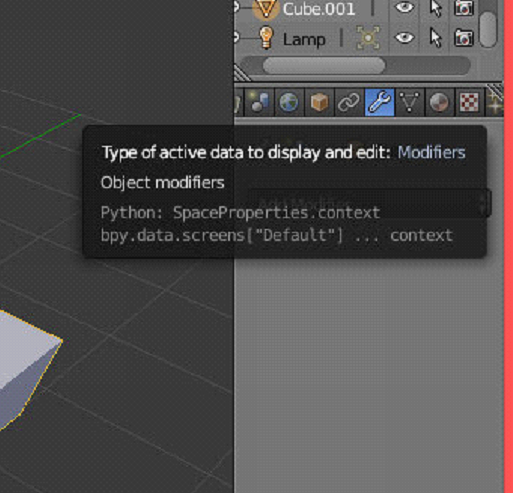
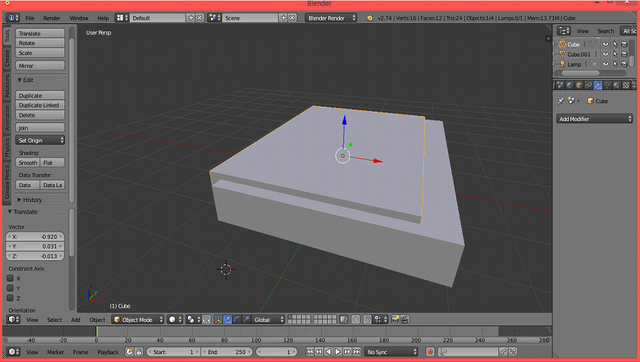
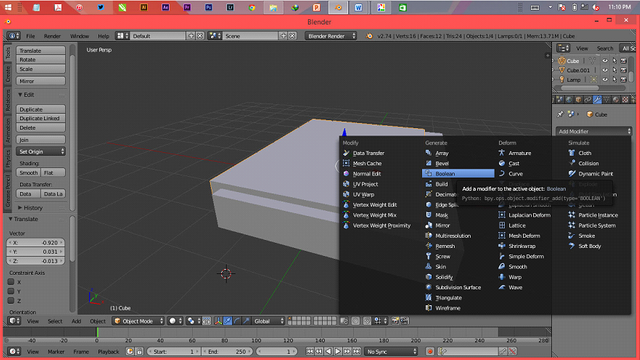
The next step is we add type modifier with boolean type, in the choice of operation we select the difference, after that on the menu object, we select the object used as mold. Next, click apply.
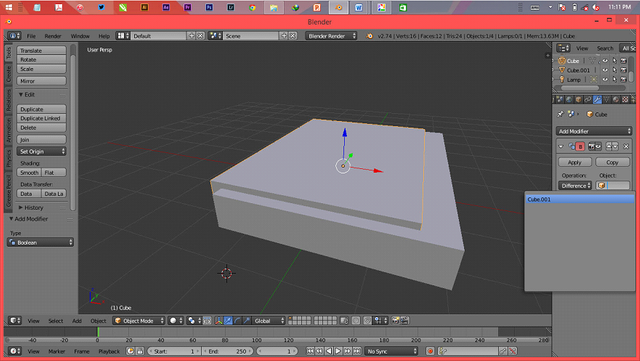
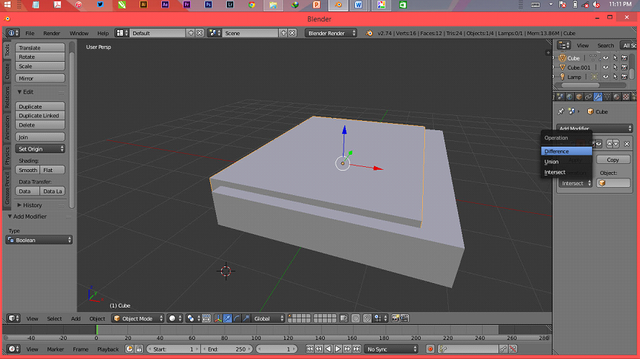
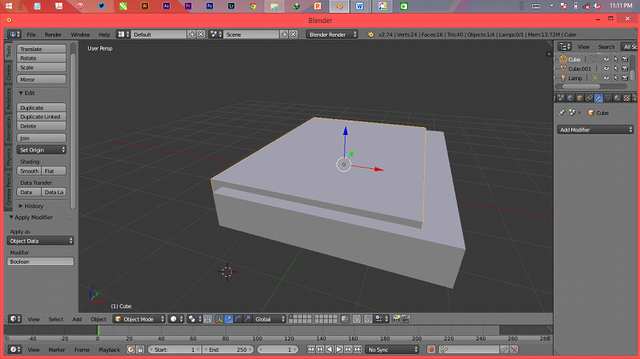
After successful then what happens is the object of the beam before, has lost the middle. And now the object of the block had resembled a book cover.
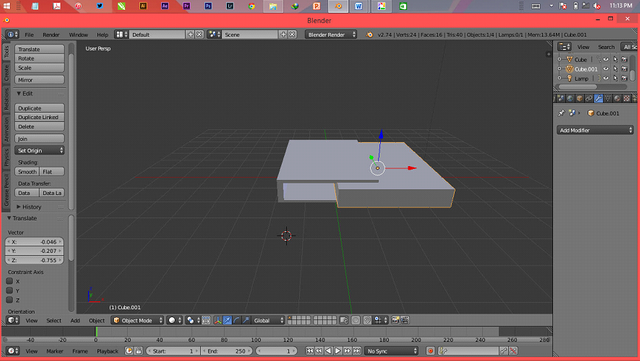
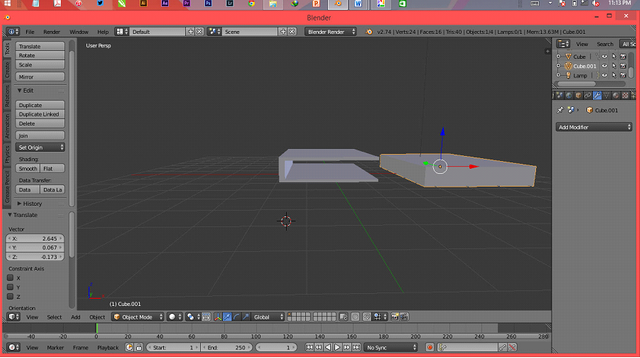
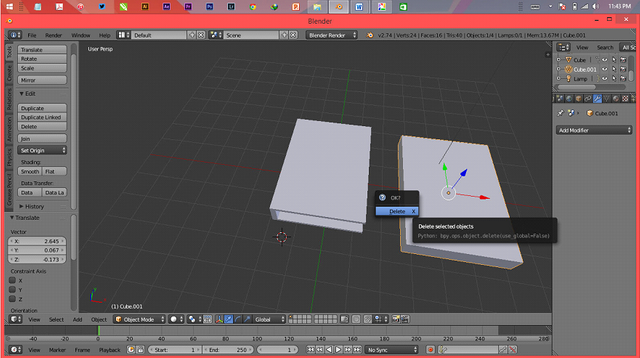
After successfully making the block was a book cover, then we can remove the duplicate beam that we make as a mold. How to remove objects in the blender software is by selecting the object we want to delete, then we click the delete button on the left toolbar. Another way is more simple is to select the object and then press the delete button on the keyboard.
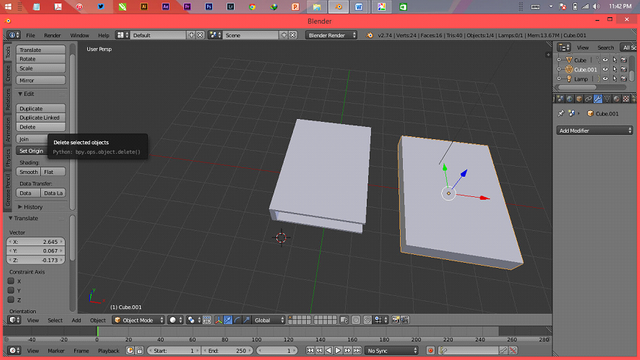
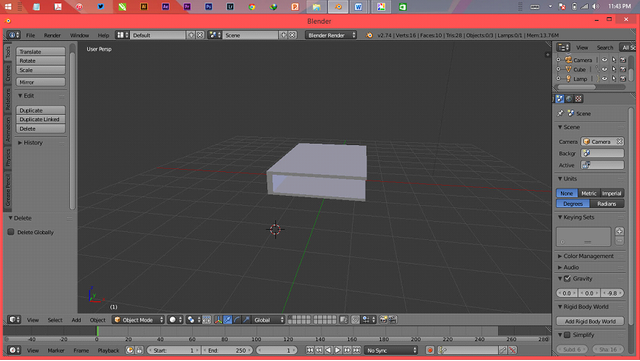
The next step that we will do is create the contents of the book object. Steps to do is create a new object beam. To add a new object we can press tollbar create - cube, we can also press the toolbar add on the bottom left.
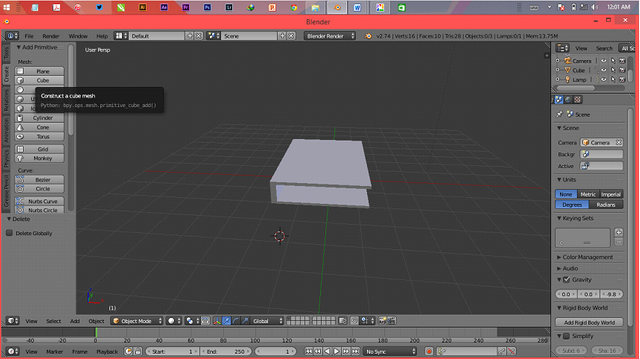
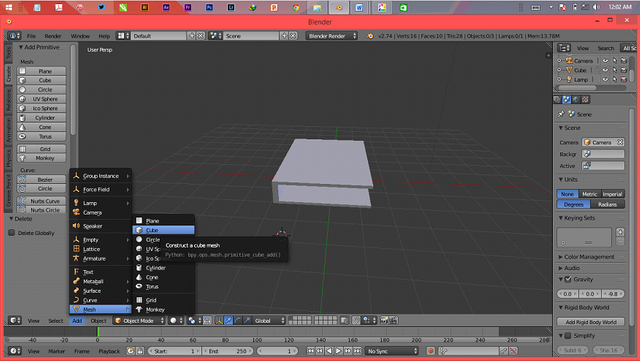
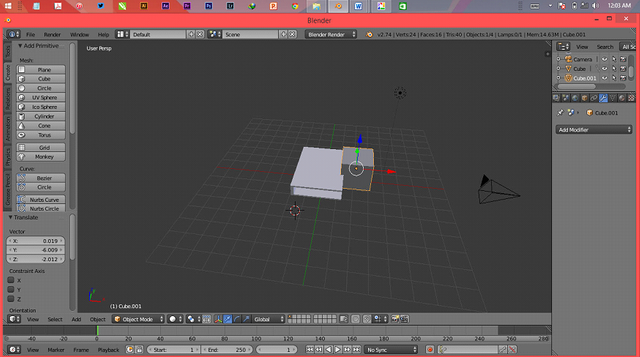
The next step is to change the size of the object we just added so it fits to enter into the book cover cavity that has been written earlier.
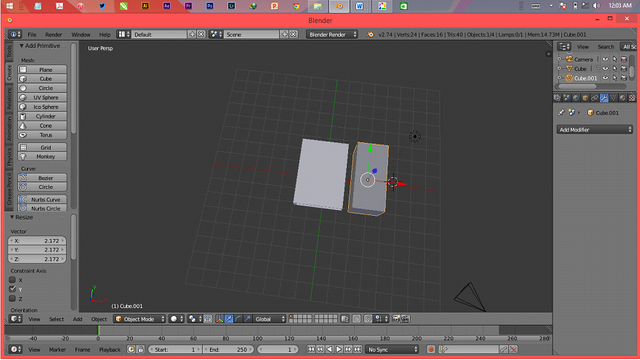
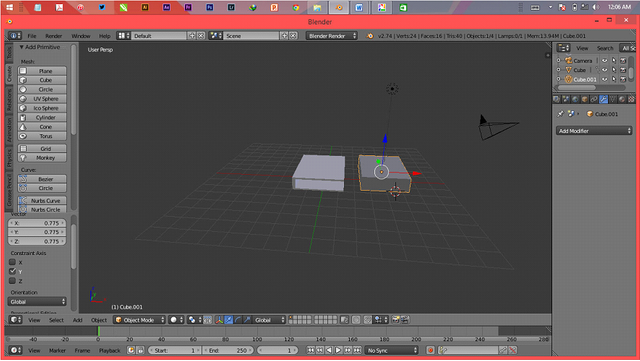
After finished more will be like the picture below.
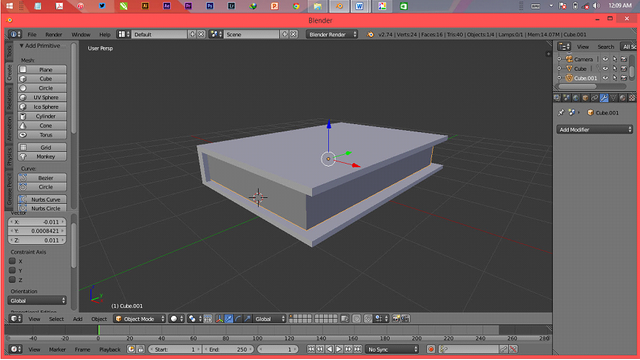
The next step is we try to give color on the cover and paper from the book. Stage is done that is first we select which part will kacaraeri color then we click material button in toolbar setting object under layer toolbar. Look at the picture below.
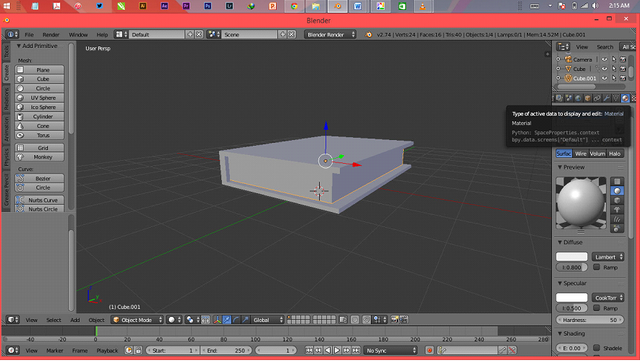
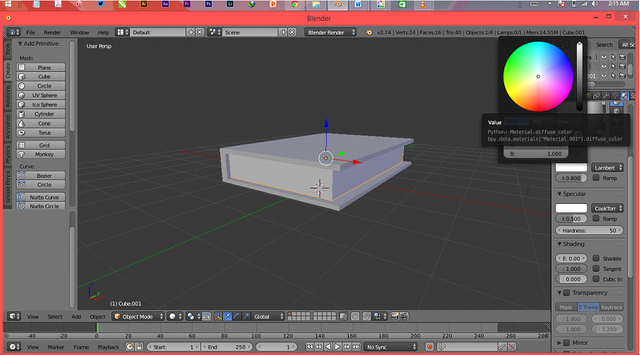
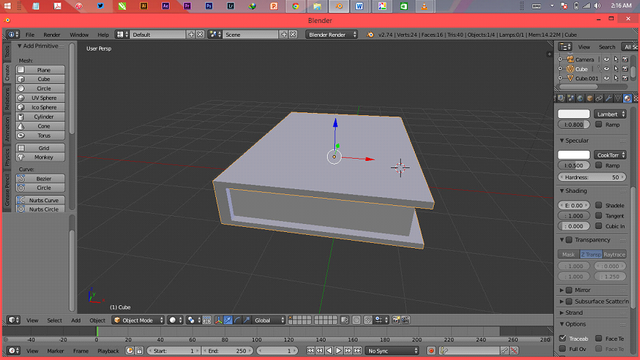
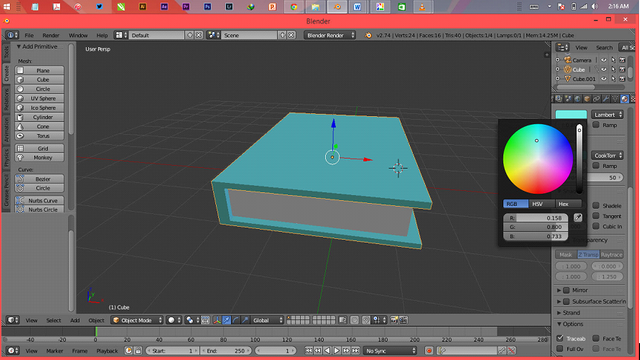
Then we can determine the color of the object in accordance with the wishes. In this feature we can not only change the color, we can also set the shading, opacity and others - others.
In addition to changing the color on the object, we can also enter the image we want as a texture. Here we will try to change the book cover by using the picture. The first step that we do is to select the cover that we will use, then click the texture on the toolbar as shown below.
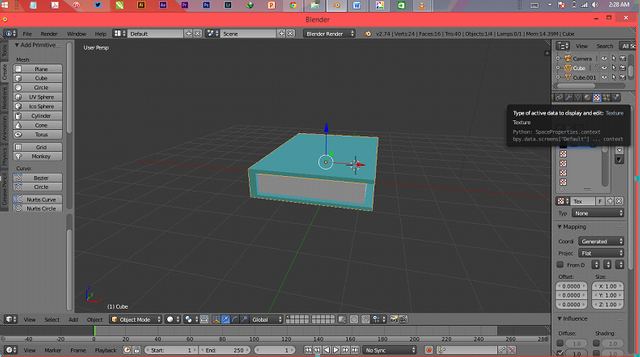
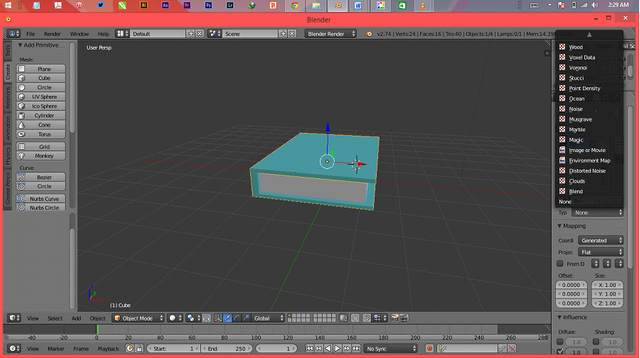
Then we click type and select image or movie.
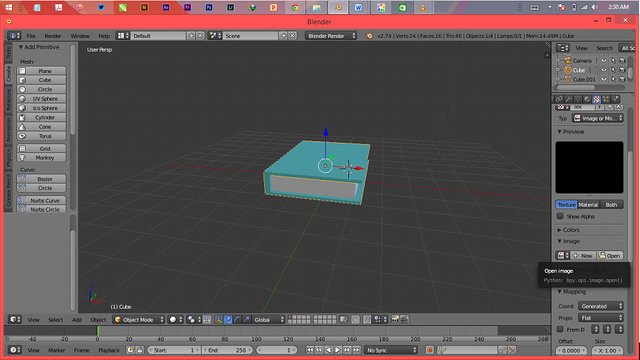
Then in the submenu image we select open, to take a picture that we will later make a cover, note the image below carefully.
After we press open image, it will appear a window to search for images that we will input. Find the image we want to use as a texture.
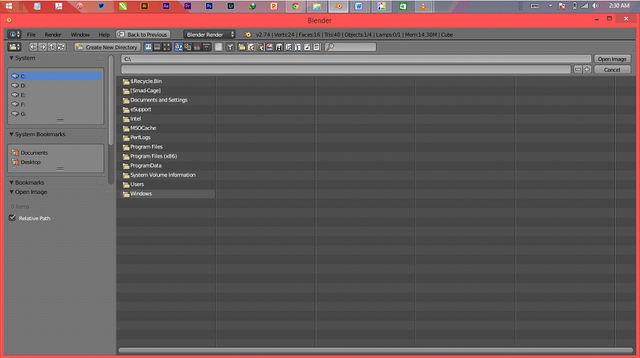
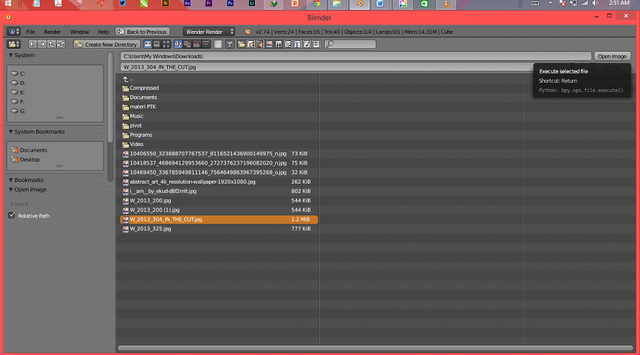
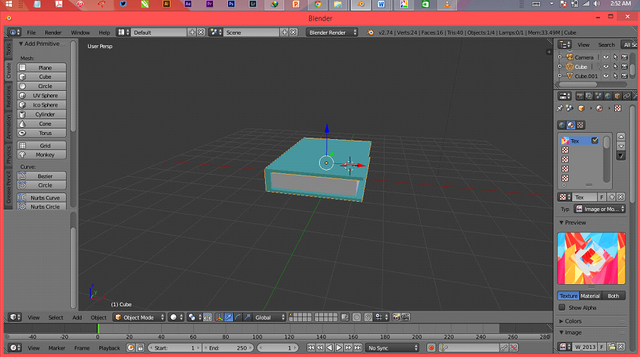
After searching the image that we want and do import like process above, then picture will appear on toolbar beside right.
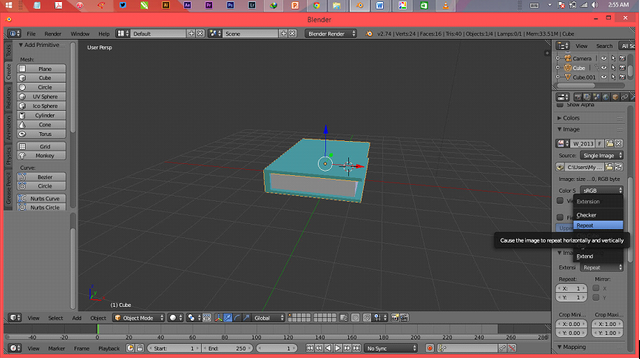
Then on the extension option we select repeat. This causes the image to be re-displayed in both horizontal and vertical sides.
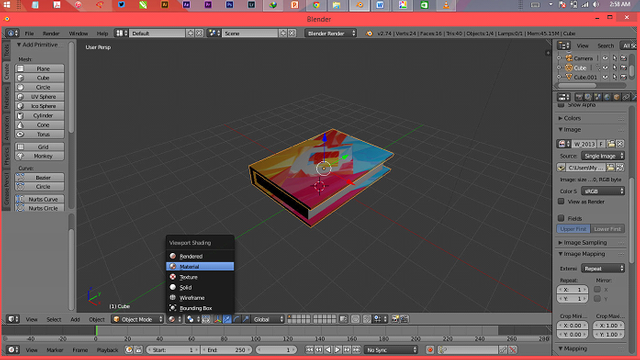
To see the changes that occur, we must change the display method. I click the tool display method on the bottom, then we select a circle bearing the texture or rendering mode, for texture means it will be on display the texture is on the cover of the book, while rendering we will see the final result that we make up a 3D object.
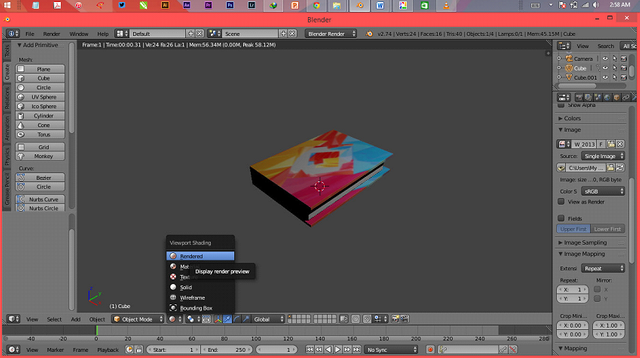
The next step that we do is to combine coverbuku objects and book content. The first step that we do is to select the two objects (coverbuku and the contents of the book) then we click join on the toolbar, note the picture below.
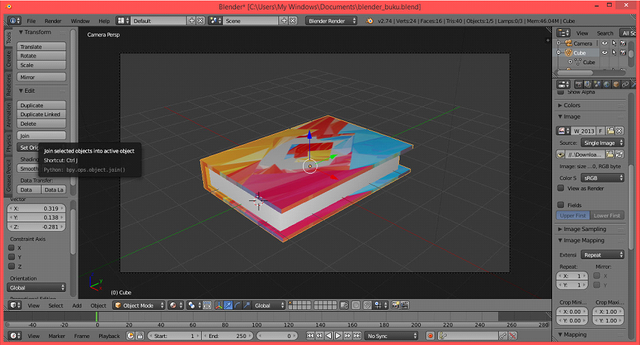
When the above steps have been completed, then we enter the final process of making this 3D animation. By default, if we open a new job window, then there is one camera and one light. However, we can actually increase this amount. Actually we need more than one light, because if we use one light then our 3D object rendering will look dark.
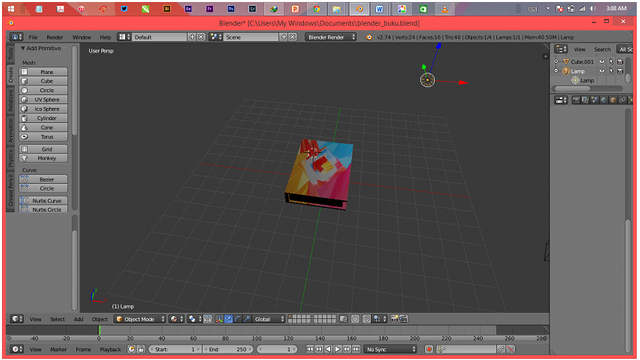
To do the addition of the number of lights, very simple that we go to the layer then we click the light section object and click duplicate on the layer. After we duplicate we live move the position of lights in accordance with our wishes, the more the number of lights will be the light of the video render later.
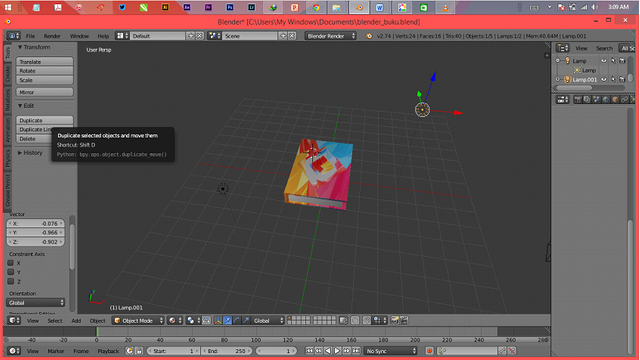
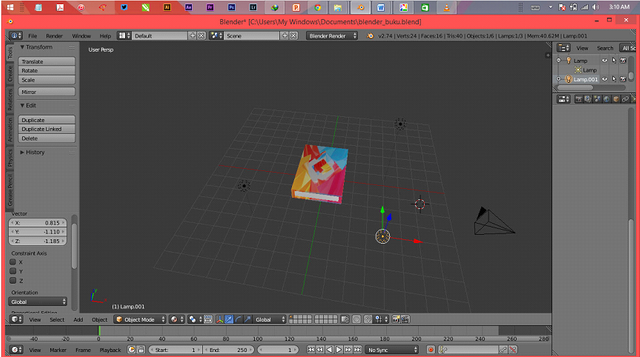
The final process in this practice is to provide animation to the book object. The first step we do is to block the object book. To block the book we press button b then we select the book object.
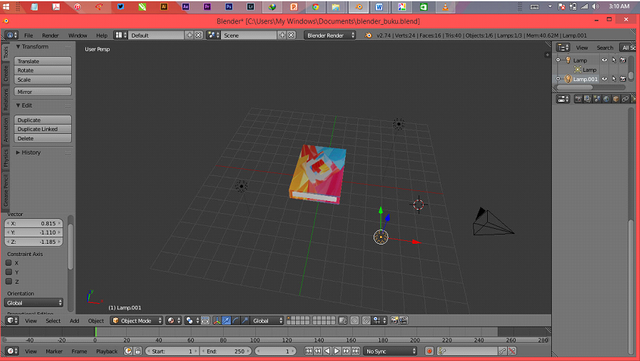
The next step is to create a keyframe for animated book movements. The keyframe key is in the bottom right corner with the red dot logo. The workings of this keyframe key is, first we put the timeline indicator on the time / duration we want, then we click the automatic keyframe, then we move the object book according to our wishes.
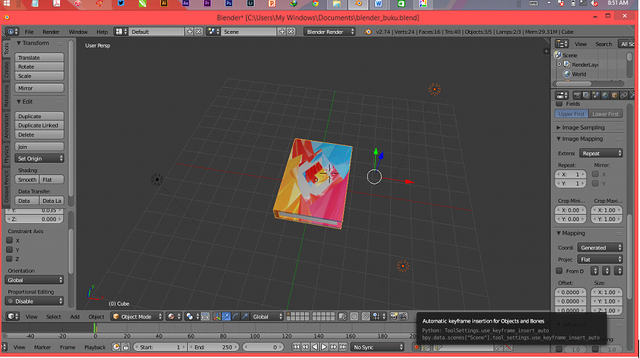
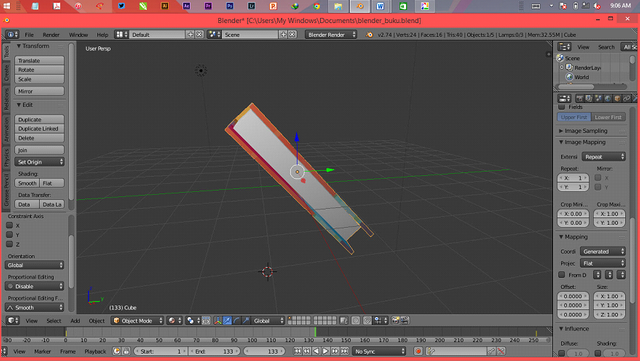
The last step that we do is to do rendering of 3D objects that we have created. The first step we do is pressing the render icon on the right toolbar. Look at the picture below.
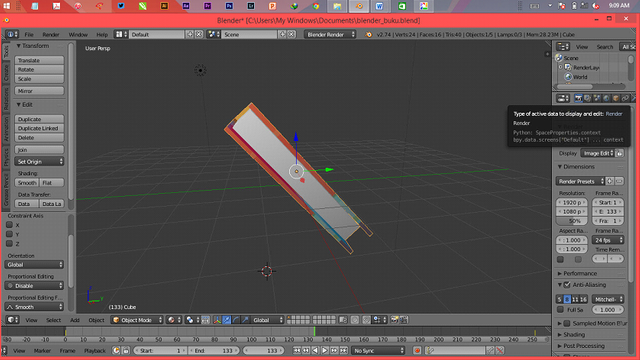
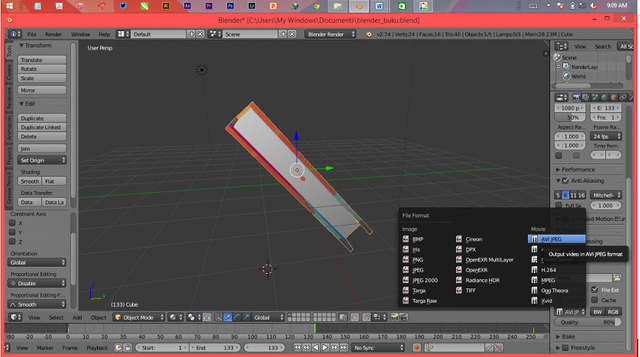
After pressing the render button, then we specify the output file type we want. In this case we will use the AVI JPEG file type.
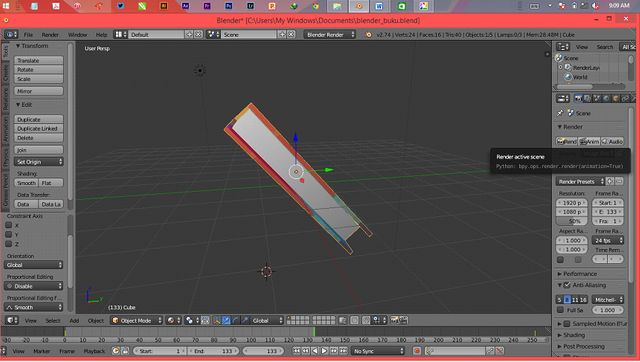
The final step yes that we click the icon anim to do the rendering process. Wait for it to finish. After that we can see the rendered video on the output folder that we have specified.
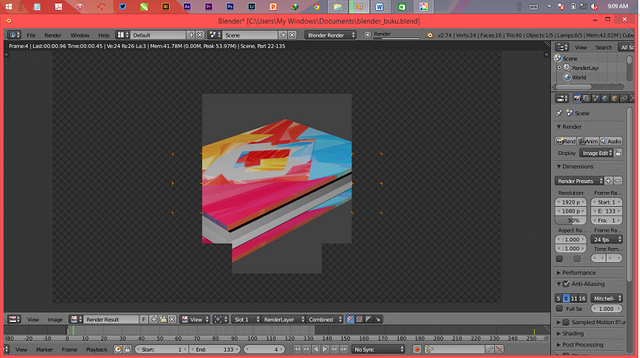
Done!!
Hopefully the above tutorial "Tutorial create 3D objects (3D Book) with Blender" useful for you, and I say thank you for visiting this post.
Thank You
Posted on Utopian.io - Rewarding Open Source Contributors
Kerass..!! 😀
Wkwkwkw tengkiyu bg
Good!!! posttttttt bg @jekisatria
A great tutorial !! i will try it later @jekisatria
Thank
Nice work brother!!
Thank mabro
Kerja bagus kawan..wkwkw
Tengkiyu adun :D
Thank you for the contribution. It has been approved.
You can contact us on Discord.
[utopian-moderator]
Thank brother @manishmike10
Hey @jekisatria I am @utopian-io. I have just upvoted you!
Achievements
Suggestions
Get Noticed!
Community-Driven Witness!
I am the first and only Steem Community-Driven Witness. Participate on Discord. Lets GROW TOGETHER!
Up-vote this comment to grow my power and help Open Source contributions like this one. Want to chat? Join me on Discord https://discord.gg/Pc8HG9x