Create Master Page and Content Page (ASP.NET)
Lesson Objectives
A. Introduction to Master Pages
B. Working with Master Pages
C. Working with Master Content Pages
Needs are;
A.Asp.NET
B. Visual Studio
C. C#
The difficulty level of commands we use is middle.
Introduction to Master Pages
The Web sites should have a uniform look across the pages, to provide a good and consistent user interface. Let us consider an example, of a banking web site. The web site will usually display the menu on the left or the top. The logo and image of the company can be displayed at the top. Additional information about the company can be displayed at the bottom of the web page. There may be a necessity to display the menu, logo and information in all the pages of the web site. It may also require the developer to apply the same style settings such as layout, for the common information in all the pages. It becomes very tedious for the software developer to display the menu, logo and information across all the pages in a uniform and consistent manner. Master Pages can help create a layout that can be consistently applied throughout the web site.
Master Pages
Master Pages in ASP.NET allow you to create a common layout and content that can be used consistently across all the pages in a web site. Master Pages can contain HTML Controls, Web
Server Controls, Navigation Controls or Standard controls similar to that of ASP.NET web pages. The extension of a master page file is .master. The Master page can be easily applied to one or more web pages in the website. Whenever a change is made in the master page, it automatically reflects across all the child pages. The master page contains a code-behind file. Code can be written in the code behind file to handle the various events of the controls placed in the master page. When you create a master page, it will contain a Master directive as shown below:
<%@ Master
Language="C#"
AutoEventWireup="true"
CodeFile="MasterPage.master.cs"
Inherits="MasterPage"
%>
The Master pages can contain one or more ContentPlaceHolder controls. The ContentPlaceHolder can be used to insert the markup for the page. The ContentPlaceHolder can contain the content in the master page or can be used to display the content from the child page. The browser displays the content inside the ContentPlaceHolder controls. Below is the tag of the ContentPlaceHolder control.
<asp:ContentPlaceHolder
id="ContentPlaceHolder1"
runat="server">
</asp:ContentPlaceHolder>
Content Pages
A content page is the page which uses a master page. The content page contains one or more Content controls which map to the ContentPlaceHolder controls in the master page. If a content control which maps to the ContentPlaceHolder in the master page is not available in the content page, then the content inside the ContentPlaceHolder of the master page is rendered in the content page. The Content controls can contain HTML Controls, Web Server Controls, or Standard controls similar to that of ASP.NET web pages. Below is an example of a Content control.
<asp:Content
ID="Content1"
ContentPlaceHolderID="ContentPlaceHolder1"
Runat="Server">
</asp:Content>
Note: A content page should have markup only inside the Content controls. A compilation error occurs when markup is placed outside the Content control in a content page.
Demonstration: Creating a Master Page
Let us consider scenario of a banking web application in which the Logo of the bank and the title “Global Bankz Solutions” has to be displayed on the top of every web page.
The solution for the given scenario is creating a master page which contains the Logo and the title. The other web pages should be created as content pages.
Steps to create the Master Page:
1 ) Create a New Web Project named MasterPageDemo.
2 ) Right-click the project in the solution explorer and select “Add Existing Item”.
3 ) Browse for the image named logo.jpg in the “Add Existing Item” dialog box and click “Add” button.
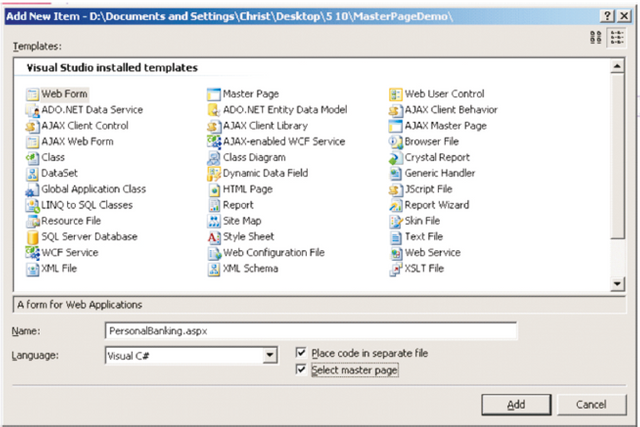
4 ) Right-click the project in the solution explorer and select Add New Item.
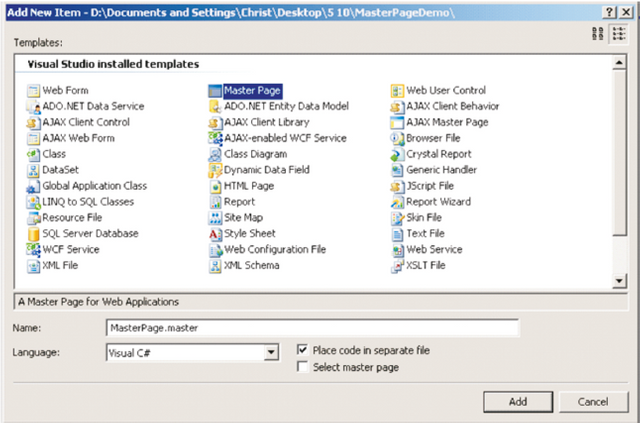
5 ) Select “Master Page” from the “Visual Studio installed templates” section of the “Ad New Item” Dialog. Enter “MasterPage.master” in the name TextBox. Check the “Place code in separate file” checkbox and click “Add” button.
6 ) The source view of the MasterPage.master would look as below:
<%@ Master Language="C#" AutoEventWireup="true" CodeFile="MasterPage.master.cs"
Inherits="MasterPage" %>
< !DOCTYPE html PUBLIC "-//W3C//DTD XHTML 1.0 Transitional//EN"
"http://www.w3.org/TR/xhtml1/DTD/xhtml1-transitional.dtd" >
< html xmlns="http://www.w3.org/1999/xhtml" >
< head runat="server" >
< title > < /title >
< asp:ContentPlaceHolder id="head" runat="server" >
< /asp:ContentPlaceHolder >
< /head >
< body >
< form id="form1" runat="server" >
< div >
< asp:ContentPlaceHolder id="ContentPlaceHolder1" runat="server" >
< /asp:ContentPlaceHolder >
< /div >
< /form >
< /body >
< /html >
7 ) Modify the above content in the source view as below:
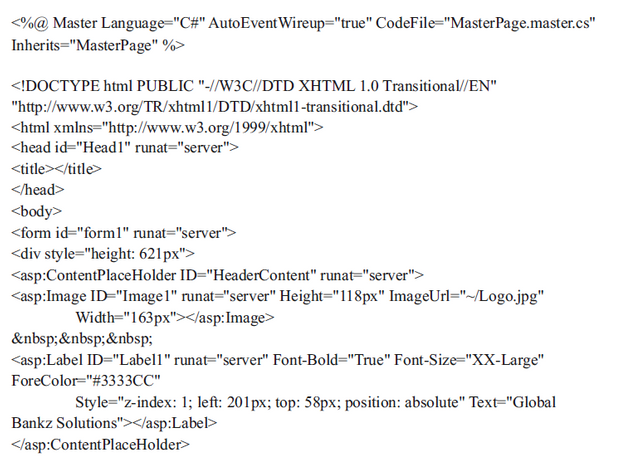
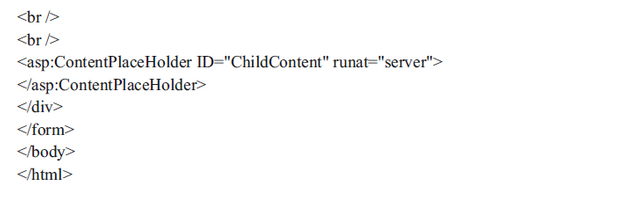
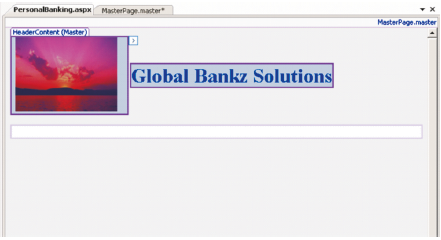
Observe the above tags and you would find that two ContentPlaceHolder controls named
“HeaderContent” and “ChildContent” have been created. The “HeaderContent” contains an
image displaying the logo and a Label displaying the title “Global Bankz Solutions”. The “ChildContent” is left empty
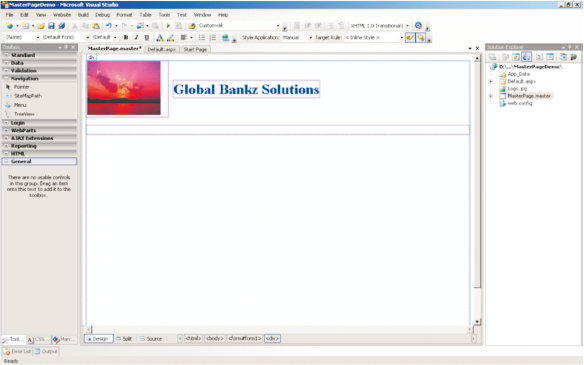
8 ) Switch to the design view and find the design of the master page as below:
Steps to create the Content Page:
1 ) Right-click the “MasterPageDemo” project in the solution explorer and select “Add New Item”.
2 ) Select “Web Form” from the “Visual Studio installed templates” section of the “Add New
Item Dialog”. Enter “PersonalBanking.aspx” in the name TextBox. Check the “Place code in separate file” checkbox. Check the “Select master page” checkbox and click “Add” button as shown below:
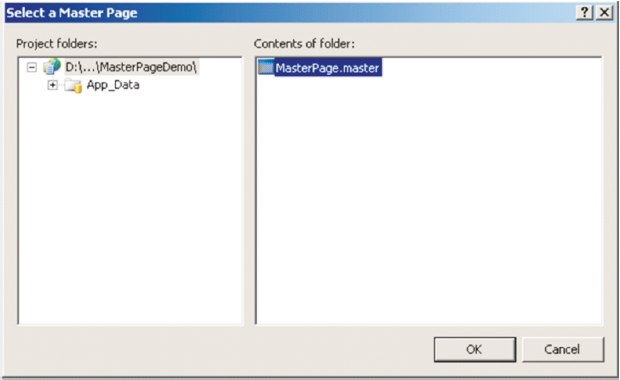
3 ) Select “MasterPage.master” from the “Contents of folder:” section in the “Select a Master Page” dialog and click the “OK” button as shown below:
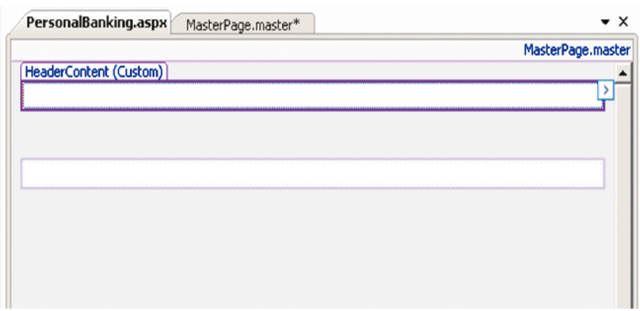
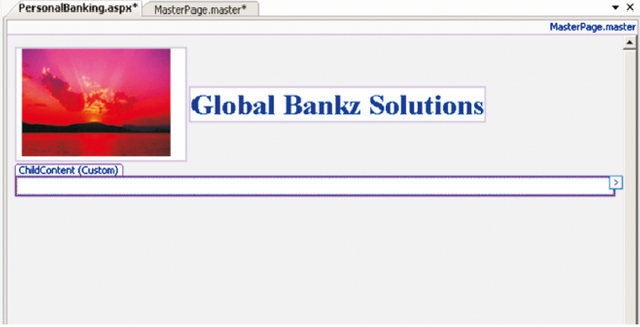
4 ) The design view of the “PersonalBanking.aspx” would look as below:
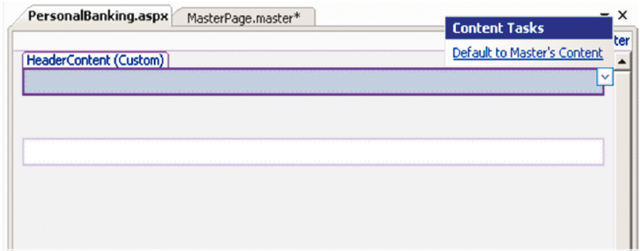
5 ) Click on the smart tag of “HeaderContent (Custom)” Content control and select “Default to Master's Content” as shown below:
6 ) The Design View of the “PersonalBanking.aspx” web page would look as below:
7 ) Click on the smart tag of “ChildContent (Custom)” Content control as shown below:
8 ) Design the “ChildContent (Custom)” Content control as shown below by adding a Label to display “Welcome to Personal Banking”. Add two labels to display “Login” and “Password”. Add two textboxes for “Login” and “Password”. Add a button and set its “Text” to “Login”.

9 ) Right-Click the “PersonalBanking.aspx” file and select “Set As Start Page” and execute the project.
10 ) View the Output below :
Posted on Utopian.io - Rewarding Open Source Contributors
Like your contribution, upvote.
Please change your contribution category to tutorials, thanks.
[utopian moderators]
edited dear @onos
Your contribution cannot be approved because it does not follow the Utopian Rules
You can contact us on Discord.
[utopian-moderator]