Build A Library Application With Graphql ExpressJs React-Apollo and MongoDB (Part 9)

Repository
React
https://github.com/facebook/react
Graphql
https://github.com/graphql/graphql-js
Apollo
https://github.com/apollographql/apollo-client
Express
https://github.com/expressjs/express
My Github Address
This Project Github Address
What Will I Learn?
- You will learn how to create state and setState () function with react
- You will learn how to create a graphql mutation with react.
- You will learn how to access the values entered in the react components.
- You will learn the compose module and its usage.
Requirements
- text editor (I used visual studio code editor)
- Basic javascript information
- Basic react information
Difficulty
- Basic
Tutorial Contents
Hello to everyone,
In this tutorial, we will examine how to create mutations with the react application and learn how to use multiple graphql queries in one component.
We will create the necessary preparations to perform book insertion with react. We will create state and transfer information to the state object to access the book's data from the end user.
To better understand the subject, tutorial sections title are below:
- Create A State For Adding Books
- Create Mutation To Add Books In React
- Use The Compose Module
Let’s start.
1- Create A State For Adding Books
In this section, we will create the react state to add books to the mLab database.
In the previous tutorial, we created the AddBook component and placed the input and select elements in this component. We need to get the values entered in these elements. We must define state to perform this operation with react.
First, we must identify the information we need to add books using state. We have already identified this information as the title of the book, the type of the book, and the author. Then what we need to do is submit the information in the select and inputs, when the form is submitted with the state.
We must write the data in the inputs to the state each time a change occurs before the submit event occurs. Thus, when the submit event occurs, the last values entered will remain in the state. It is important to note that when the form is submitted by default the values in the state are emptied.
Then let's start by creating the state for the AddBook component.
In AddBook.js
First, let's define the state within the component's constructor function.
//component's initial function
constructor(props){
   super(props);
   //saving book information
   this.state={
       name:'',
       type:'',
       authorId:''
   };
}
We have defined the information needed to add books in the state and set the initial values to empty. We will update these state values as the values of the input elements change.
Let's update the state information when there is a change in inputs and select using setState().
<div className="field">
     <label>Book Name:</label>
     {/* we are updating the name of the book with the value input. */}
     <input type="text" onChange={(e)=>this.setState({name:e.target.value})}/>
</div>
<div className="field">
     <label>Type:</label>
     {/* we are updating the type of the book with the value input. */}
     <input type="text" onChange={(e)=>this.setState({type:e.target.value})}/>
</div>
<div className="field">
     <label>Select Author:</label>
     {/* we are updating the authorId of the book with the value input. */}
     <select onChange={(e)=>this.setState({authorId:e.target.value})}>
          <option >Authors</option>
              {this.getAuthors()}
      </select>
</div>
We created two inputs to get book information. Since there is onChange() that will be triggered when there is a change in the values of these inputs, we performed the update operation on onChange.
In the select tag, the author of the book is selected and the author's Ids are listed in the value attribute of the option tag so when using the onChange () function in the select tag, we can access the authorID information with e.
Let's produce a function that will be triggered when the submit event occurs and write the state value to the console.
//to trigger on submit event
sendForm(e){
   console.log(this.state);
}
We will use this function onSubmit instantly of the form tag.
//The sendForm function is triggered.
<form id="add-book" onSubmit={this.sendForm.bind(this)}>
Let's test the app.
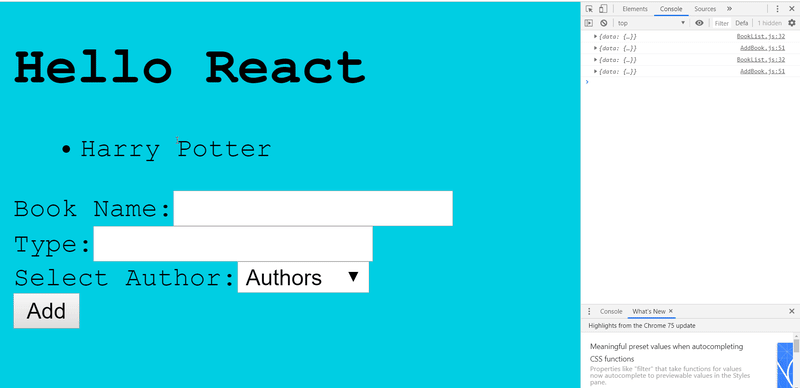
As can be seen, the data was entered and the submit event was triggered, but we could not reach the state value. This is because, the page is postback and loses data when returning.
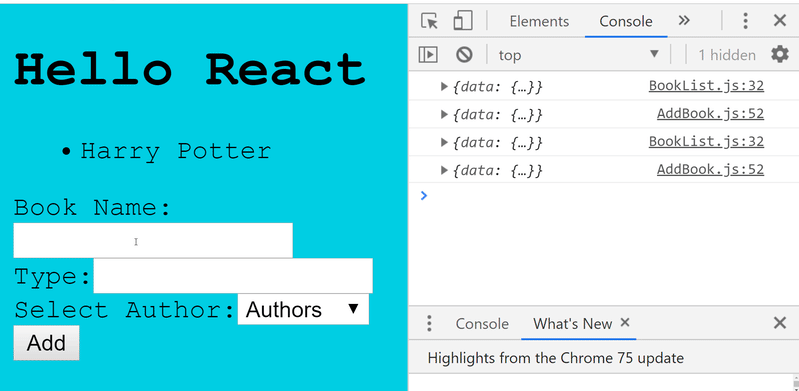
To resolve this issue, we must turn off the page's default settings so the page will not be postback and we will have access to the state data.
//to trigger on submit event
sendForm(e){
   //turn off default settings
   e.preventDefault();
   console.log(this.state);
}
2- Create Mutation To Add Books In React
In this section, we will create the mutation code required to add books within the react application.
We have learned how to create mutation in previous tutorials. in this tutorial we will create these mutations using the gql module in the react.
First, we will add books in GraphiQL field with mutation and use this code in queries.js file.
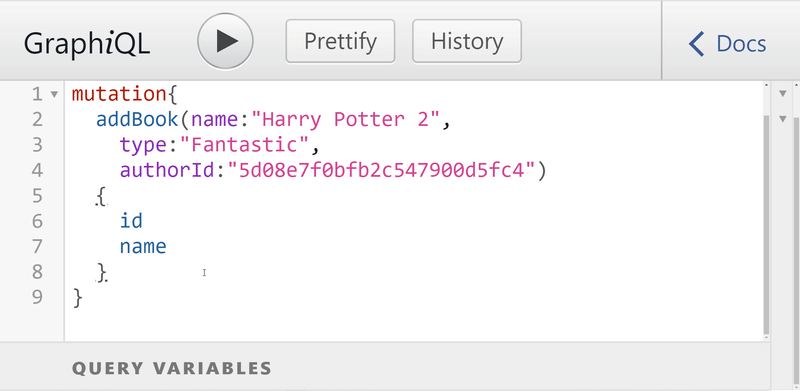
Since the test is successful, let's create the mutation.
In queries.js
//creating mutation to add books
const addBookMutation=gql`

  mutation{
    addBook(name:"",
        type:"",
        authorId:"")
        {
            id
            name
        }
  }
`;
We have created mutation. We must export this mutation to access it from external files because we will access this mutation from the AddBook.js file and perform the book insert operation.
//export query name
export {getAuthorsQuery,getBooksQuery,addBookMutation};
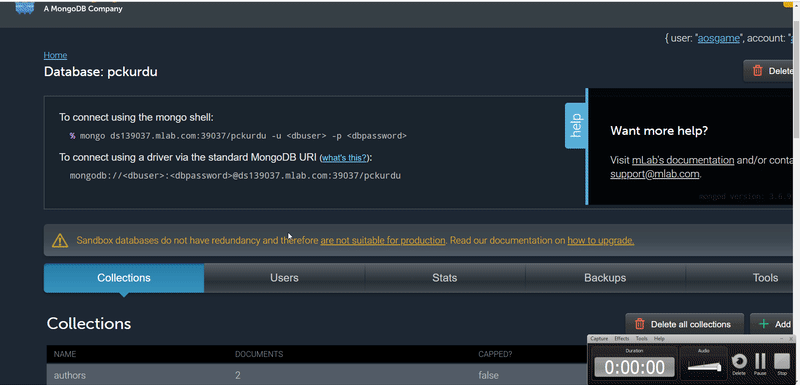
When we add books using mutation, we will add books on mLab.
3- Use The Compose Module
In this section, we will use the compose module and explain its intended use.
The compose module is included in the react-apollo packages and allows to merge graphql queries.
Component can use one graphql query within a react application. In some cases we may have to use more than one query. At such times, we use the compose module to merge queries and use them as a single query.
Now let's show you how to use it on the application.
In AddBook.js
//for export
import {graphql,compose} from 'react-apollo';
//Access the queries file
import {getAuthorsQuery,addBookMutation} from '../queries/queries';
First, we need to import the compose module to the page we will use. Since more than one query will be used on this page, let's import the addBookMutation query.
Then, at the moment of export of this page, combine these queries using the compose module.
The old version of export.
//Let's export to access from another component.
export default graphql(getAuthorsQuery)(AddBook);
The new version of export.
//Let's export with compose.
export default compose(
    graphql(getAuthorsQuery,{name:"getAuthorsQuery"}),
    graphql(addBookMutation,{name:"addBookMutation"})
    )
(AddBook);
We have defined the names of the queries in order to access each of the queries so we can access queries through these names.
Let's run and test the application.
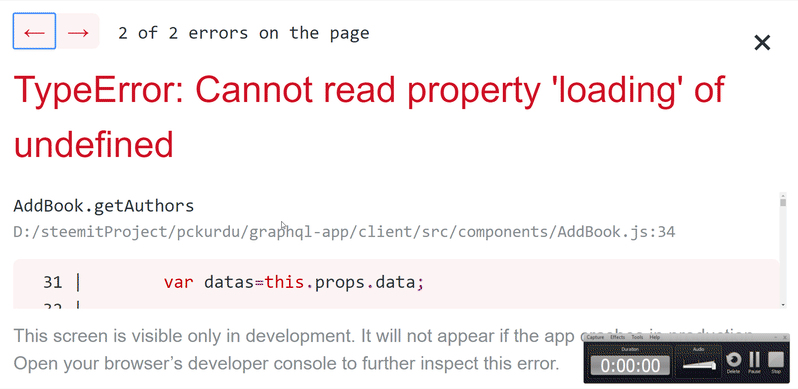
We receive an error when we run the application the application cannot access the data.
The reason for this error is that there are two queries in the component and we do not make the necessary settings to reach the query that accesses the authors.
In the getAuthors () method, let's write the props information to the console and examine it.
getAuthors(){
   //the datas is in the data object in props
   console.log(this.props);
…
}
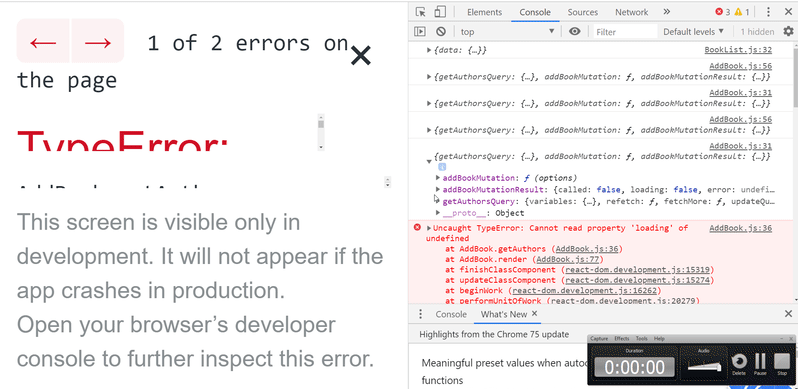
Let's access the authors' data using the defined name of the query.
//result of compose
var datas=this.props.getAuthorsQuery;
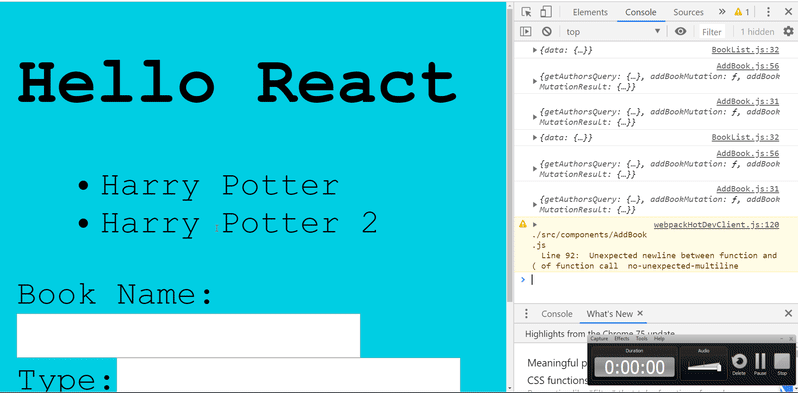
So we used compose module and corrected the errors.
Curriculum
Part 1 - Part 2- Part 3 - Part 4 - Part 5 - Part 6 - Part 7 - Part 8
Thank you for your contribution @pckurdu.
After reviewing your tutorial we suggest the following points listed below:
Your tutorial is very well explained and structured as you have accustomed us. Keep it up!
We liked your care had to increase the size of the letters so that the user can see what you wanted to show on the console. Thank you for that detail.
Your tutorials have gotten better and better!
Thank you for your work in developing this tutorial.
Looking forward to your upcoming tutorials.
Your contribution has been evaluated according to Utopian policies and guidelines, as well as a predefined set of questions pertaining to the category.
To view those questions and the relevant answers related to your post, click here.
Need help? Chat with us on Discord.
[utopian-moderator]
Thank you for your review, @portugalcoin! Keep up the good work!
Hi @pckurdu!
Your post was upvoted by @steem-ua, new Steem dApp, using UserAuthority for algorithmic post curation!
Your post is eligible for our upvote, thanks to our collaboration with @utopian-io!
Feel free to join our @steem-ua Discord server
Hey, @pckurdu!
Thanks for contributing on Utopian.
We’re already looking forward to your next contribution!
Get higher incentives and support Utopian.io!
Simply set @utopian.pay as a 5% (or higher) payout beneficiary on your contribution post (via SteemPlus or Steeditor).
Want to chat? Join us on Discord https://discord.gg/h52nFrV.
Vote for Utopian Witness!