Creating a Website With Django Using Python 3.6 (Part 1) | Learning The Basics Concepts
Creating a Website With Django Using Python 3.6 (Part 1)
Welcome to my first tutorial! In this tutorial series, I will be teaching how you can develop websites using Django and Python. In the future I will be also telling how you integrate steem blockchain into your websites. You might know that there are two main options when it comes to web development. One is Flask while other is Django. Flask gives us more freedom while Django gives us more efficiency. It's upto the developer himself what he likes but in this tutorial, I will be teaching about Django.
Repository
https://github.com/django/django
What Will I Learn?
You will learn these things in the tutorial.
- Installing Django
- Creating a project
- Learning about different files
- Running the server at localhost
- Learning about apps in Django
Requirements
To fully understand the concepts you must have basic knowledge of Python. I am going to be using Python 3.6 in this tutorial. Here are few things that you will need installed.
- Python 3.6 (Link at the end of the tutorial)
- Pip (Link at the end of the tutorial)
- Django
- Code Editor
- Ubuntu 16.04 LTS
Code editor is not necessary but it can make your life alot easier. Some of the good code editors include Atom and PyCharm. I will be using PyCharm for this series because it is designed for mostly Python and it is good for beginners.
Difficulty Level
- Intermediate
Tutorial
Creating Our First Project
I will not really focus on building front end because most of the front end is built with HTML & CSS and I am gonna assume that you already know it. So without any further ado, let's jump right into it. You must have Django and Python installed. To install Django you must have pip installed and then typepip install Django to install the Django, after that just open the code editor. Now that you know you have all the dependencies installed, let's create our first project. So to create a new project, we will need to open the terminal and proceed to the directory in which directory you want to create new project. Just a reminder that you can change directory using cd. After you are in the directory in which you want to create project, type django-admin startproject WebApp.
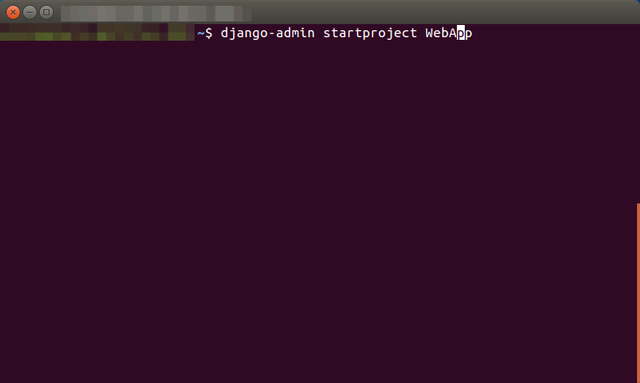
So what this will do is that it will create all the core files in that directory which is needed for building Websites using Django. You can also go to that directory and check the files. Let me explain the code we put above abit, the first word "django-admin" is just used for calling Django's Admin. Second word is explanatory that we can are telling the admin to create or start a new project, then we are putting the name of the project which in my case is "WebApp". Here are some screenshots of the directory in which project has been created.
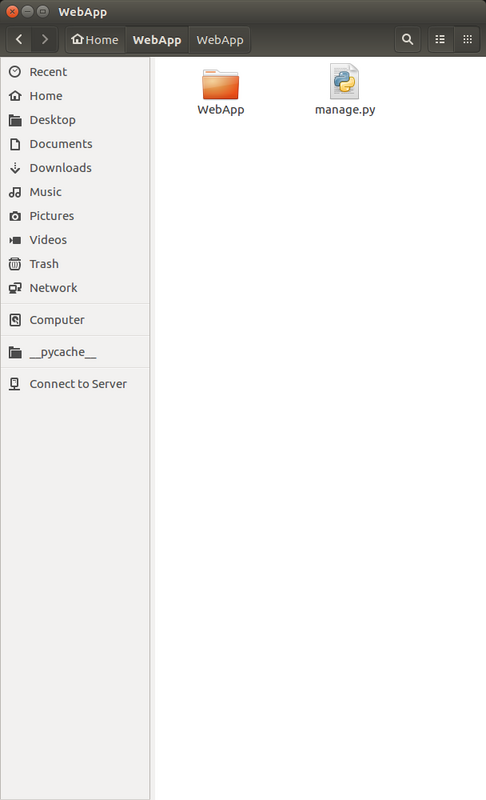
WebApp folder which contains all files of our project
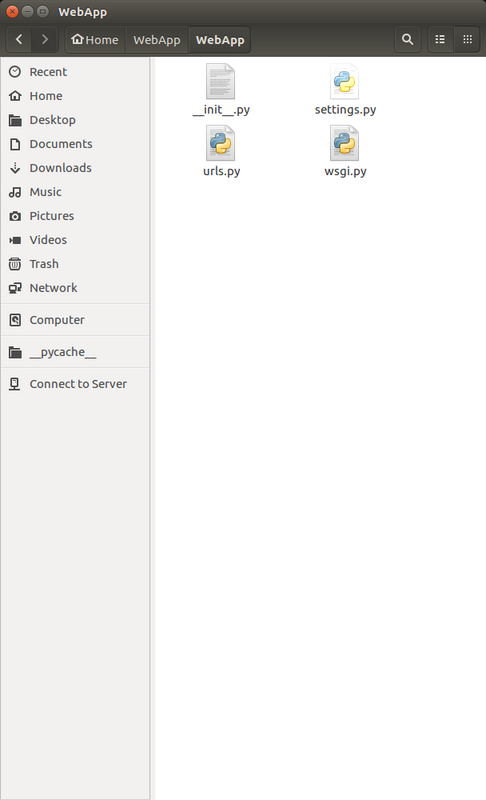
WebApp folder which is inside WebApp folder
Learning About Different Files
manage.py
You might have seen this file in the above screenshots so let's open this file in a Code Editor. Here's how file looks like when you open it in Code Editor.
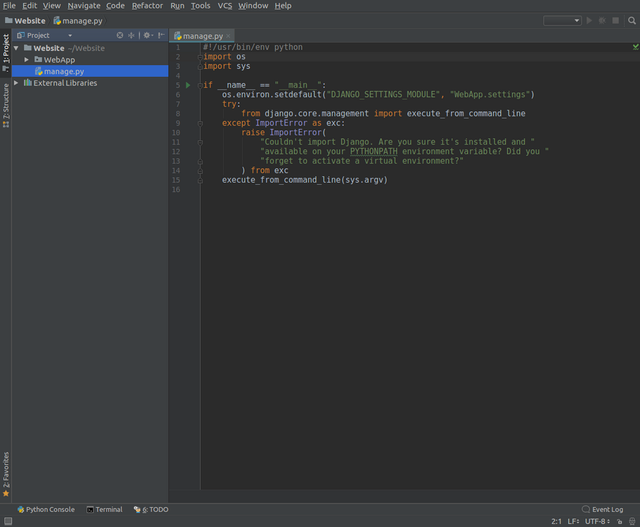
This file is very important, neither delete this file nor rename it or edit it, you can just ignore it. So manage.py is a program/file that comes with Django and it allows you to some cool things like access the database and create users. We will learn how to use this in upcoming tutorials.
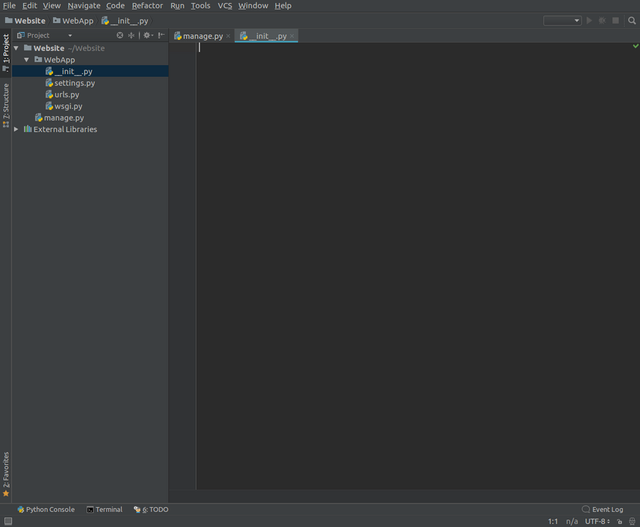
__init__.py
The files in which we are gonna mostly work are in WebApp folder. These files include __init__.py and other .py files. We are also gonna create some additional files in the future as well. So let me explain what __init__.py do. __init__.py is a file that tells Python to view the directory in which the files are as a Python package. If you open the file you will notice that it's empty and we don't actually need anything in it (pun was not intended), it's just a file that tells python that this directory isn't normal directory it is Python package.
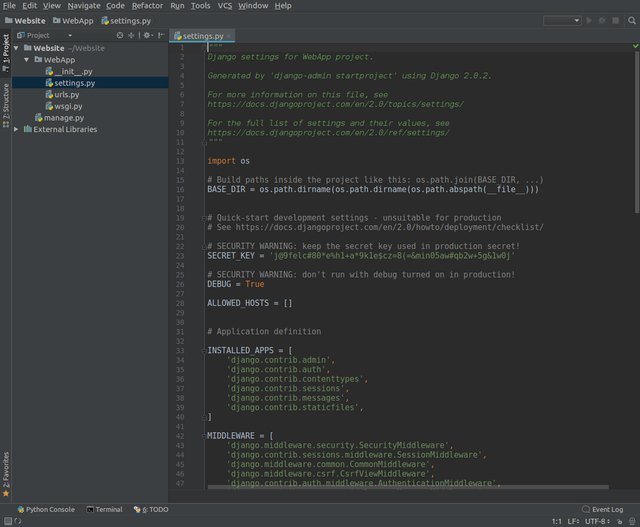
settings.py
The next file is settings.py. So here's what I thought I will do, I was gonna explain each settings but then I thought it will make this tutorial tiresome so here's a better plan I will explain each thing as we go. So for now settings.py is a file which holds all the configuration for the website. If you open it you will see alot of settings and it is best to not touch those unless you know what you are doing.
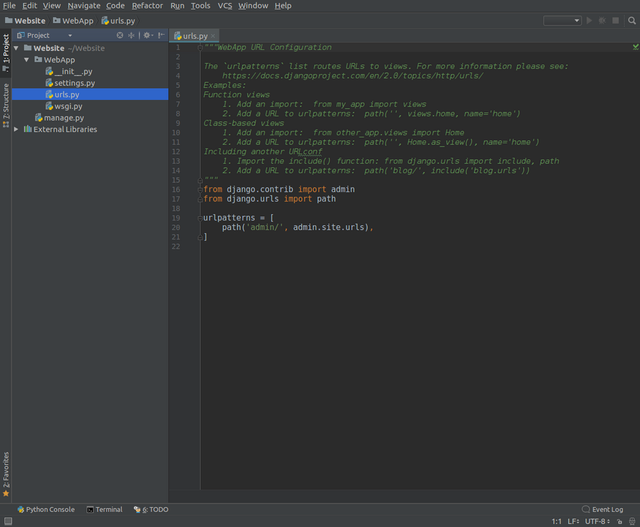
urls.py
In this file you will also the url declaration or in other words these are all the table of content. Let me explain this a bit more. So whenever you goto a website you type the domain and then some url, for example if you go to http://google.com/. Google.com is a domain while "/" is a url path. So for the basic explanation of the file, this file tells the website, if a user goes to x url, perform y action. There's alot more things than that but this is what is basically means.
wsgi.py
Last file is wsgi. WSGI stands for Web Server Gateway Interface and it is a type of web server which we don't need to worry about right now so I won't go into much detail at the moment. So that was the overview of the core files that are needed for every website.
Running the server
Now that we know about what each file does, let's actually run the server and see what our website looks like. To do this you must be in the directory in which files were installed, for me it is a folder name "Website". So in the terminal we are gonna type cd Website and then type python manage.py runserver so what this is gonna do it start the server.
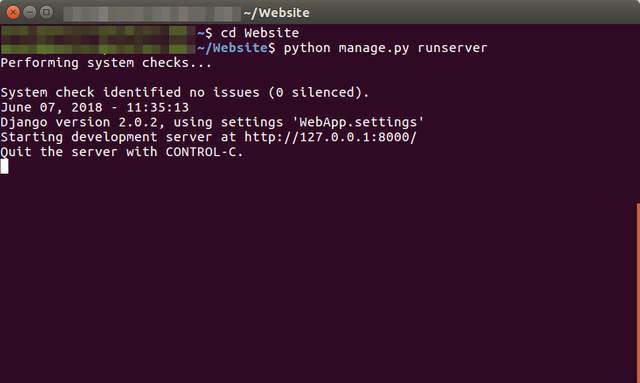
Now let's go to the localhosting server which is http://127.0.0.1:8000. Here's what it looks like at the moment.
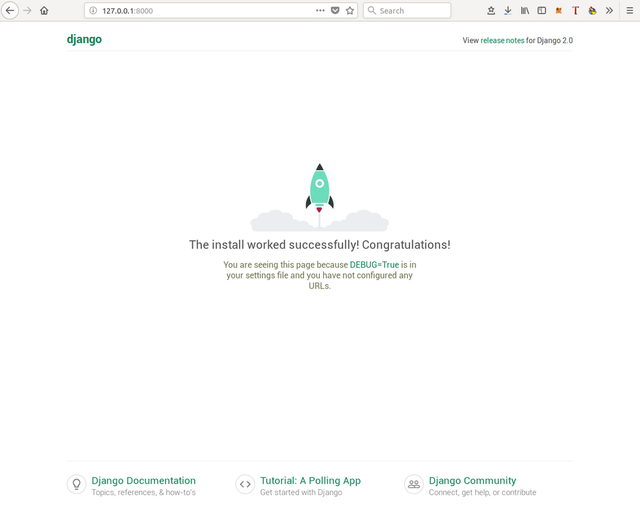
Django works and has been installed!
What are apps in Django?
In Django, the website is composed of little parts known as apps so each sites have multiple apps that makes up the complete website. You can also can ready-made apps or design your own from scratch. The community of Django is amazing and they really make everything easier. A website can have multiple apps like a forum is app as well as trending page. I really like the way Django works because it makes our website more organized and it is very easy to handle them. To give you better standing let's Steemit.com as an example. Steemit has trending page, a blog page and a wallet. So if we want to create website like Steemit on Django, trending page will be one app, blog page will be another and last one will be wallet. So this small apps join to make website in Django. We are actually gonna create our first app in next tutorial.
Summary
Even though practical things were not that much, we learned a lot in this tutorial. First we created a project which resulted in some core files installation. Then we took a look at different files to see what each file does. After that we ran our server on localhost and it was working. At the very end I told you about Apps in Django and concepts of it. I didn't made our first app because it would have made tutorial very longer and I wouldn't be able to really teach anything in detail. I want to teach everything in as detail as I can.
Curriculum
This first tutorial of the series so there isn't any curriculum but there will be in future!
Resources (Links)
Here are some helpful links that can help you along the way.
I really look forward to following your tutorials.
Thank you for your contribution.
While I liked the content of your contribution, I would still like to extend few advices for your upcoming contributions:
Looking forward to your upcoming tutorials.
Your contribution has been evaluated according to Utopian policies and guidelines, as well as a predefined set of questions pertaining to the category.
To view those questions and the relevant answers related to your post, click here.
Need help? Write a ticket on https://support.utopian.io/.
Chat with us on Discord.
[utopian-moderator]
Thanks for reviewing, will keep your suggestions in mind
Hey @reinhardtation
Thanks for contributing on Utopian.
We’re already looking forward to your next contribution!
Contributing on Utopian
Learn how to contribute on our website or by watching this tutorial on Youtube.
Want to chat? Join us on Discord https://discord.gg/h52nFrV.
Vote for Utopian Witness!