Reviewing GIMP (part5): Processing photos like effects provided on Instagram social media

Now in this blog I will share a little of my personal story about simple effects provided on Instagram social media using the GIMP software, well this looks simple, but there is something unique if we talk about making effects on photos.
Before I tell you, I would like to say thank you very much for the Utopian-Iio and Steemit parties. Because it has provided a forum for me to write, tell stories and share my knowledge and experience. Not forgetting also to my beloved blog followers, thank you very much for your kind support and response to my previous writings.
Okay ... this time I will tell you a little about my experience in creating a simple effect using the GIMP software.
Last year I got a chat on Instagram from my distant friend. We have been out of communication for a long time since graduating from school, but he observed my Instagram posts that often talk about photography.
There's not much we talk about, he only talks about software gimp. he wondered why the Gimp software had always been my mainstay for processing photos.
Yes ... I told a little and gave reasons why Gimp has always been my mainstay. Just like the thing I discussed in a previous blog. Gimp is my mainstay because of its flexible nature and Gimp has raised my good name during the photo manipulation race. Many things make me comfortable with Gimp software.
Then he understood what I meant and gave me a little support. 30 minutes of walking suddenly he asked how to make a simple effect like the effect provided by social media Instagram because the effect was very viral in his area, "he said". I just discussed the effect, I tried to give imagination to my head to my friends.
Approximately like this!!

You may have seen many vintage photo effects, or even made some of your own software like Instagram. Today we will see some "vintage effects" and see how they can be replicated in GIMP or Photoshop.
Vintage effects like Instagram are simple and can be estimated or engineered easily if you know how. We will see how even free software like GIMP can replicate the effects of photographers and pros on the iPhone.
Manually Creating the "Nashville" Effect
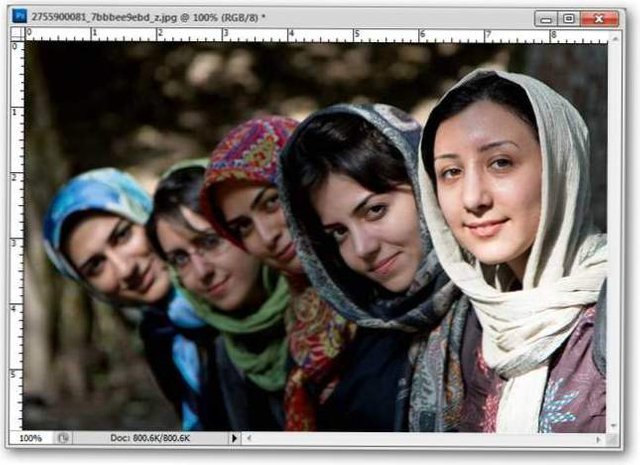
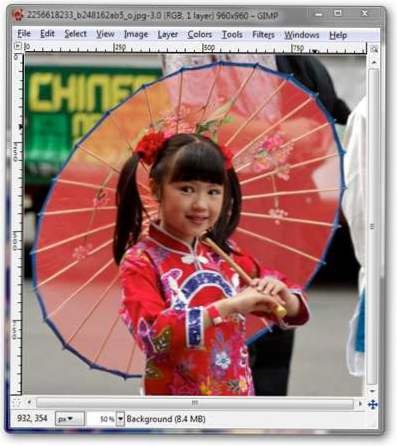
Let's recreate one of these effects in Photoshop or GIMP, using a similar tool that can be handled by the program. Find the image you want to play, and run one of the image editors. Save an alternative copy of your image so you can come back whenever you need to.
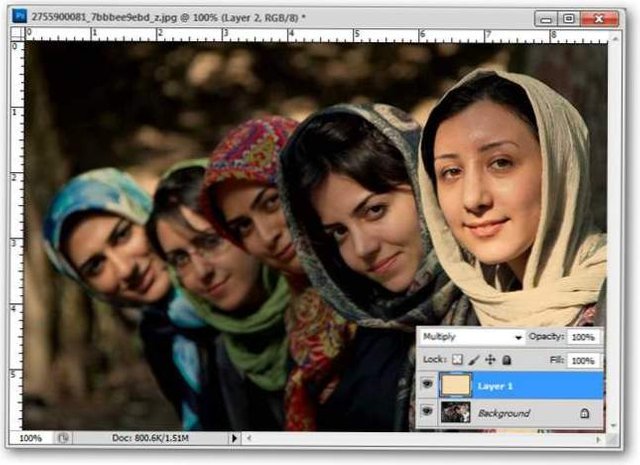
Create a new layer and fill it with pale yellow, then set the layer's blending mode to multiply.
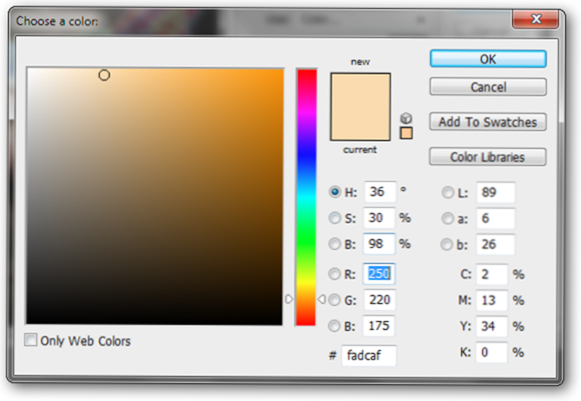
You can use colors similar to this RGB recipe if you prefer. The RGB 250, 220, 175 and hex #fadcaf recipes will both create the same color in one program.
(Authors: Changing this color can definitely affect your end result - so experiment with it!)
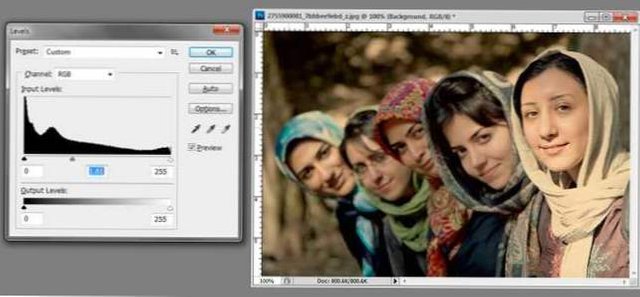
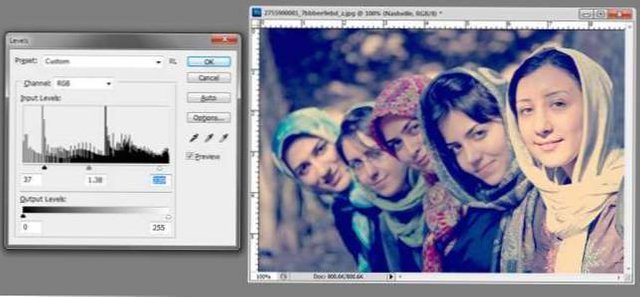
Return to your background layer. We will make three quick adjustments to the background. First, adjust the center slider, move it to the left of the histogram. You must adjust it on all three of your RGB channels.
To open the Level, press Ctrl + L in Photoshop, or navigate to Color> Level in GIMP.
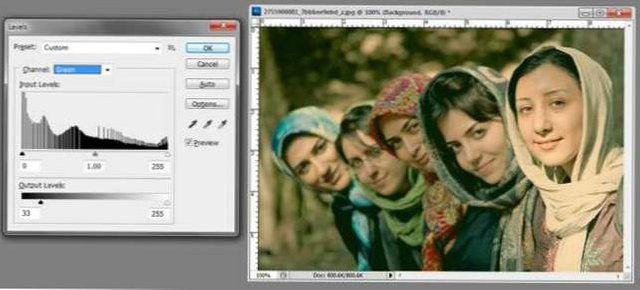
Then, change the level to function on the "Green" channel, and adjust the output level by moving it closer to the right side of the screen. Be sure to do this in the green channel, and nothing else, or the RGB channel.
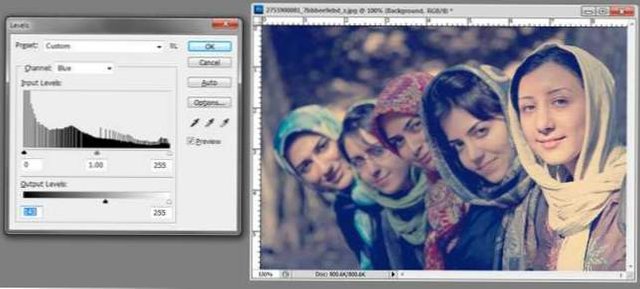
Change your level to adjust the "Blue" channel, and dramatically adjust the Output Level slider. After you have done all three of these things, you can press OK.
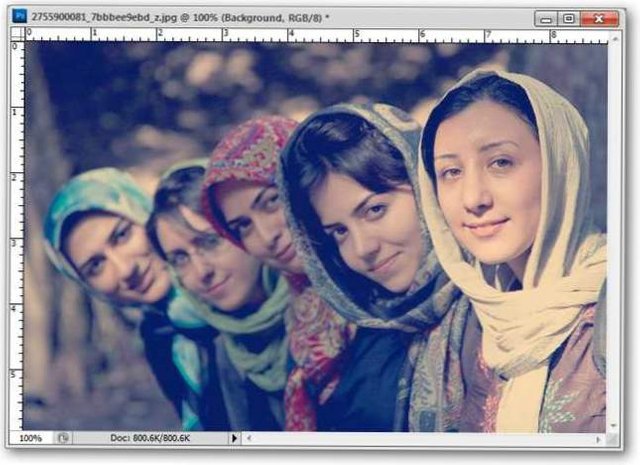
With just a few steps, a photo can be changed dramatically. You can always go further, but this is a great vintage look in itself.
Antique photo effects sometimes try to destroy details, such as flattened blacks and highlights to simulate bad prints or old photo paper. Additional settings for levels can add to this effect but are not needed.
Manually Creating the "Lord Kelvin" Effect
Let's do one more of the Instagram effect, this time similar to "Lord Kelvin." Start with another image, and this time, we will make some adjustments to the curve. If you are not familiar with curve tools, read about how they can help you adjust contrast like a professional. Remember to keep an alternative copy of your image before you start working!

Open the curve in Photoshop by pressing Ctrl + M. In GIMP, Navigate to Color> Curve.
We will adjust the curves of each channel separately. For the Red channel, make a curve similar to this one. Note that the leftmost point is raised from the bottom of the curve box.
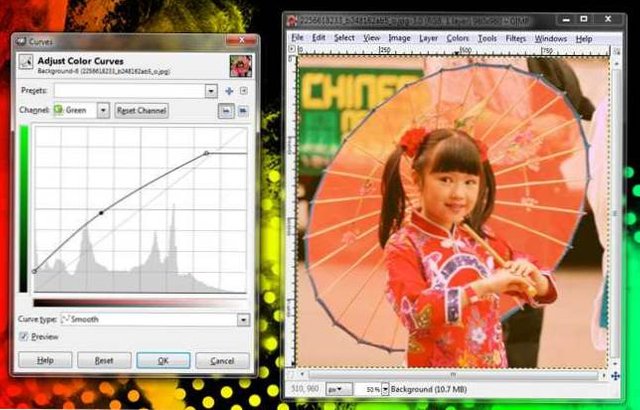
Now let's adjust the Green channel. Again, raise the leftmost point, the line curve slightly with the midpoint shown above, and lower the rightmost point and bring it in, so that the line is on the right.
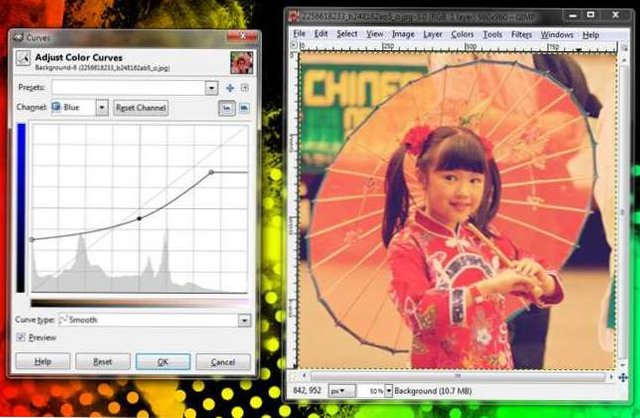
Finally, adjust the Blue channel. This is strange and radical compared to the last two channel adjustments. Raise the leftmost point upwards high enough, and drop the rightmost point in and down as shown. Then bend slightly down, and press OK.
(Authors: You can use whatever value you want for one of these three adjustments. This is a value similar to that used by Daniel Box to replicate Instagram, but there is no single way to create a vintage effect. Change it to your liking. and make a crazy vintage effect from yourself, if you like it!)
You can make additional subtle changes in levels or curves to adjust your image to your liking. Both of these tools are equally useful, but give you control of very different parts of the image. Play with both, and create the best effect for you. Have questions or comments about Graphics, Photos, Filetype, or Photoshop? Send your question to [email protected], and they may be displayed in the upcoming article How-To Geek Graphics.
Summary
I'm sure with this article, you start thinking twice about using more pro manipulation software like Adobe Photoshop, etc.
Well, it should be. Because if we make a comparison of GIMP software. he will excel in terms of the speed of his work process compared to software that is already pro. Pro software is indeed very superior in terms of features, but not in terms of speed.
In this article, I have shared what personal search can do for you. I have also reviewed the software when I did it. In my next article, I will discuss other important points about this topic (personal exploration).
Stay fixated on my blog for that article.
Don't hesitate if you want to ask. please leave your question in my comment column.
Thanks for reading.
Source
Content software reviews are based on my project and most of my experience. The image used is a platform screenshot on my device. Other images have a source link provided just below it.
Thank you for your contribution. As this is one in a long series of posts, there isn't much to add either in terms of the content or the writing to what the moderators have written.
However, I have a different issue. For a review, this is way too detailed. A review is about telling folks whether they should use the tool being reviewed, and why. I know that historically, our Tutorials category has not been open to graphics tutorials, but I still think this may be a better venue for this series. I think there's value in a strong GIMP tutorial. I write this as someone who tried GIMP and absolutely hated the UI. A strong, detailed, technical tutorial is something our friends at Tutorials may be open to. If it's something generic one can easily find elsewhere, they won't be.
But as it is, I feel like you're using the Blog category as an alternate venue for tutorials. We're not. We're here for you to tell us about your experience with open source software, not for a detailed guide to using an app.
Your contribution has been evaluated according to Utopian policies and guidelines, as well as a predefined set of questions pertaining to the category.
To view those questions and the relevant answers related to your post, click here.
Need help? Chat with us on Discord.
[utopian-moderator]
Thank you for your review, @didic! Keep up the good work!
Hi @riyandacountri!
Your post was upvoted by @steem-ua, new Steem dApp, using UserAuthority for algorithmic post curation!
Your post is eligible for our upvote, thanks to our collaboration with @utopian-io!
Feel free to join our @steem-ua Discord server
Hey, @riyandacountri!
Thanks for contributing on Utopian.
We’re already looking forward to your next contribution!
Get higher incentives and support Utopian.io!
Simply set @utopian.pay as a 5% (or higher) payout beneficiary on your contribution post (via SteemPlus or Steeditor).
Want to chat? Join us on Discord https://discord.gg/h52nFrV.
Vote for Utopian Witness!
Congratulations @riyandacountri! You received a personal award!
You can view your badges on your Steem Board and compare to others on the Steem Ranking
Vote for @Steemitboard as a witness to get one more award and increased upvotes!