Tutorial (Godot Engine v3 - GDScript) - RigidBody Chain !
 Tutorial

What Will I Learn?
Hi,
In my last tutorial, I demonstrated how to create a simulated Chain, using Verlet Integration; i.e. implemented without using the Godot built-in physics engine.
In true fairness, I've written this as the counterpart to it.
... and boy, how much better it is!
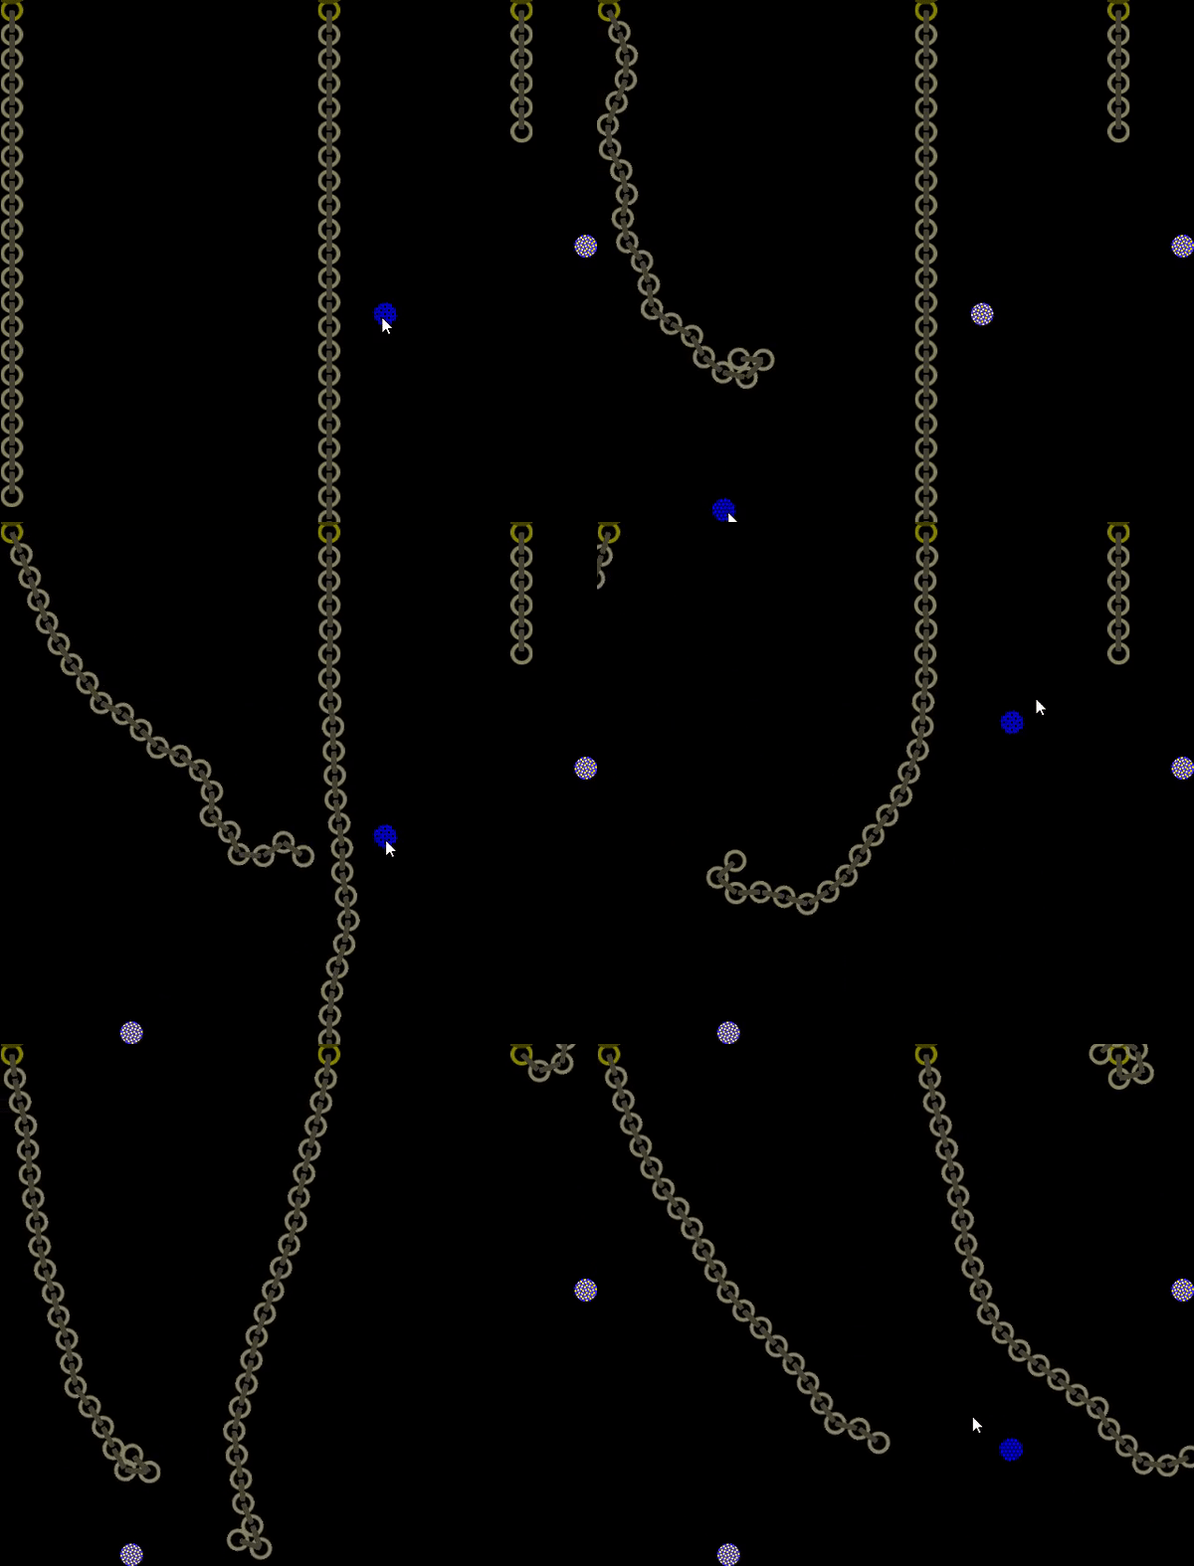
This is what we end up with:
Assumptions
- You have installed Godot Engine v3.0
- You are familiar with GDScipt
You will
- Overview
- Create a Loop as RigidBody2D
- Anchor the Loop
- Link the Loops together and Anchor them
- Chain Script to build the full chain
- Rotate the Links
- Add a Ball to interact with the Chain
Requirements
You must have installed Godot Engine v3.0.
All the code from this tutorial is provided in a GitHub repository. I'll explain more about this, towards the end of the tutorial. You may want to download this
Overview
We are going to use the out-of-the-box 2D physics Nodes that Godot supplies. In particular:
RigidBody2D : I think of these as independent living and breathing entities that obey all configured Physical properties
StaticBody2D : These are objects that are fixed, such as Anchors, Floors, Walls, etc
KinematicBody2D : These are the user/player type Nodes that live in the physical world, but are instructed to move by user input. They will obey certain Physics rules when configured and will collide!
PinJoint2D : This is the mechanism for connecting two Physics Nodes together, so that one affects the other, through a 'pinned' position; i.e. we are going connect one 'Loop' to the next, so that the child may wrap around the parent.
We will also configure the environment to ensure Gravity and other important factors are applied to our world.
Believe me, this is VERY simple and easy to apply, this should take you no more than a few minutes to complete!
Create a Loop as a Rigid Body
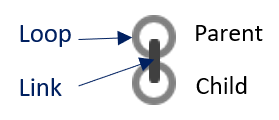
Let's start by creating our Main actor, the Loop. I'm going to stick to the analogy that I made-up in the previous article:
We are going to create the Loop as a RigidBody because we want it to obey the laws of physics and NOT be controlled by us (the user).
NOTE: I saved my Loop scene in a folder hierarchy of /Chain/Loop/Loop.tscn
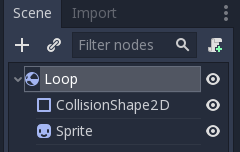
Create a new Scene and add a RigidBody2D to the root node:
As you can see, I would like you to also add a CollisionShape2D (we've used these in previous tutorials) and a Sprite.
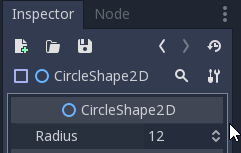
Ensure you create the CollisionShape2D as a CircleShape2D and set its radius to 12 (which is half of the 24 pixels of the Loop PNG image file):
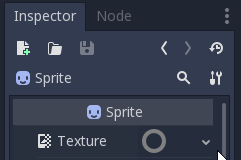
Add the Loop image  to the Sprite texture:
We are done, it's that easy! Try adding an Instance of the Loop to a new Game Scene and run it!
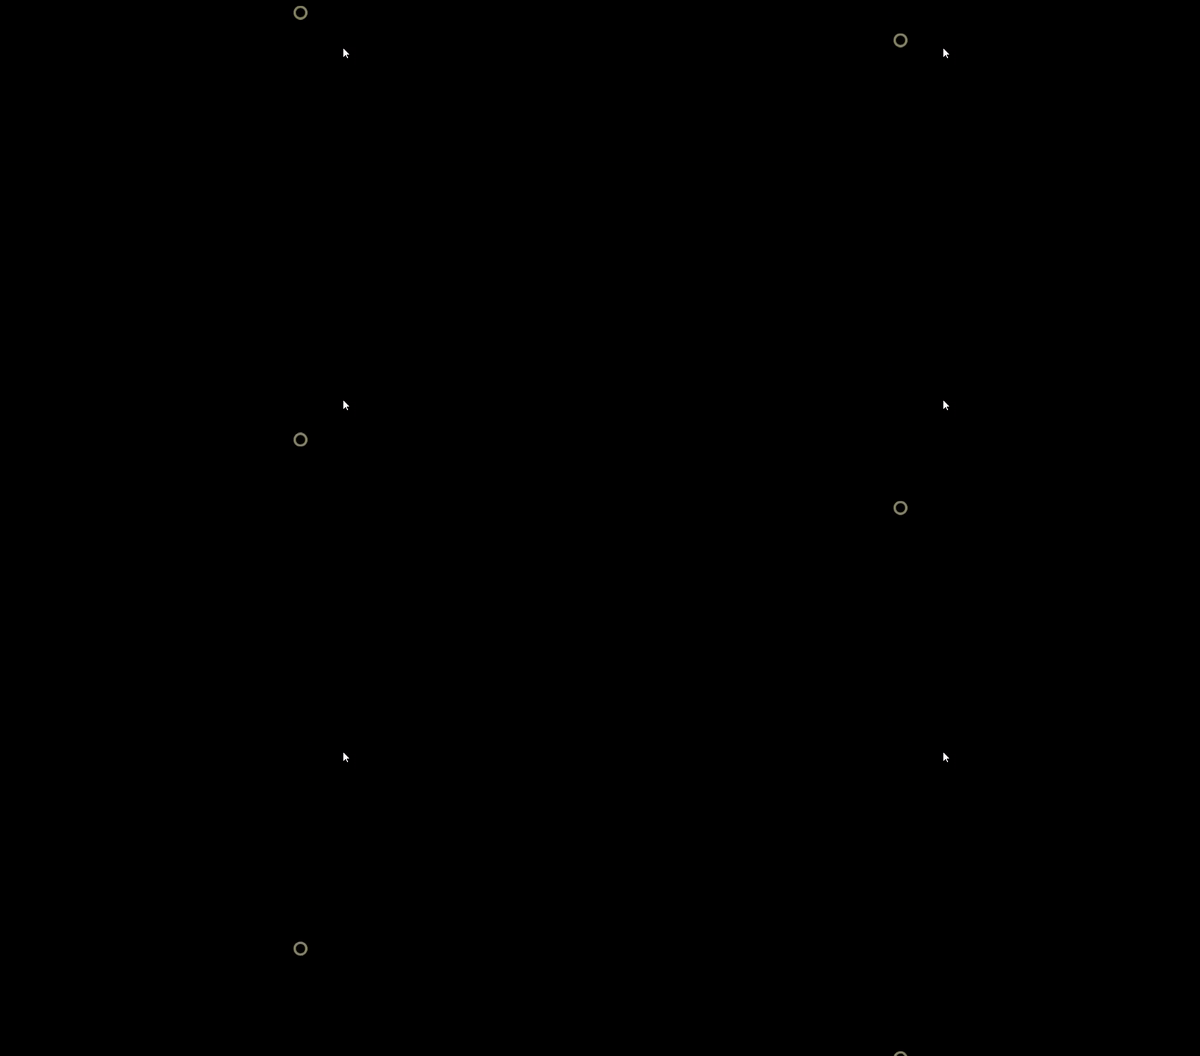
... oops, it doesn't do a lot, other than fall off the screen!
Anchor the Loop
Let's Anchor the Loop to the ceiling. To do this, we need to use a StaticBody2D, as they generally don't move!
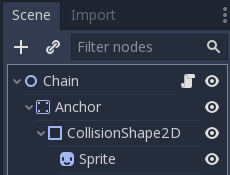
Create a new Chain Scene by forming the following structure:
- The Root node is a Node2D object because we need to place the chain where ever we like on the screen
- The Anchor is the StaticBody2D Node, added as a child to keep it separate from the 'Chain' (this would allow us to lift it and its two children into a separate instance if we needed/wanted)
- Give the Anchor a CollisionShape2D, which will be a CircleShape2D of 12 radius
- A Sprite with the Anchor image
 is then added (this is a child to the CollisionShape2D, but could be a child of the root)
Let's ignore the script that I have (as seen in the hierarchy screenshot) for now.
Save the Chain (I placed into /Chain/Chain.tscn) and then add it to your Game Scene.
Try running!
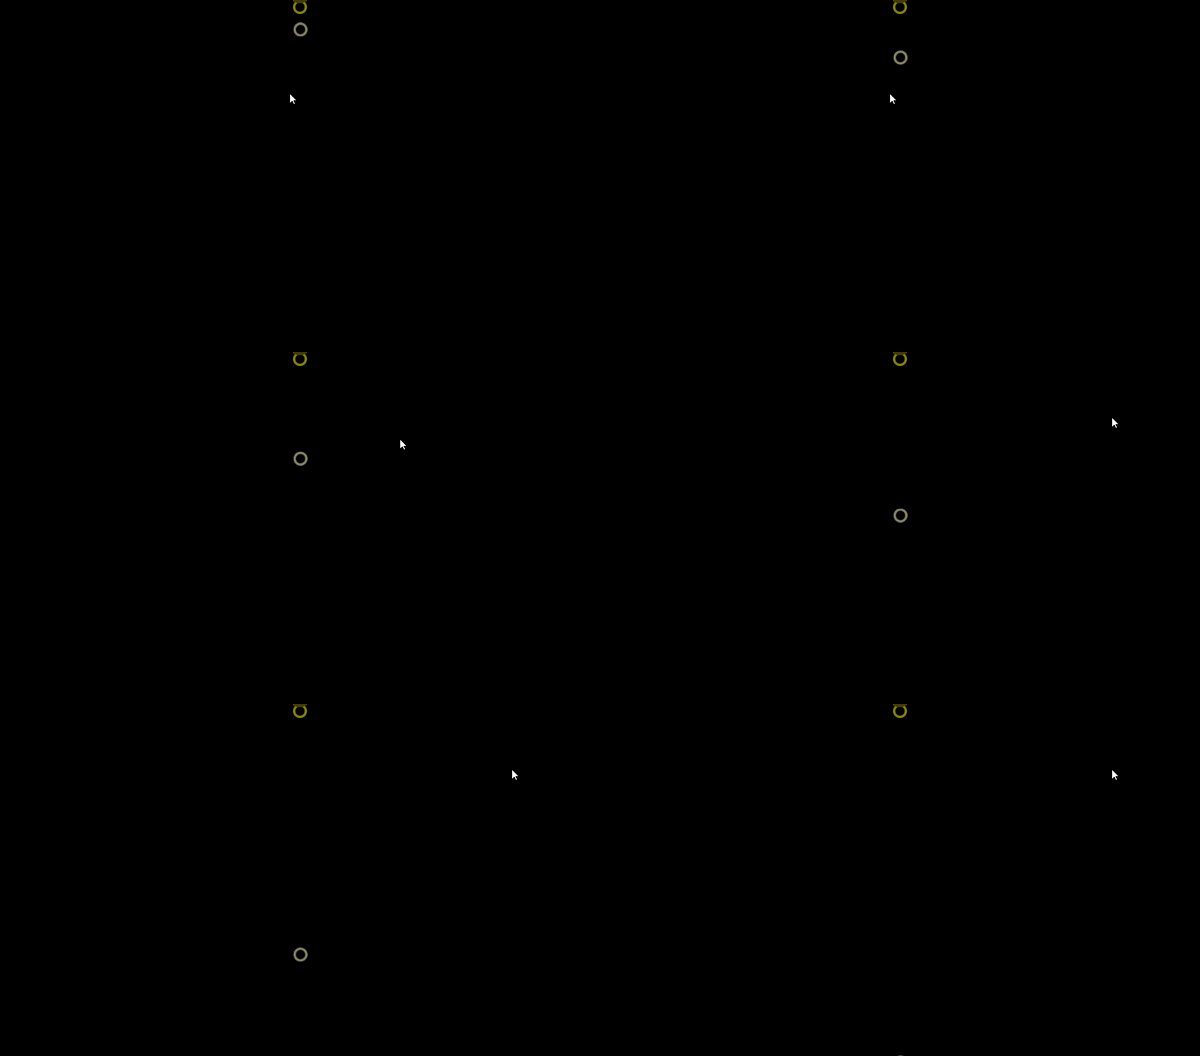
As you'll observe, the Chain Anchor remains onscreen, but the Loop goes falling away!
Link the Loops together and Anchor them
We need to Link the Loops together and eventually hang them off the Anchor Node.
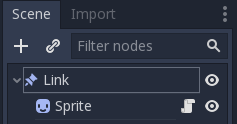
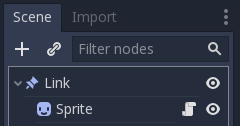
This is achieved by another hierarchy, please create a new Scene called Link (I saved in /Chain/Link/Link.tscn):
- The root node is a PinJoint2D, its purpose is to link two Nodes together and ensure their movement are orchestrated.
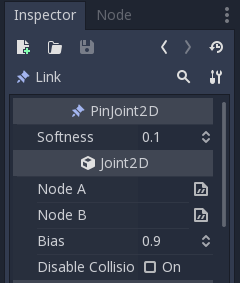
The following PinJoint2D properties need to be configured:
- Softness : should be set to 0.1, which dictates how the two Nodes bond together. This value was picked as it stops the formed chain from shaking (play with this value when up and running!)
- Bias : should be set to 0.9, which instructs the Nodes to pull together as quickly as possible (we want to maintain them touching)
- Disable Collision : ensure this is false, which means Collision Detection is ON between Loops (in my opinion, this is a bad double negative in the tool!)
- The Link sprite texture is added to the image
 . Make sure the Z Index of this Sprite is higher than the Loop Sprite, otherwise it will look wrong when it appears under the loop!
I'm going to ignore the Script that is associated with the Sprite for now. I will return to it.
We now have the Link, but it does NOTHING on its own. It has to be configured with two Nodes that are pinned. To do this, I'm going to revert back to the Chain Scene and add the script I ignored earlier.
Chain Script to build the full chain
Open the Chain Scene, add a Script to the Root Node2D Chain Node:
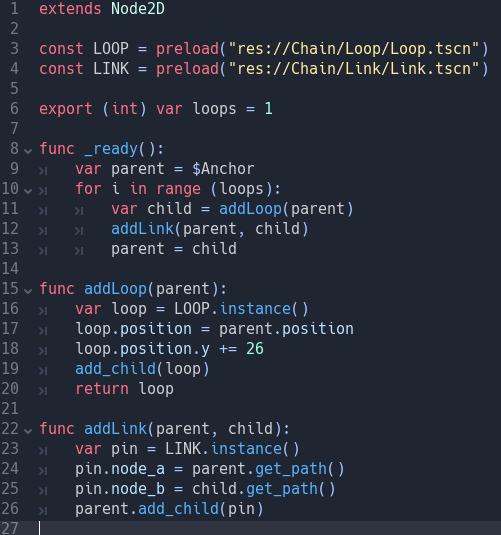
The following script should be added:
Let's walk through the code:
extends Node2D

const LOOP = preload("res://Chain/Loop/Loop.tscn")
const LINK = preload("res://Chain/Link/Link.tscn")

export (int) var loops = 1
The Node2D class is extended
Two constants are defined, which preload the Loop and Link Scenes, ready to be instanced
An integer is exposed to the Tool, allowing the number of Loops in the chain to be set
func _ready():
    var parent = $Anchor
    for i in range (loops):
        var child = addLoop(parent)
        addLink(parent, child)
        parent = child
When the Node is ready, the chain is created.
First, a variable known as a parent is set with the child Anchor Node in the hierarchy; thus, this will hold the chain up!
Loop for the number of Loops set in the editor
Next add a Loop and retain a reference to the Node (as a child)
Create a Link, using the known parent and child Nodes
Finally, set the parent to the new child; as it will become the parent to the next loop!
func addLoop(parent):
    var loop = LOOP.instance()
    loop.position = parent.position
    loop.position.y += 26
    add_child(loop)
    return loop
The addLoop function does what it says on the tin
A new instance of the Loop Scene is created
The position of the Loop is set to the parents' position plus 26 pixels down
Before returning the Loop Node to the caller, it is added as a child to the Chain Node
func addLink(parent, child):
    var pin = LINK.instance()
    pin.node_a = parent.get_path()
    pin.node_b = child.get_path()
    parent.add_child(pin)
The addLink function creates the instance of the Link Node
The parent and child are set as node a & b of the pin joint
Finally the pin is added to the parent, which is important! By adding the pin to the parent, its offset will be the middle of the parent loop; thus, any rotation occurs around the outside of the loop, which is what we want!
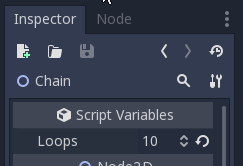
Return to your Game Scene and remove any Loop Nodes that you added, i.e. you should only have a single Chain Node added; for which you'll want to set the loop count:
Set this to any number you like! Rerun the Game:
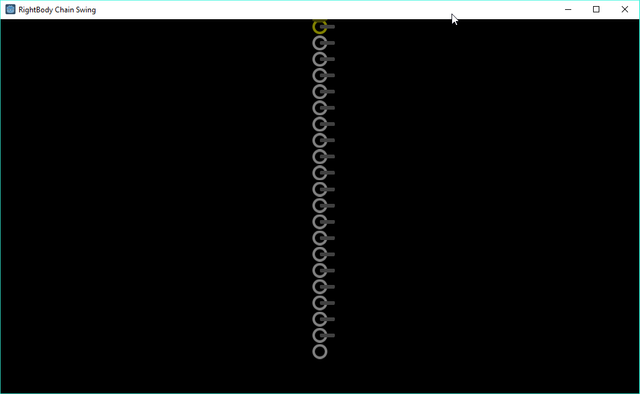
...Ah. The chain is semi-formed, the link doesn't show correctly!
Rotate the Links
We need the Link Sprites to update themselves and rotate to the angle between the parent and child nodes. Fortunately, this is accomplished by adding a Script (I mentioned it above) to the Link Sprite:
The Script being:
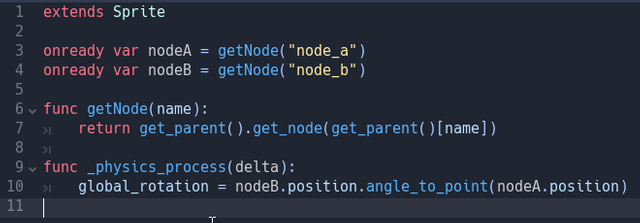
extends Sprite

onready var nodeA = getNode("node_a")
onready var nodeB = getNode("node_b")
Extend the Sprite class and set two variables to the parent and child nodes when ready; they use the following helper function
func getNode(name):
    return get_parent().get_node(get_parent()[name])
A helper function which retrieves a named node from the pin joint and returns the full node for the node path
func _physics_process(delta):
    global_rotation = nodeB.position.angle_to_point(nodeA.position)
After each Physics update (rather than process frame), change the rotation of the link to the angle between the two nodes
Rerun and our Links become fixed:
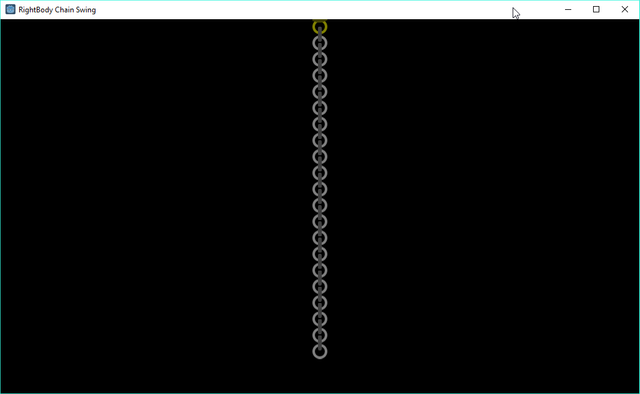
... although, we do not have a way to interact with it!
Add a Ball to interact with the Chain
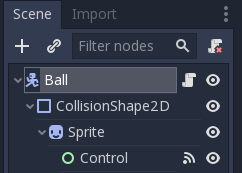
To interact, we need a KinematicBody2D as a shape of a Ball. You can probably figure this out for yourself now! However, here are the details:
- Add a KinematicNode2D and call it Ball. I'll provide the script below
- Add a CollisionShape2D with a CircleShape2D and configure it with a 12 radius
- Add a Sprite with a 24 x 24 Ball PNG

- Add a Control, for which I explained in the previous tutorial! Wire its Inspector>Node>mouse_entered() and mouse_exited() functions to the Ball Node Script
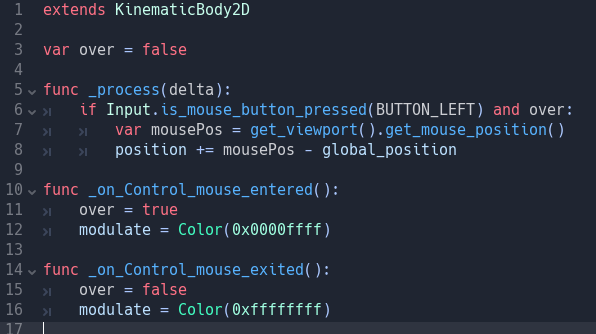
extends KinematicBody2D

var over = false
Extend the KinematicBody2D class and define a variable to represent if the mouse is over the ball
func _process(delta):
    if Input.is_mouse_button_pressed(BUTTON_LEFT) and over:
        var mousePos = get_viewport().get_mouse_position()
        position += mousePos - global_position
Per frame, check whether the mouse is pressed and it is over the Ball. If so, calculate and move the Ball to the new Vector
func _on_Control_mouse_entered():
    over = true
    modulate = Color(0x0000ffff)
The Control mouse_entered() function is wired to this, which sets the over flag to true to indicate the mouse is over the Ball and change its colour to highlight the fact
func _on_Control_mouse_exited():
    over = false
    modulate = Color(0xffffffff)
The mouse_exited() function of the Control is wired to this, which resets the flag to indicate the Mouse has left the Ball and reset the colour back to default
Add the Ball as an instance to the Game Scene and rerun:
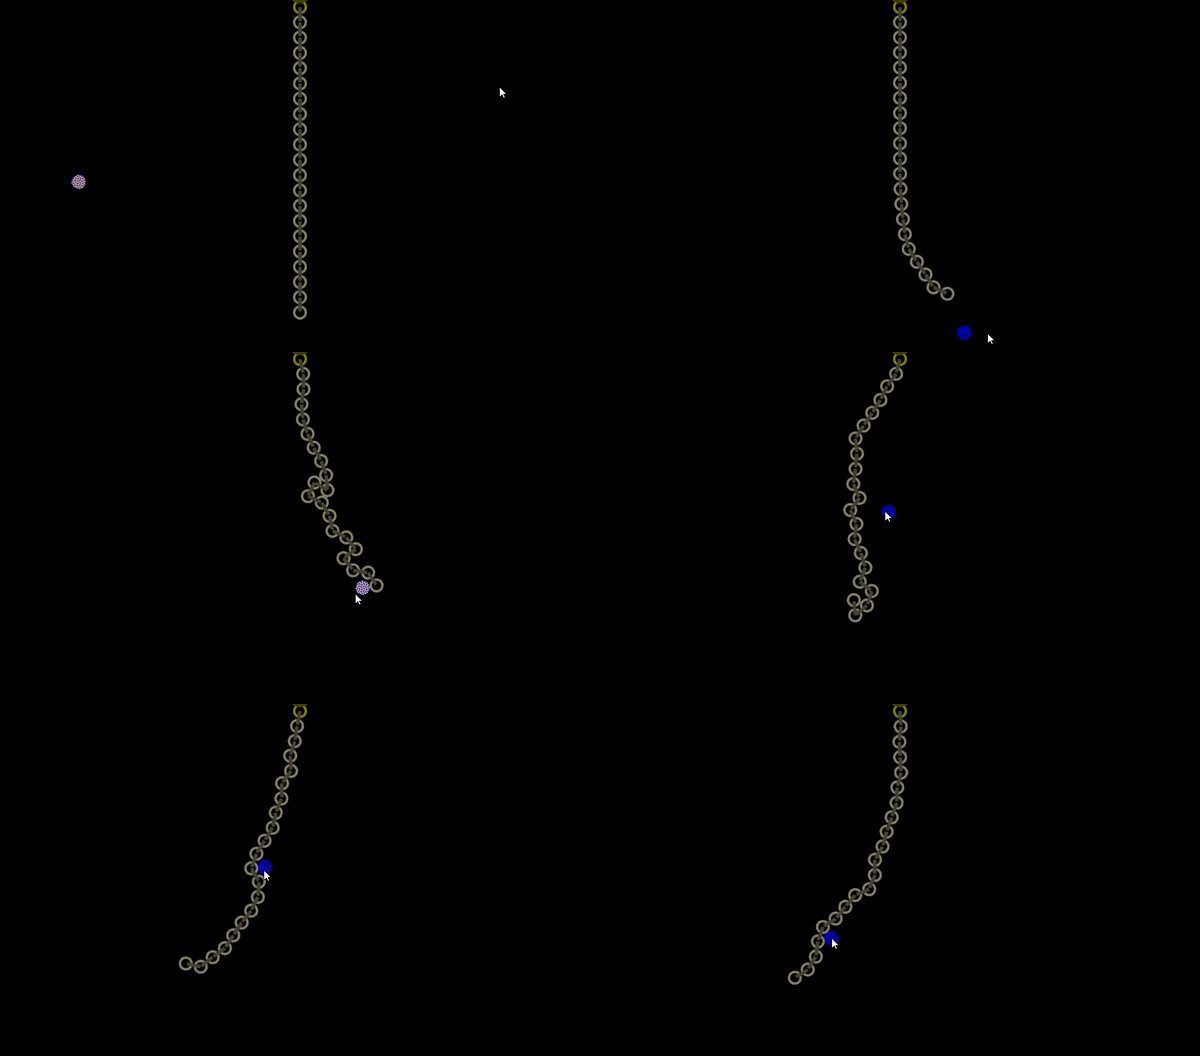
... we can now interact with the Chain!! Mission accomplished.
Try adding more Balls and Chains to see how they work together!
Open up the ProjectSettings and look at the Physics settings. Try turning off gravity or changing it's direction!
Have a play with the PinJoint2D and the RigidBody settings, such as Mass and Weight etc.
With these options, you can make a very heavy or light chain for example!
Finally
This tutorial has shown you how to implement a RigidBody Chain! To be honest, it is far superior to the Verlet Chain in every way:
- It deals with Loop to Loop collisions
- Is hardware accelerated
- Is simple in construction
- Will interact with other Physic Objects!
I can see many improvements to make it. To retro-fit, these into the Verlet implementation would be a waste of effort, unless I need it in a future game!
I will use this to form a 'rope' and a 'rickety bridge', but you have the basics here to do it yourself!
Please do comment and ask questions! I'm more than happy to interact with you.
Sample Project
I hope you've read through this Tutorial, as it will provide you with the hands-on skills that you simply can not learn from downloading the sample set of code.
However, for those wanting the code, please download from GitHub.
You should then Import the "RigidBody Chain Swing" folder into Godot Engine.
Other Tutorials
Beginners
Competent
Posted on Utopian.io - Rewarding Open Source Contributors

I'm going to start providing YouTube videos, as I really dislike the quality of the GIFs:
Thank you for the contribution. It has been approved.
You can contact us on Discord.
[utopian-moderator]
Congratulations @sp33dy, this post is the fifth most rewarded post (based on pending payouts) in the last 12 hours written by a User account holder (accounts that hold between 0.1 and 1.0 Mega Vests). The total number of posts by User account holders during this period was 2338 and the total pending payments to posts in this category was $5224.35. To see the full list of highest paid posts across all accounts categories, click here.
If you do not wish to receive these messages in future, please reply stop to this comment.
Huh! Only 5th? I must try harder :(
Hey @sp33dy I am @utopian-io. I have just upvoted you!
Achievements
Community-Driven Witness!
I am the first and only Steem Community-Driven Witness. Participate on Discord. Lets GROW TOGETHER!
Up-vote this comment to grow my power and help Open Source contributions like this one. Want to chat? Join me on Discord https://discord.gg/Pc8HG9x
I've experimented here with the first image, which appears to be the one shown in the search lists. It looks a little odd in the article, but at least it provides a better preview! I will fix my approach with this in the future.
Nope, didn't like it, so removed and reverted back to the simple splash image.
Nice tutorial!
For me, programming is really hard to do but always try to improve my skills on it. I will also try to check platform that you mentioned in this article.
Do you have some advice for a beginner? Maybe I should start at some point?
Thanks for this post, hope that you will share more tutorials like that with us. Keep doing :)
Hi, if you check my profile https://steemit.com/utopian-io/@sp33dy, I've provided lots of different tutorials, market Beginner, Competent and Expert. There's one that shows you how to install Godot (which is really quite simple and FAST). There's another that shows you how to get one of the sample 3D games up and running. Then there's a bunch that have gradually been building a 'Space Invaders' clone. What you are looking at here is a 'Competent' developer, i.e. one that knows their way around the GUI (which you would quickly learn from the others I mention). The advice I have is, get it installed and try it! Seriously, it won't take you long.
Hey @sp33dy
This was an interesting read. Been messing around with Godot for a couple of months. Haven't really messed with the actual physics engine. This makes me want to. Then again its fun to make your own "fake" physics.
Also, Just got started on steemit. Do you recomend anyone else in gamedev to follow?
Hi Wolfwin, I've only been around these parts for the past month and a half, so the answer to your question is, no I really don't. There are LOTS of posts coming in all the time and I've been adding lots of people that I've enjoyed reading, but it as varied from 'silver coin collecting', through 'graphics design, to 'motorbike venture across Europe' and ends up with the usual crypto articles!
There doesn't appear to be a lot here for Godot, which is a shame, but the search is a good start.
Coming back to subject, I'm still convinced doing your own "fake" physics (aka the Verlet tutorial I wrote) can be better when your game doesn't need the fully fledged physics engine; i.e. if you are trying to create a simple "Space Invaders", why deal with the invaders as rigid bodies? Yes, it can be done, but occasionaly, I find my machine gets a 'bit' stuttery. If that happened whilst I'm trying to kill marauding aliens, I'd get really angry!
Yeah, move_and_slide() and move_and_collide() can do most of the heavy lifting.
GDQuest, on youtube, has great Godot tutorials. You may want to check him out!
Ah yes, I'd started to stumble on a lot of his stuff.