How to build a comet, parrot or (Flying as it is known in Venezuela)
In this opportunity I will offer you a small guide to build parrots or flying, I hope you serve them and can build yours and have a nice time raising them alone or with family in the park.
Building and raising fliers is a tradition in our beloved Venezuela. It is common to see the Venezuelan skies adorned with parrots in the afternoons especially when the holiday breaks for Easter are approaching. So here I will try to explain in detail the procedure to build the kites or flyers at home, in the park or in any place where they have access to the necessary materials for their elaboration.
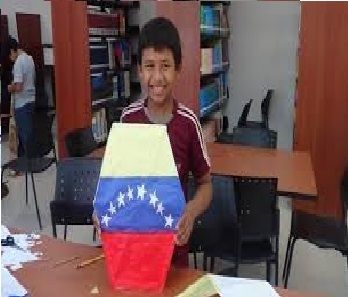
The parrot or flying bird is a national toy representative that we can create in our country as a recreational activity or spend time at any age, make a flying family is a way to share, recreate and connect the children with our deepest roots and soak them the tradition and identity that this popular toy represents.
Steps to make a Flying:
The first thing is to look for the right materials, among them we have:
• 3 sticks of vera verada. (Bamboo wood, moriche palm rods or light plastic rods).
• silk paper sheets of different colors in case you want to make the parrot of various colors and you can make designs to your liking, you can also use plastic market bags or any other paper very light, the colors you prefer.
• 1 roll of strong wick or thin nylon thread.
• Pieces of cloth to make the tail or counterweight of the kite.
• White paste.
Elaboration:
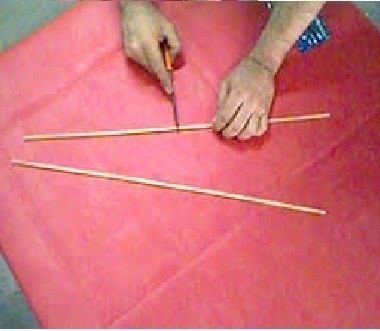
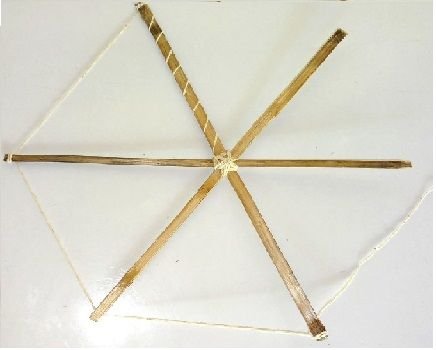
Step 1
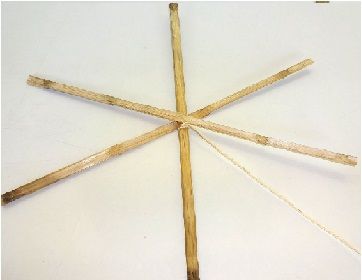
Cut the sticks of veda verada, Cut the pieces of verada of 60 cm or the desired size for your flyer. Cross them one on another to create the structure. The point where all the rods are touched must be tied to secure the structure, this is done by passing the wick several times adjusting the union of the rods. Tie it with the wick so that they are equally long, so that the six points form the skeleton of the kite.
Step 2
Make a small incision or longitudinal grimace at the tips of the veradas, to fit the edges of the thread. Bring the thread from the first point, towards each of the ends of the structure. At each point turn, tie tightly taking care that the threads are well tense, doing the procedure successively to match the starting point. Here a hexagon should be formed with the tempered wick between the tips of the cane sticks.
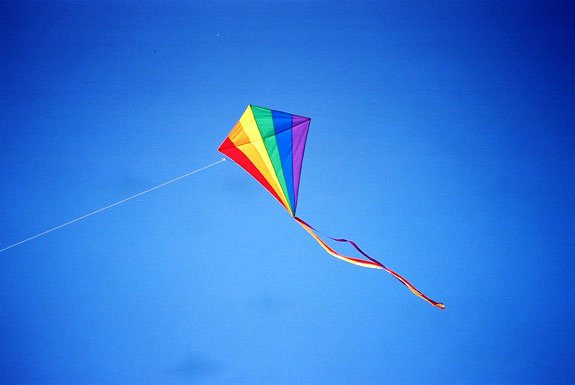
You can also make the kite in the shape of a diamond. To do this, only 2 rods of cane are used, one longer than the other and tied in a cross shape. In this case, when placing the wick from one end to the next until reaching the initial point, a rhombus will form. In the same way the point where the rods are touched has to be tied with several turns of the wick to avoid losing the shape.
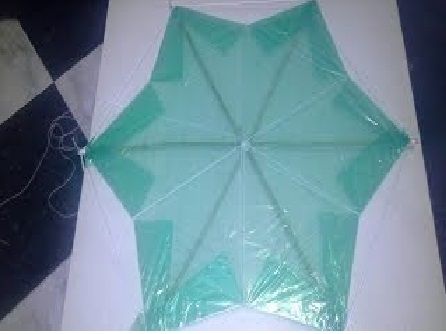
Step 3
Then spread the tissue paper or plastic bag on a flat surface and place the structure constructed in step 2 thereon. Then the paper is cut leaving about 3 cm of margin around the entire skeleton of the comet, that is, the skeleton and the wick that has been shaped as a hexagon or diamond, depending on the case.
Once the paper is cut, proceed to secure it in the skeleton by folding the margin inwards and placing a little glue on the eyelashes according to your taste, in such a way that it covers the whole wick. When the paper is folded inwards, pieces of the same paper that will damage the aesthetics of the parrot will be left at the apexes of the skeleton. To avoid it you can cut some small triangles that dissimulate the excess, then let the glue dry.
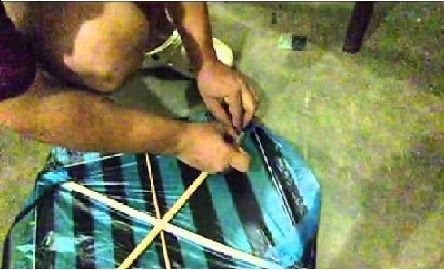
Step 4
In the lower tip, tie the tail that will serve as a counterweight, taking care that it is not too long or heavy, the tail or counterweight is made with the previously reserved pieces of cloth and can have a length of 2mts. The tail is tied to a "Y" made of wick. The 2 remaining tips of the "Y" are tied to the 2 lower ends of the parrot, in the case of the hexagonal kite. In the diamond-shaped kite the tail is tied to the only lower tip of the structure.
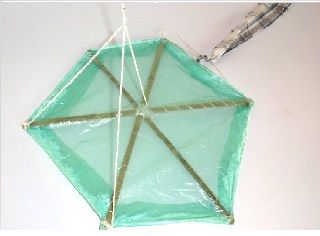
Step 5
Place the three pieces of 30 cm exact wick that will allow you to pull the kite while it rises. These threads are tied separately as follows: one in the center and the others in the two upper ends.
For the case of the diamond-shaped parrot, the three pieces of wick must go on the top tip and the lateral tips. Then the three ends are tied and connected with the wick roll.
Step 6
Ready, you can go out and play and fly or raise your parrot as high as you can. To fly your kite you can take advantage of open spaces such as parks, stadiums or spaces where there are strong enough air currents. You have to be aware that your flight does not touch the power lines to avoid accidents.