Smashbox Full Exposure Palette Review + Short, Wearable Eye Makeup Tutorial
Today is the day where I did my second review for you guys about products that I’m using in my makeup routine and for this tutorial, I would like to share with you a look that you can create with the Smashbox Full Exposure palette.
I did also do a video about the palette where I’m giving you my thoughts on it as well share a mini tutorial (same eye makeup look as in the article) with you, and I also used the brush that comes with the palette in the video.
For this article, I used different brushes to show you that you can also create with your personal brushes and that you don’t have to use the brush that comes with the palette but you can because it’s isn’t bad at all!
Let’s start:
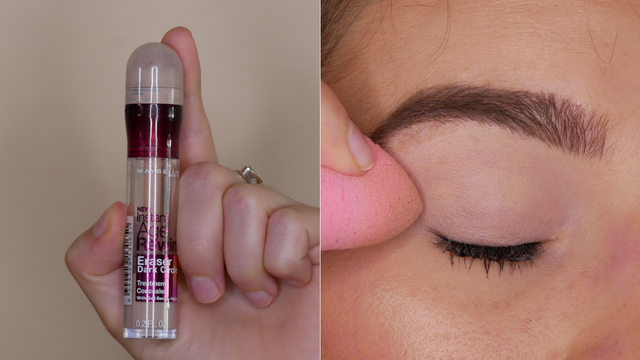
Step 1: Concealer/ Primer.
If you are getting the Smashbox Full Exposure palette, you'll get a small eye primer with it. So, you can use the eye primer, it works just as beautiful! I used to have it, but I run out of it, and since that happened, I always like to use concealer as my base.
Use a bit of concealer/ eye primer and apply a bit on to the eyelid area. Blend it out with your finger, a brush or a damp makeup sponge. I used a bit of concealer and the makeup sponge.
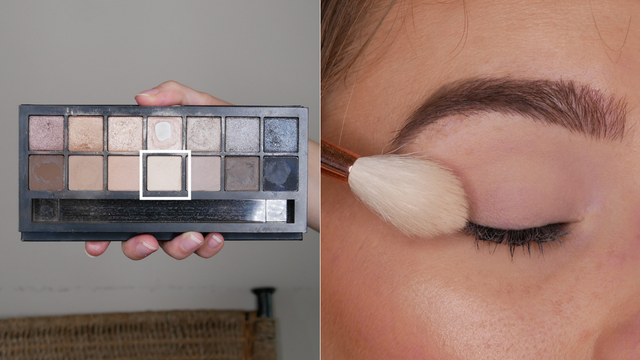
Step 2: White.
To set the concealer or eye primer, you can dig into the white shadow (or pick a deeper shade if you are a bit bronzer/darker as I am). Add this shade to an eyeshadow brush ( a flat or fluffier one) and apply it over the entire eyelid area. This way, your primer/ concealer will stay in place.
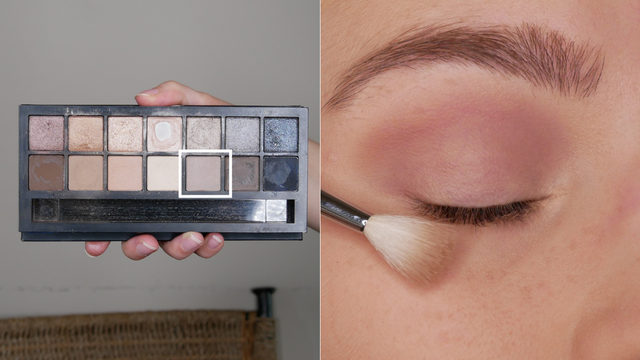
Step 3: Light Grey.
For the next shade, I went into the light greyish/brownish shade which is definitely a cool-toned shadow, and I used it as my transition shade.
Use a blending brush to apply the shade through the crease and higher. Make sure that the edges are softly blended and that the shadow doesn’t touch your brows, just stop right underneath them. The shadow should be visible if you are having the eyes open.
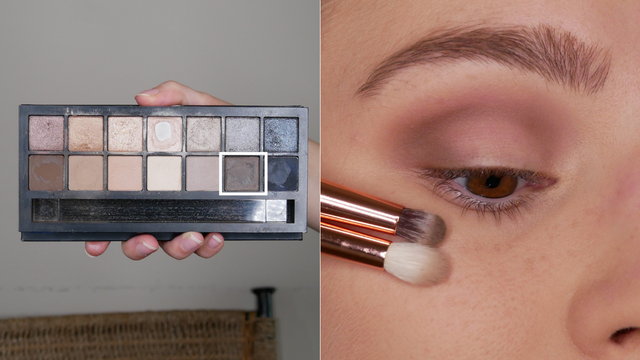
Step 4: Dark Grey.
To add a bit more definition to the look, I went into the dark greyish/brownish shade which I kept in my crease and blended it into the transition shade. Also, connect the tone with the upper lash line at the outer corner part. Like in a "V" shape. This way, we can keep a darker focus at the outer corner.
Use a small buffer brush or dense blending brush to really keep the shade in the crease and outer corner. Don't forget to blend the shadows in another.
Step 5: Shimmer.
For the next shade, I went into the same themed shadow which is above the matte greys but just in a shimmer version. Use your finger to apply the shimmer eyeshadow over the main lid area and blend it with your finger into the crease shades and outer corner.

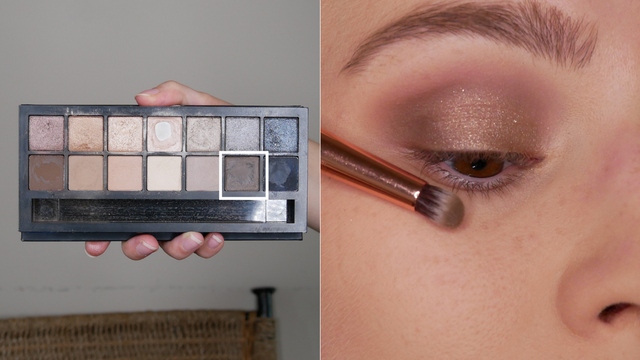
Step 6: Dark Grey Again.
Go back into the dark greyish/brownish shade again and deepen the outer corner area. Use the dense or buffer eyeshadow brush again to apply it. If you have some shimmer leftovers on your finger, you then can use this to blend it in with the dark greyish shade.
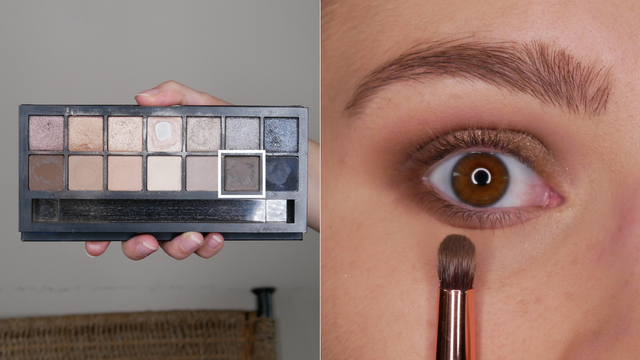
Step 7: Lower Lash Line | Dark Grey.
On the same brush that you used for step 6. Add some of dark greyish/brownish shadow to the lower lash line. Keep it at the outer part of the lower lash line and connect it with the upper part of the outer corner.
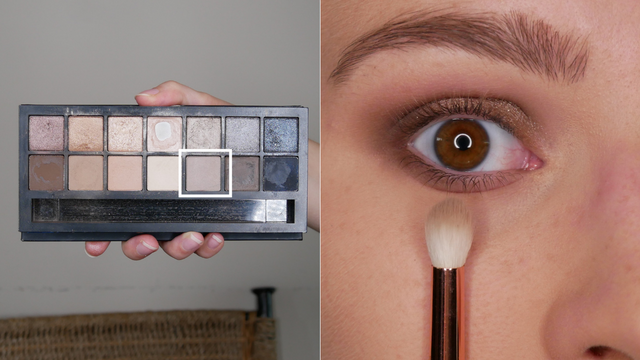
Step 8: Lower Lash Line | Light Grey.
On a fluffy blending brush, use the light greyish/brownish tone over the entire lower lash line and blend it in with the dark grey. Smoke it out!
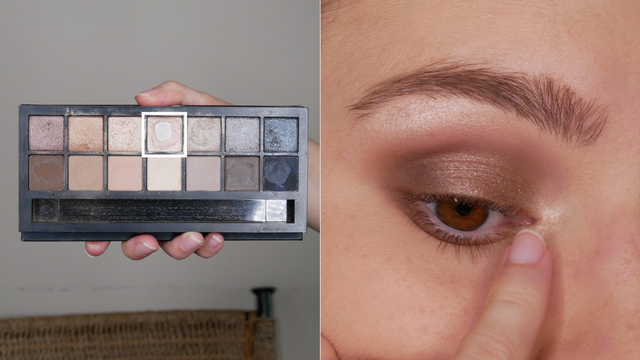
Step 9: Highlighter.
For highlighter, I went into my most used shadow in the palette, which is the light rose highlighting shade. I just love this shade.
Use your pinkie to apply the highlighter in the inner corner and under the brow. You can also use the highlighter as a face highlighter – it works!
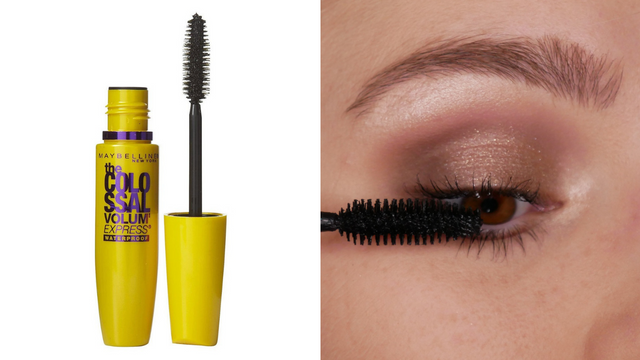
Step 10: Mascara.
Add a few coats of mascara where you know it’s not going to smudge.
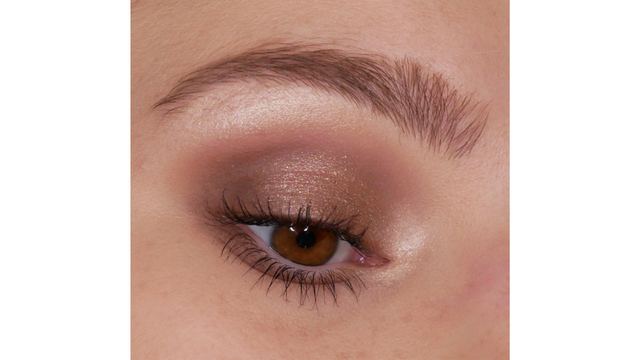
Ta-Da your eye makeup look is completed!
And here is the finished shot!
Thank you,
xoxo, Melissa
Follow me on Twitter
Follow me on Facebook
Subscribe to my YouTube Channel
ALL MAKEUP GEEKS, feel free to RESTEEM this article! Let's keep spreading the word with real life everyday makeup application!


I upvoted your post.
Keep steeming for a better tomorrow.
@Acknowledgement - God Bless
Posted using https://Steeming.com condenser site.