A Step Into the Ether, pt.1: Building a 6 GPU Mining Rig
A Step into the Ether, Pt.1: Building A 6 GPU Mining Rig
By starshipcapn
Welcome to my series that will chronicle the journey from a small-time cryptocurrency investor, to the owner and operator of a full-fledged commercial cryptocurrency mining operation. We’ll start on the auspicious day that I decided to build an Ether mining rig of my own. Keep an eye out for parts 2, 3, and many more!
I completed the construction of my first Ether Mining Rig on Tuesday, March 7, 2017. I purchased my first stack on January 10th, and had since seen the price of Ether double from around $10. Ether didn’t appear to be ready to quit any time soon, and I wanted to get in on the mining action.
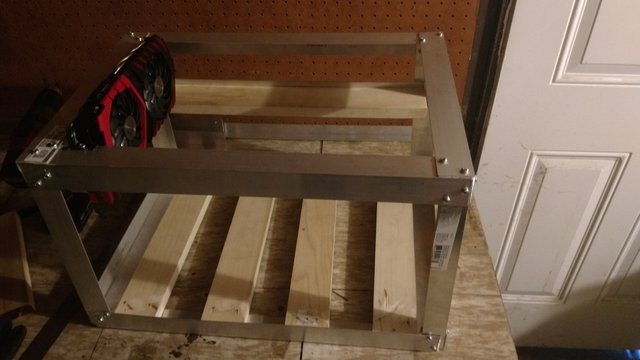
This initial design was essentially a sturdy cube built from aluminum angle, four pieces of 1x4 hardwood, trimmed down to size, and a sorely-lacking set of tools. (I managed to combust two angle grinder blades and put more holes than I care to admit in my makeshift workbench, which was fashioned out of a retired beer pong table.) The aluminum angle acted as a surrogate for GPU slots and their complementary thumb screws, while the wooden shelf provided support for the other side of the graphics card. At the bottom of the frame, four strips of hardwood acted as a medium for motherboard spacers, two were used to secure the motherboard into place, while another pair served as a resting place for the power supply.
(Including every picture at full resolution proved to be cumbersome, so if you would like to follow along and see the steps to this process, please follow the Google Drive link below)
https://drive.google.com/open?id=1SxaRfzWteugibNpHZd9KJueDDGIiRbpS
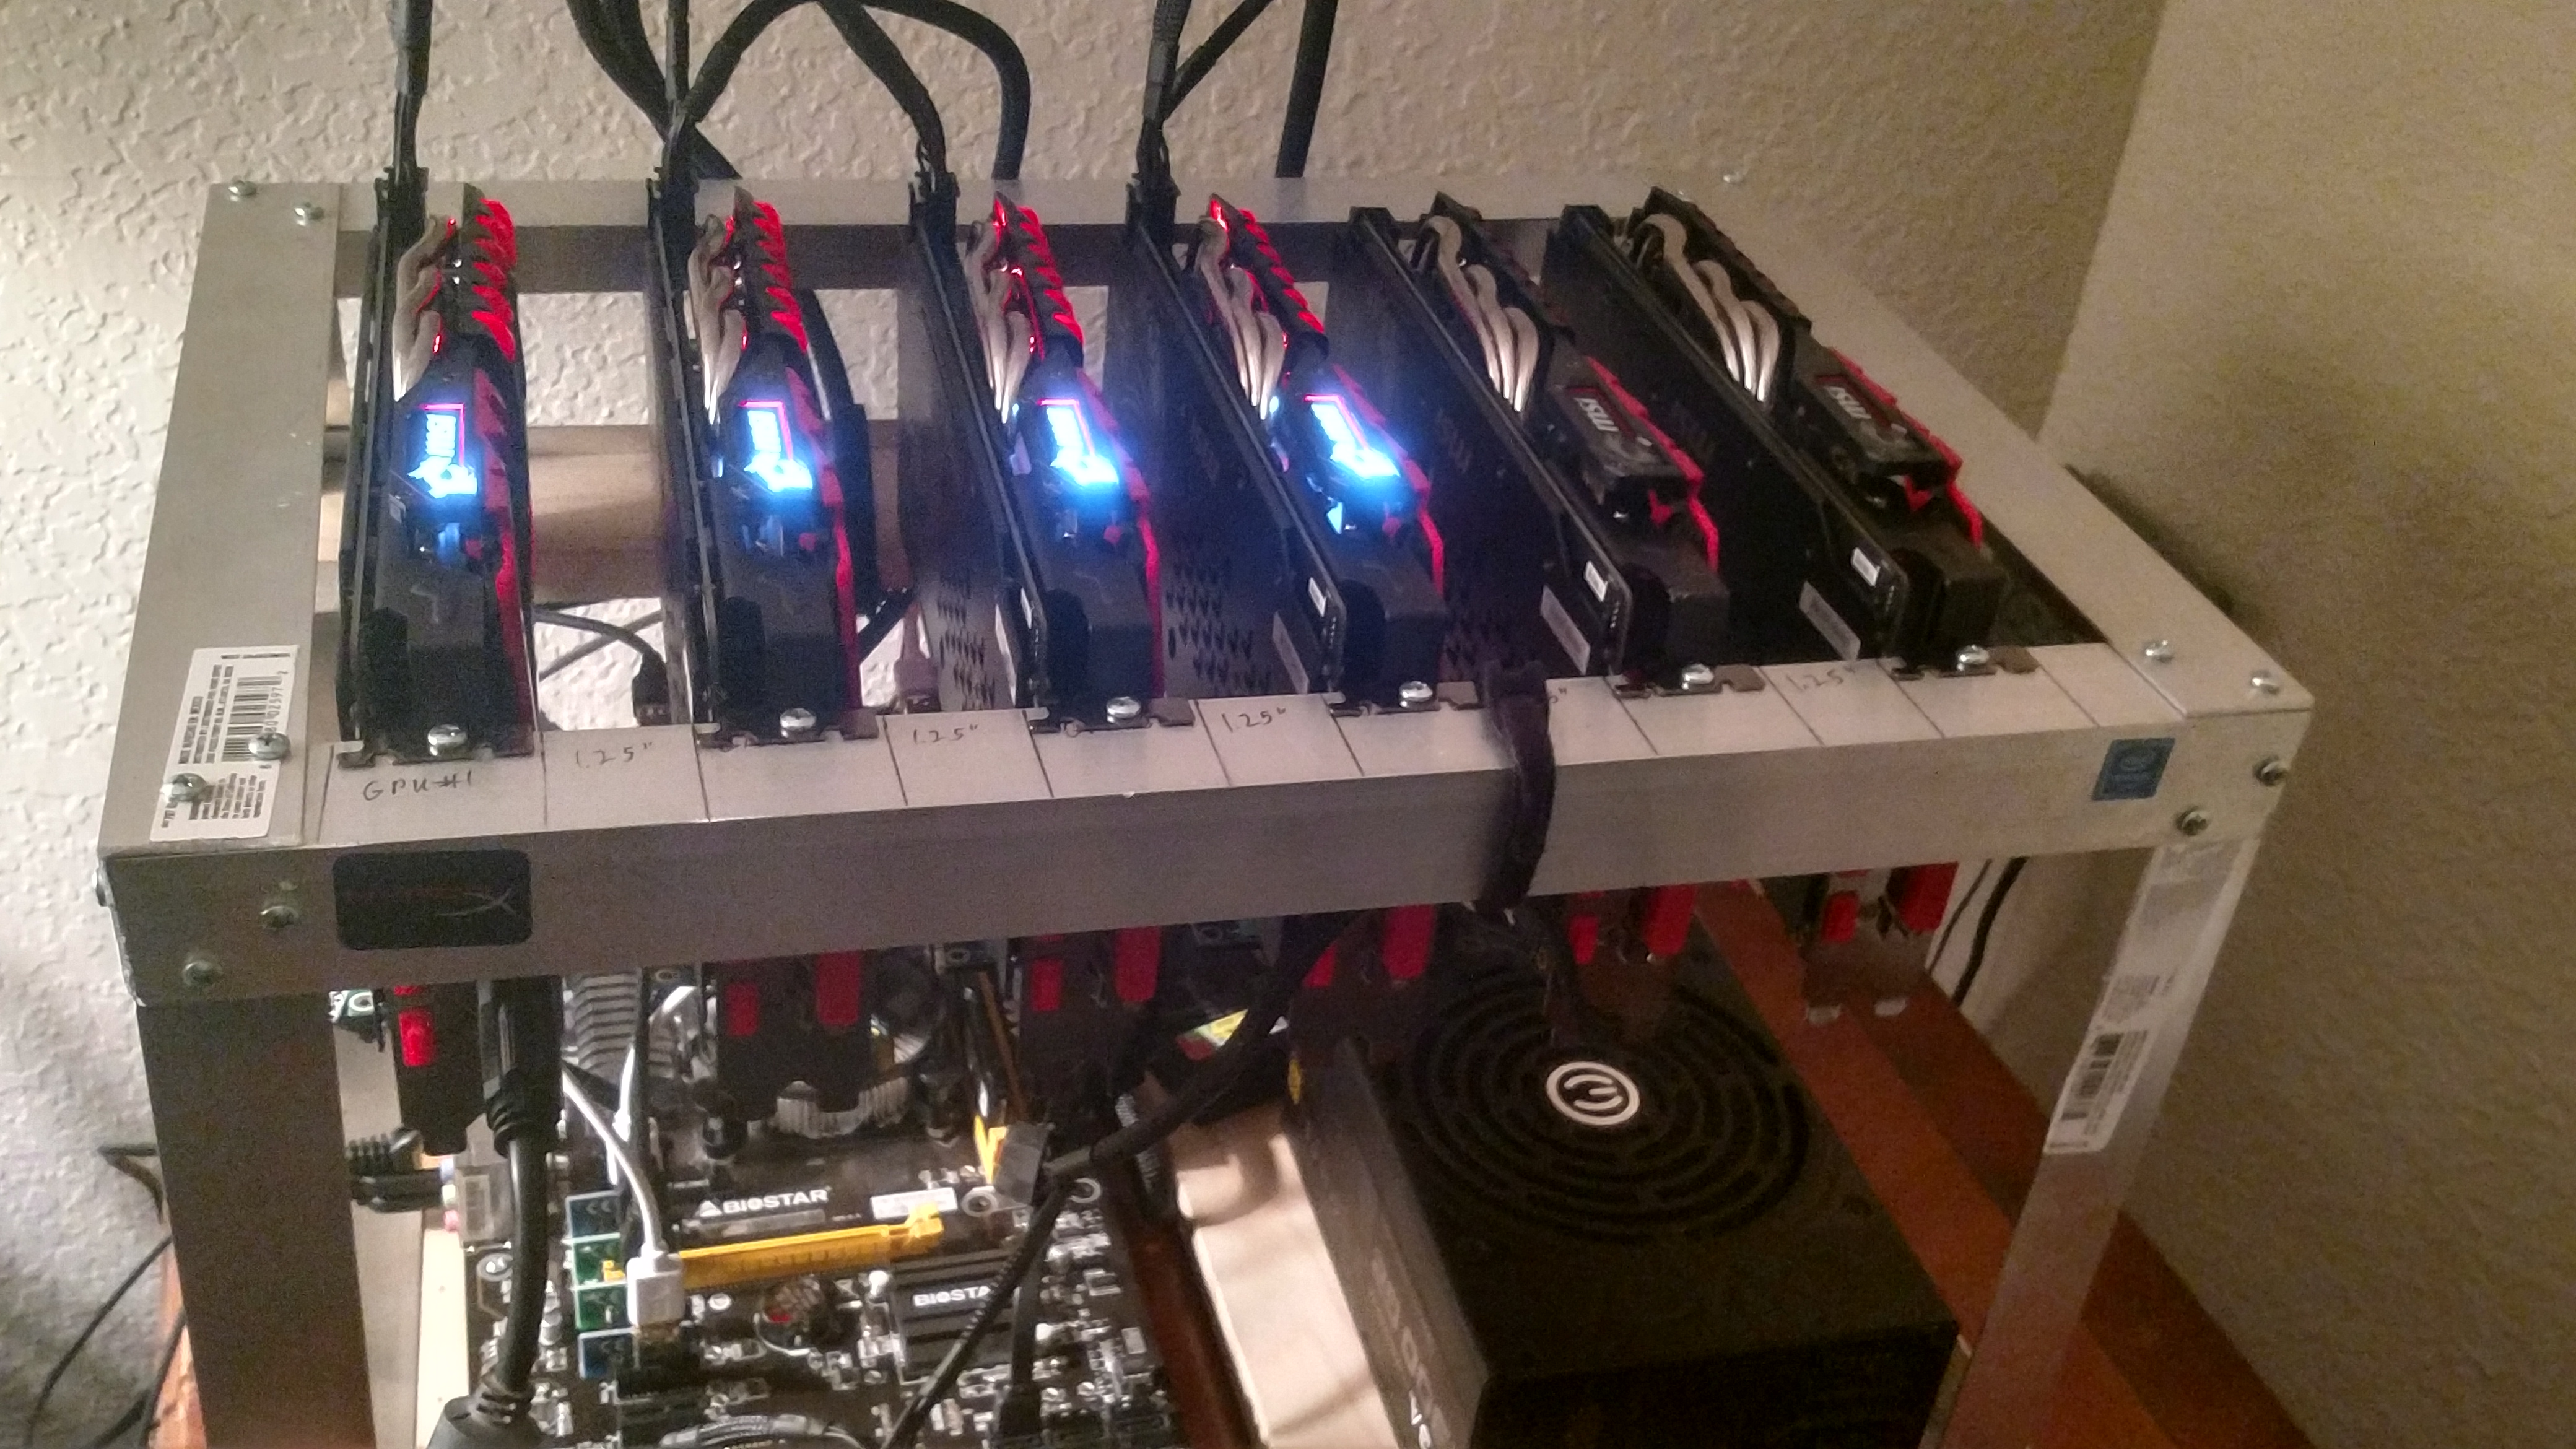
Once the frame had been prepared, I started by connecting three of my six MSI RX480 4GB graphics card to the motherboard with the help of PCI-e risers. Admiring my (mostly) finished product, I connected the rest of the motherboard, and added a mouse and a keyboard. My sense of accomplishment was quickly diminished by a plethora of BSODs (Blue Screen of Death), and the realization that there were no formal guides to this “mining thing.”
I fumbled around with the command prompt for a couple of hours, bewildered, and trying not to break anything. I reluctantly accepted defeat and, as a typical college senior in search of knowledge would, I turned to the internet for answers.
Six hours into my quest, I realized that I had been spending all this time solo mining, and that my effort so far had gotten me nowhere. So, I redirected my search to finding the ideal mining pool, a service that allows cryptocurrency miners to pool their resources, and share the rewards. The chances of producing Ether while solo mining are drastically lower than mining as part of a pool. Seriously, if you’re solo mining, it could take a year to mine a block on your own.
Personally, I liked Nanopool for their website’s ease of use and the wealth of information under their “Help” tab. I chose to go with the Claymore Dual Miner (ETH-only program), and was amazed at the benefits and convenience of a batch file (which would have saved me many of the hours I had spent fooling around with the Command Prompt). Through a rocky process of trial and error, I managed to craft a batch file that played well with my hardware, and I went to bed triumphant and mining. It was 5:42 AM.
My Mining Hardware:
- Graphics Cards: MSI RX 480 4GB, [6]
- Motherboard: Biostar TB-85 LGA 1150
- Power Supply: EVGA 1300 G2
- RAM: HyperX Fury 8GB DDR3 1600mHz
- CPU: Intel Pentium G3258 LGA 1150
- SSD: Samsung 850 240GB (you will only need 120GB, but I was already scavenging components from my old gaming rig.)
- OS: Windows 10 Home
Safety Rules, These are Important! Do not skip this section if you are attempting to build a similar product!
- When using an angle grinder with a cutoff blade, buy and wear a quality face mask. Safety goggles are not enough. To be honest, the first of the two cutoff blades that combusted, did so right in front of my face while I was wearing just a pair of safety glasses. This prompted an immediate trip to Home Depot, because I was lucky enough to have an unscathed face and both of my eyes, but I wasn’t going to test my luck via. carelessness/ignorance again. [Fun Fact: Angle grinders are aptly nicknamed “the death wheel.”]
- Keep your work areas separate when putting together your frame, and putting together the actual mining rig. You will be drilling and cutting through metal, and the shavings/dust that is created through these processes should be dealt with, and cleaned up well before an electrical current is anywhere near your mining rig. Electrostatic discharge is a real threat, while modern technology makes most computer hardware, relatively idiot-proof, you still have the capacity to turn that $400+ GPU into a very effective (and expensive) doorstop.
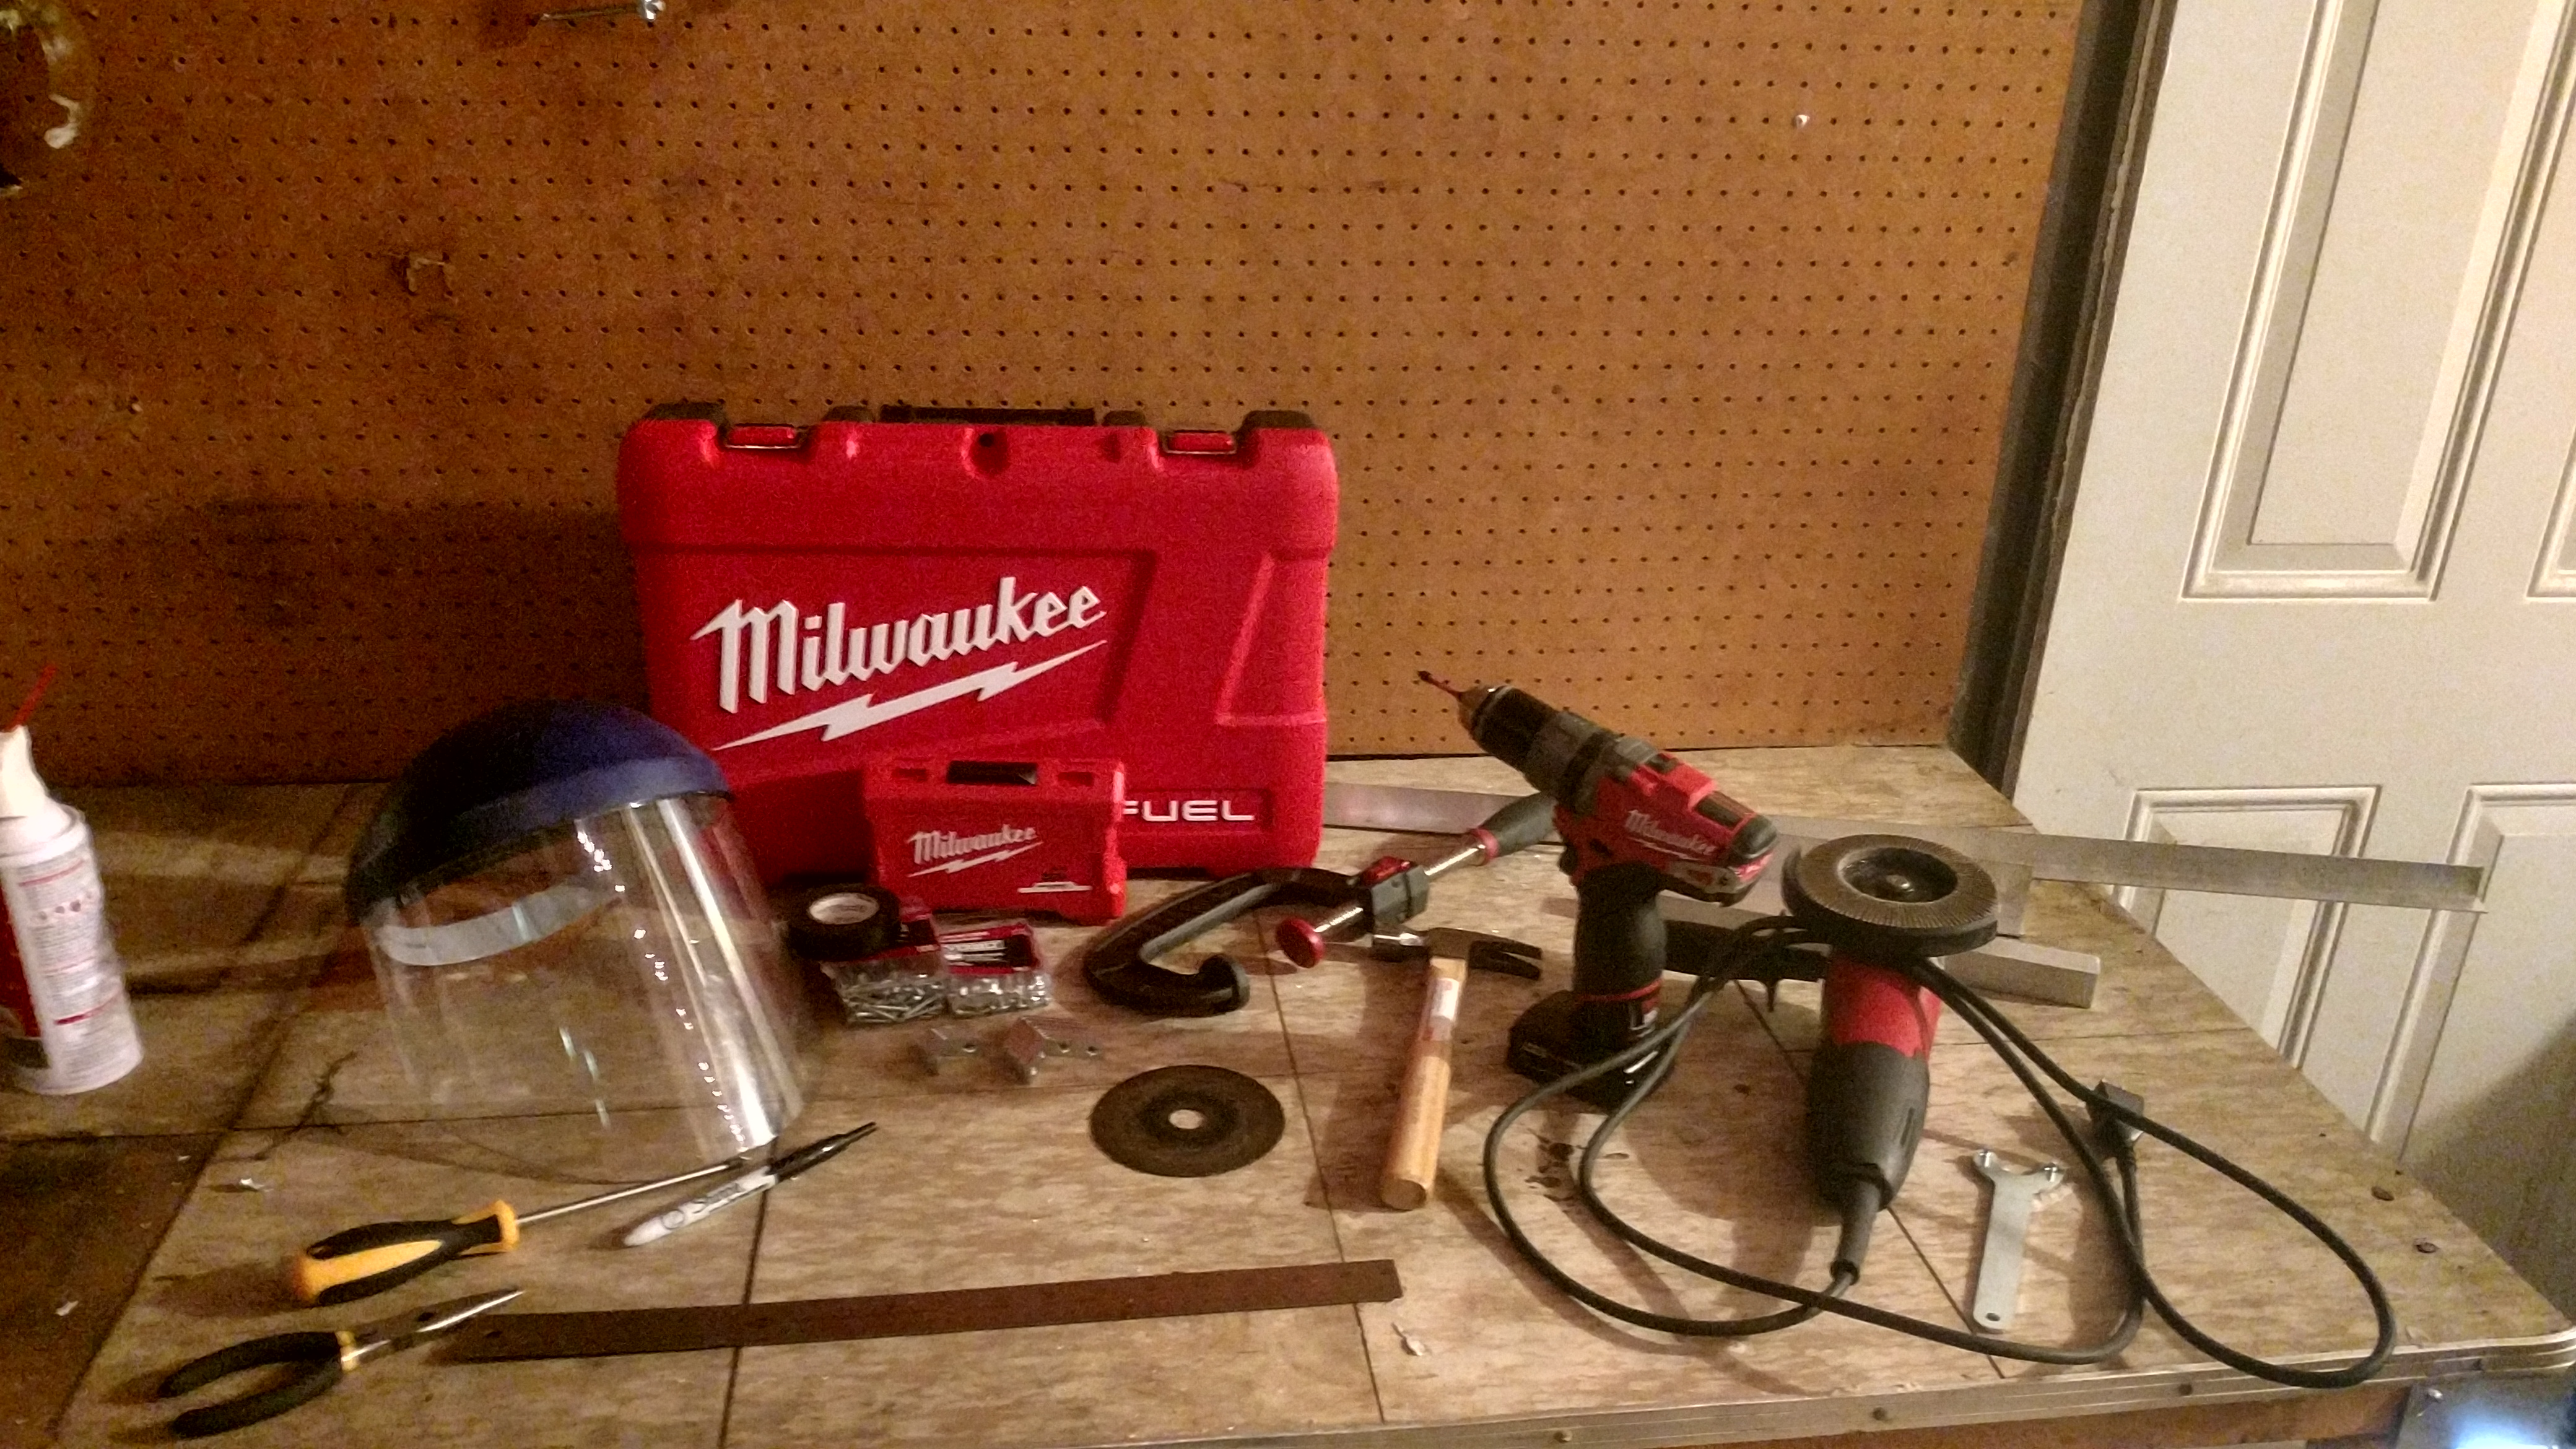
Tools/Equipment Used:
- Drill and Impact Driver
I used a 12V Milwaukee Combo set, and in my own experience it has served me extremely well. - Angle Grinder
I also used a Milwaukee brand angle grinder, which, also has served me well. Although, it is the most frightening-to- use power tool that I have ever encountered. - C-Clamps
I found that it was well worth the extra expense to buy a nice set of C-Clamps, as they auto adjust features that come with them tend to save a lot of time. - Face Mask
Crucial for protection of your face and neck area while using an angle grinder. Cutoff blades are well-known for their tendency to explode/shatter. - Ruler
You will want to pre-measure the dimensions of your GPU’s and cut your aluminum accordingly. I recommend leaving at least 1-1 ½” of air space between each GPU. The more potential for airflow the better, but keep in mind the limitations of the PCI-e Risers’ cables you’ll be using.
Finally, if you have any questions, please leave a comment or reach out to me, I'm an open-source kind of person and I love to help out beginners!
Nice post and nice rig! How do you handle the temperature and dust on the coolers?
In regards to dust, I just use computer duster for the most part, but when I have thorough cleaning that needs to get done, I pull out my vacuum that's got an integrated computer cleaning kit. I believe the brand is "Simplicity."
I've heard many times that most dust is made of human skin, and I've actually found how true this is as a result of my mining. (The rigs that are running in my commercial space are significantly cleaner than the rigs that have lived with me for some time, requiring very little cleaning.)
Thanks! This is actually the very first iteration of my mining rigs, they have evolved two or three times since then.
I used to run AC units in my commercial space, but winter has allowed me to switch to pulling cold air from outside, and exhausting the hot air, using inline fans, and some duct work. Mother nature's got my back with the free AC.
I plan to start building a rig this summer.....with crypto earning!! Until then, im going to keep up with my hashflare account
Congratulations @starshipcapn, you have decided to take the next big step with your first post! The Steem Network Team wishes you a great time among this awesome community.
The proven road to boost your personal success in this amazing Steem Network
Do you already know that awesome content will get great profits by following these simple steps, that have been worked out by experts?