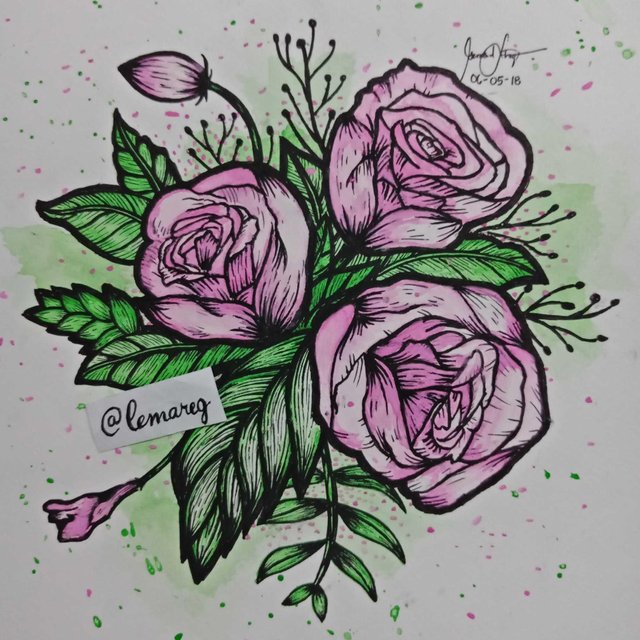
#ULOG 007 | WATERCOLOR SERIES 003 - ROSES (with Step-by-Step Tutorial of the Drawing and Editing Using Lightroom CC)
Hello Steemians! Another Watercolor Artwork by Yours Truly!!
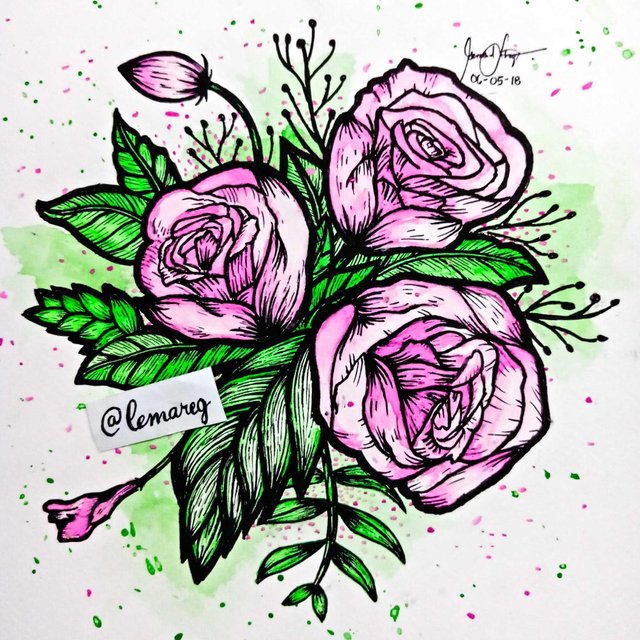
Hello guys! Today I'm gonna show you how I drew these roses using my own style and I'm gonna show you a Step-by-Step process on how I enhanced the photo of my work according to my personal taste, using the Lightroom CC app. Now then, Let's Start!!
Art Process:
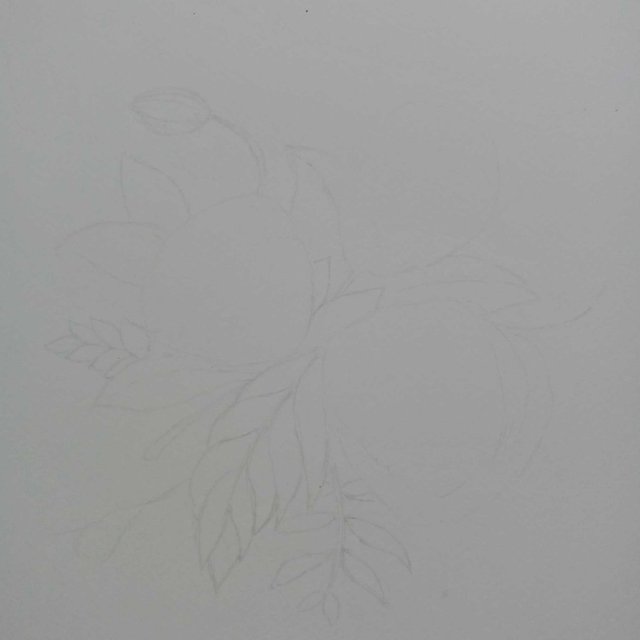
First is the sketching. I used my Stabilo pencil and eraser and drew it as fine as I can. I initially didn't have a defined sketch of the details of the petals of the roses.
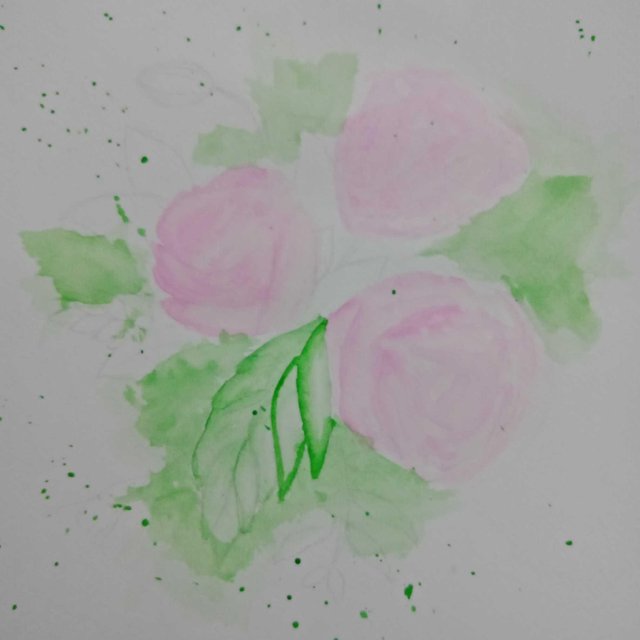
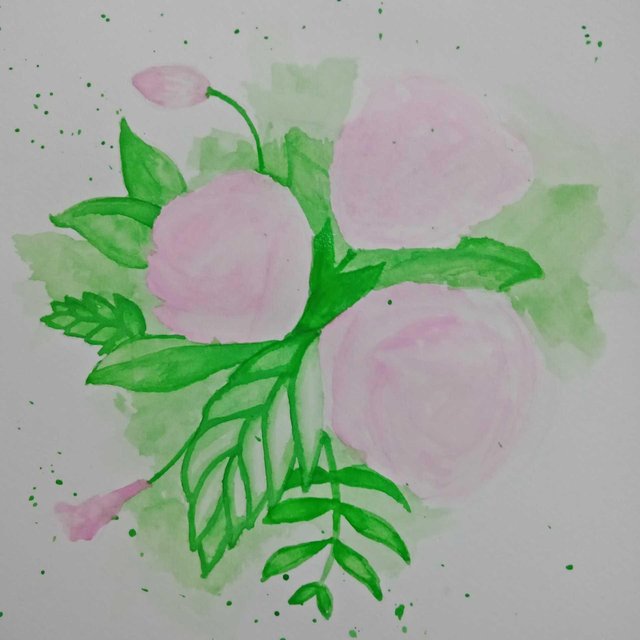
Next, using my cheap watercolors, I painted the flat colors of the roses. Then I put my focus on the leaves and the background. Don't forget to go a bit crazy sometimes and to some paint splashes on your work lol.
I painted the leaves in layers from lightest to darkest.
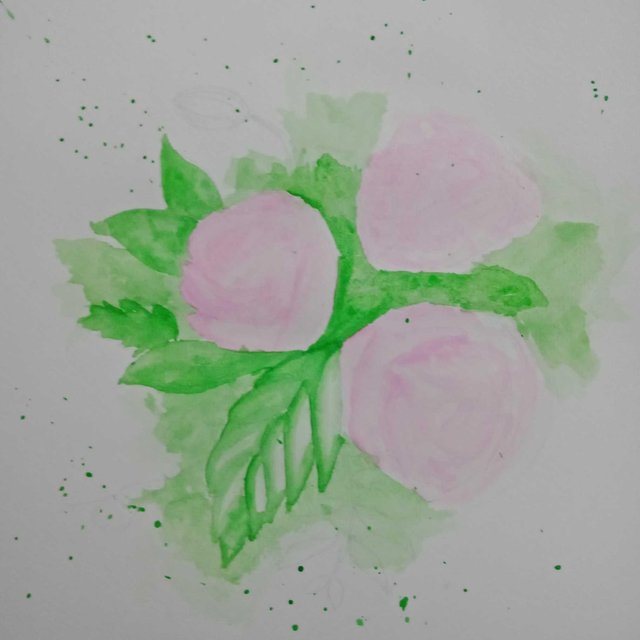
Using the darkest shade of green I finished of the details of the leaves.
Now, using darker shades of pink, I defined the details of the petals of the roses. And using my 0.5 and 0.7 My Gel Sign pen, I inked everything. I also splashed more dark shades of pink.
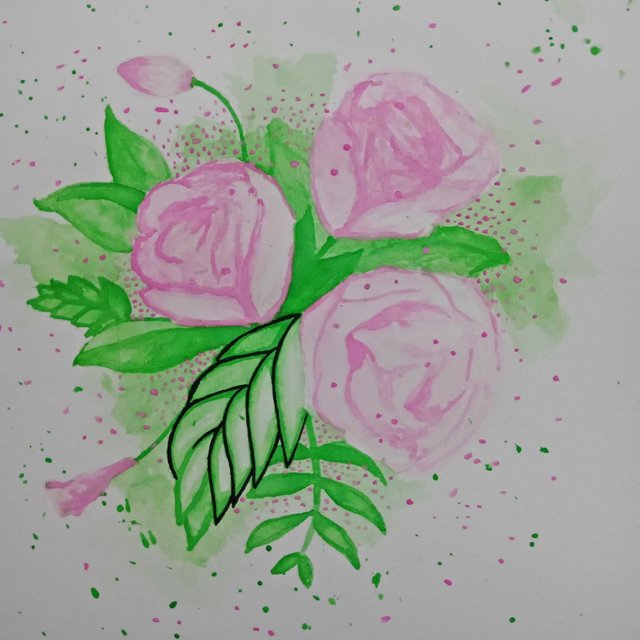
I outlined the leaves using my 0.7 My Gel Sign pen and waited for it to dry so that there would be no accidental smudges of ink.
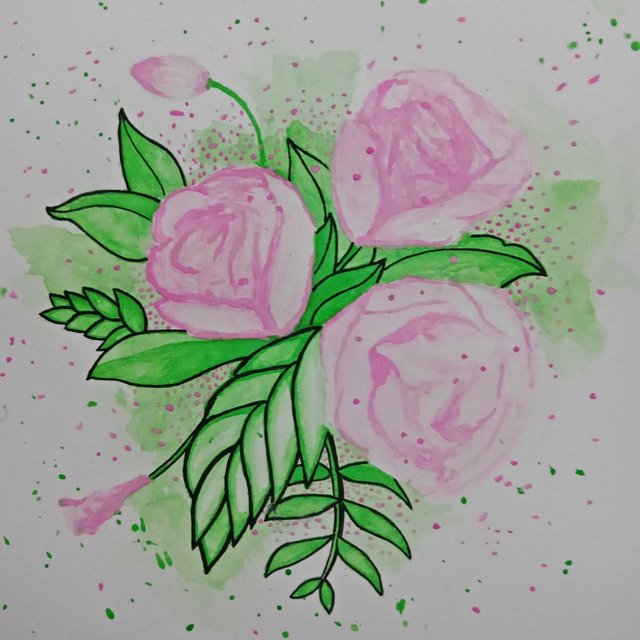
Now, using my 0.5 My Gel Sign pen I made the details for the leaves and started to ink the roses as well.

Then I put on more details for the petals and finished everything.
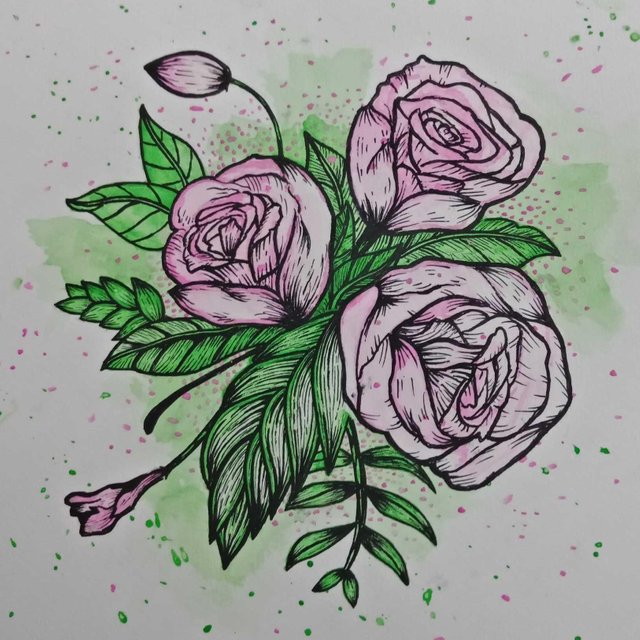
Since I was still not satisfied with how dark the outline of the roses are, I used again my 0.7 My Gel Sign pen to darken it and give a little more depth. Now the drawing is done, let us enhance the photo using the Lightroom CC app.
Editing Process:
Of course, you can use other apps according to your own preferences. Now, let us open the app.
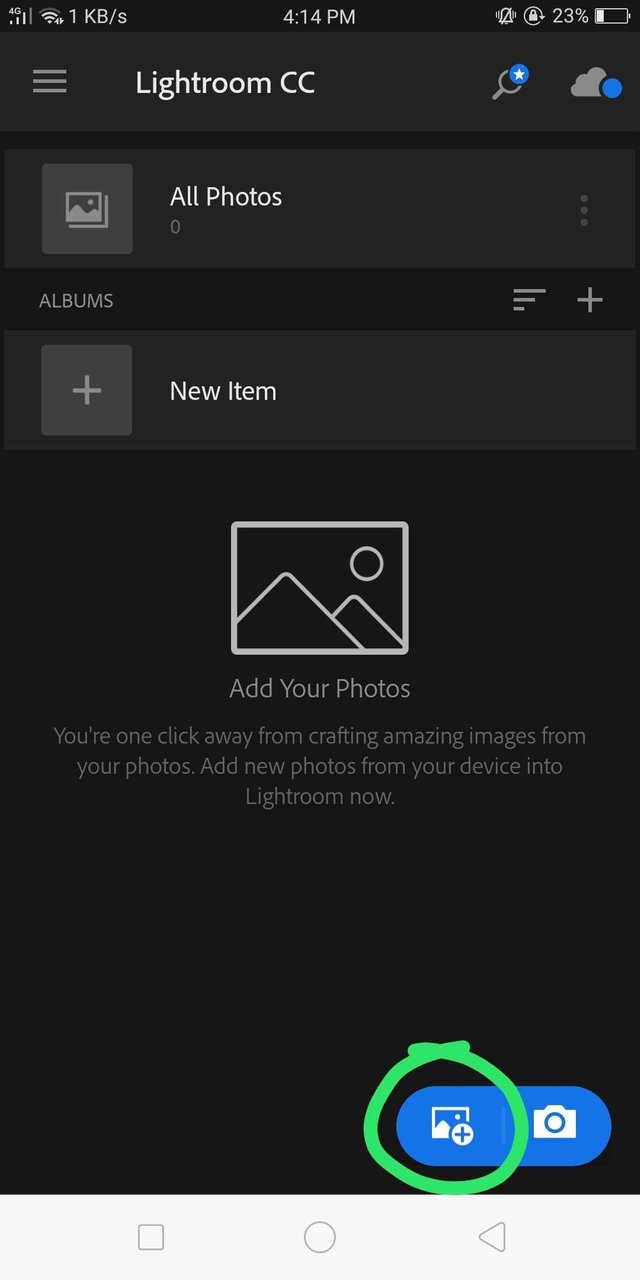
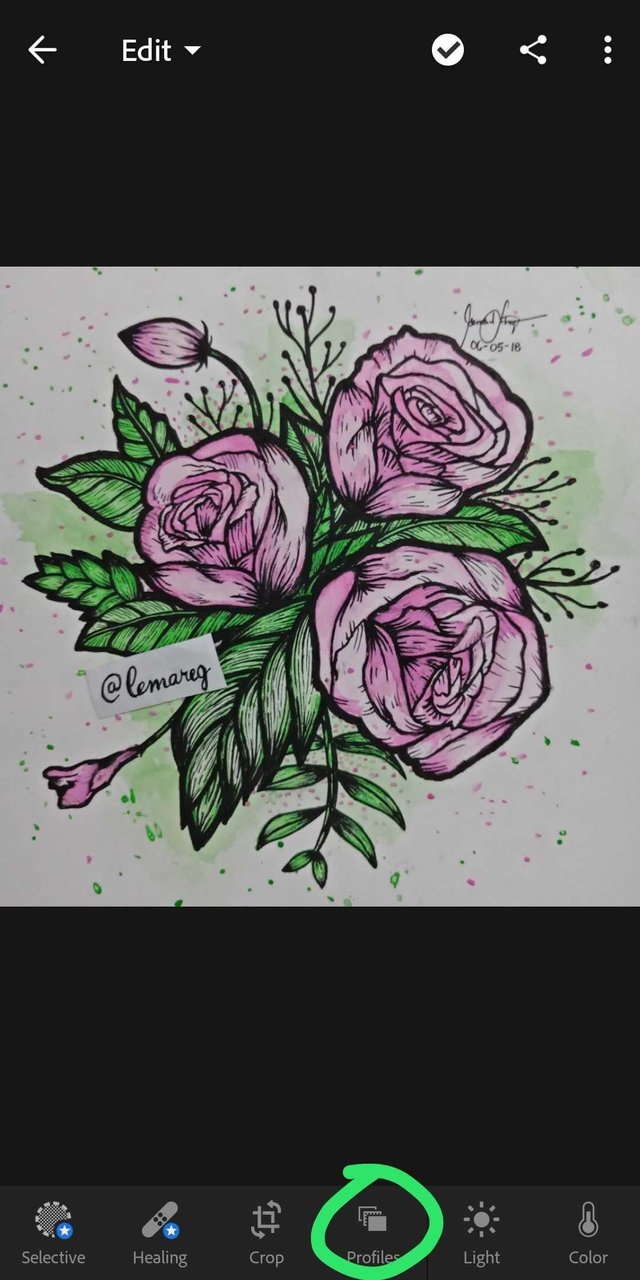
After you opened the app, tap on the " Add Photos", it is the blue icon with the plus sign at your bottom right.
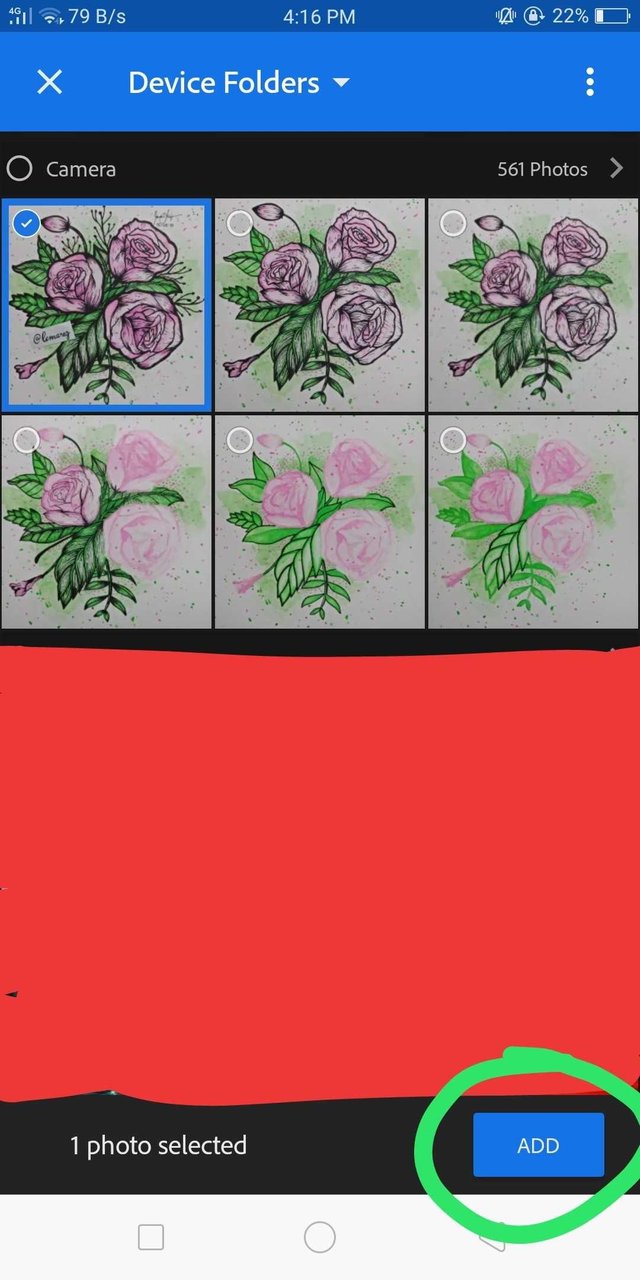
Select the photo you want to edit and tap the "ADD" button.
Go to "All photos" and you should be able to see the photo you want to edit. Tap on it. You can edit the photo manually, I prefer to use the ones in "Profiles".
There are many profiles for you to choose from, and you can do so as you please.
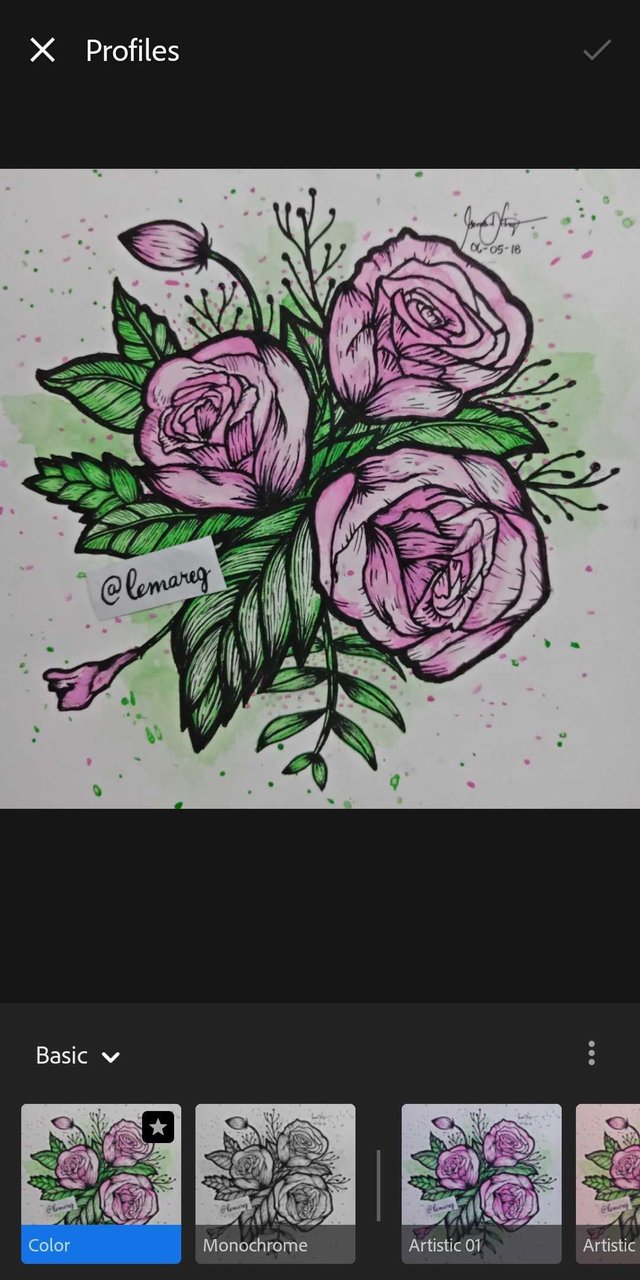
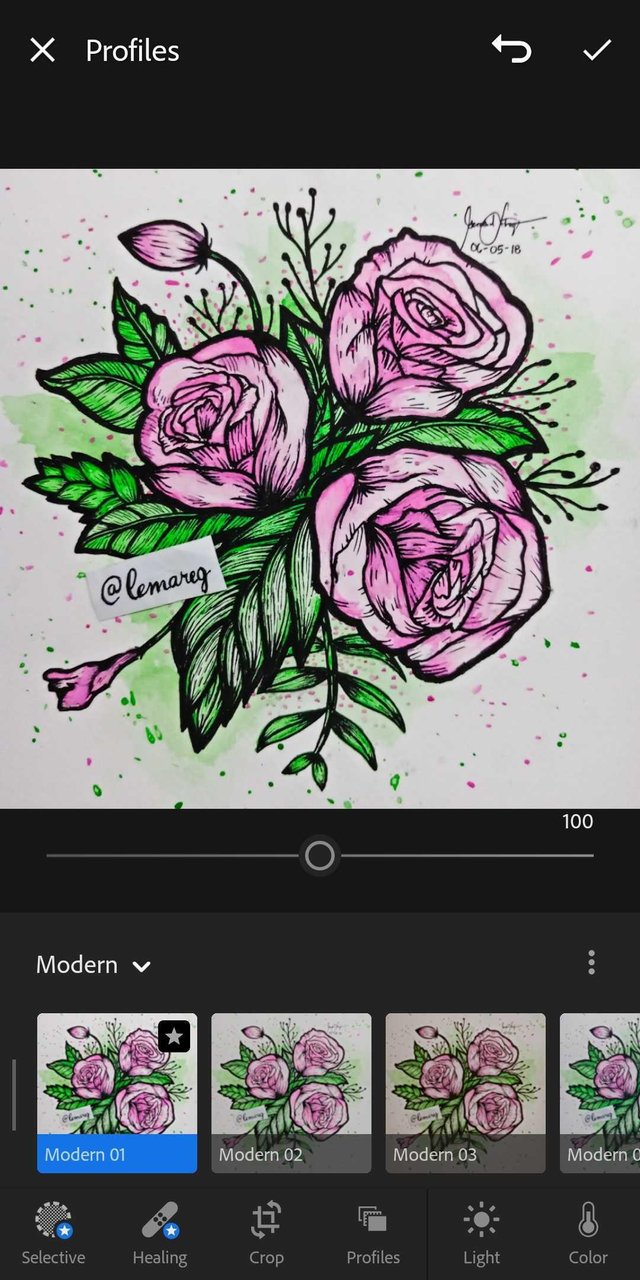
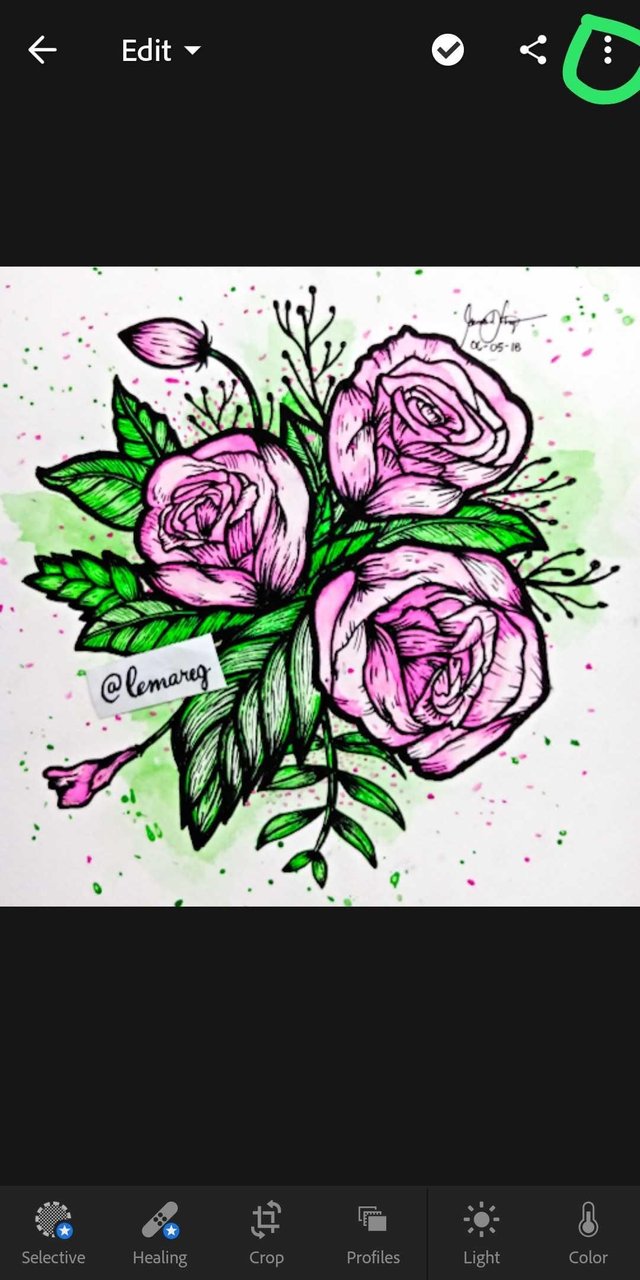
I personally like the "Modern 01" profile because it sharpens the colors more. It is set to a 100 by default.
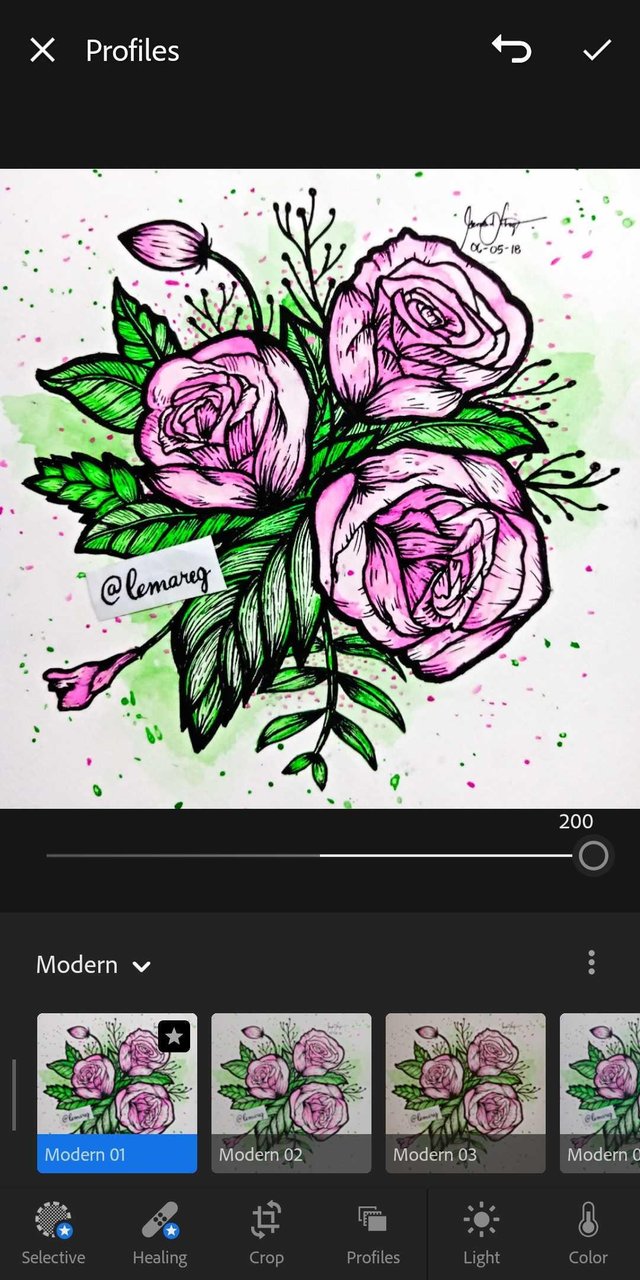
Then I set the profile to a 200 because the bigger the better right? Lol, it's just that at 200 you can get the sharpest colors on your photo. Once your happy with your photo you can tap on the ✔ button at the upper right corner of your screen.
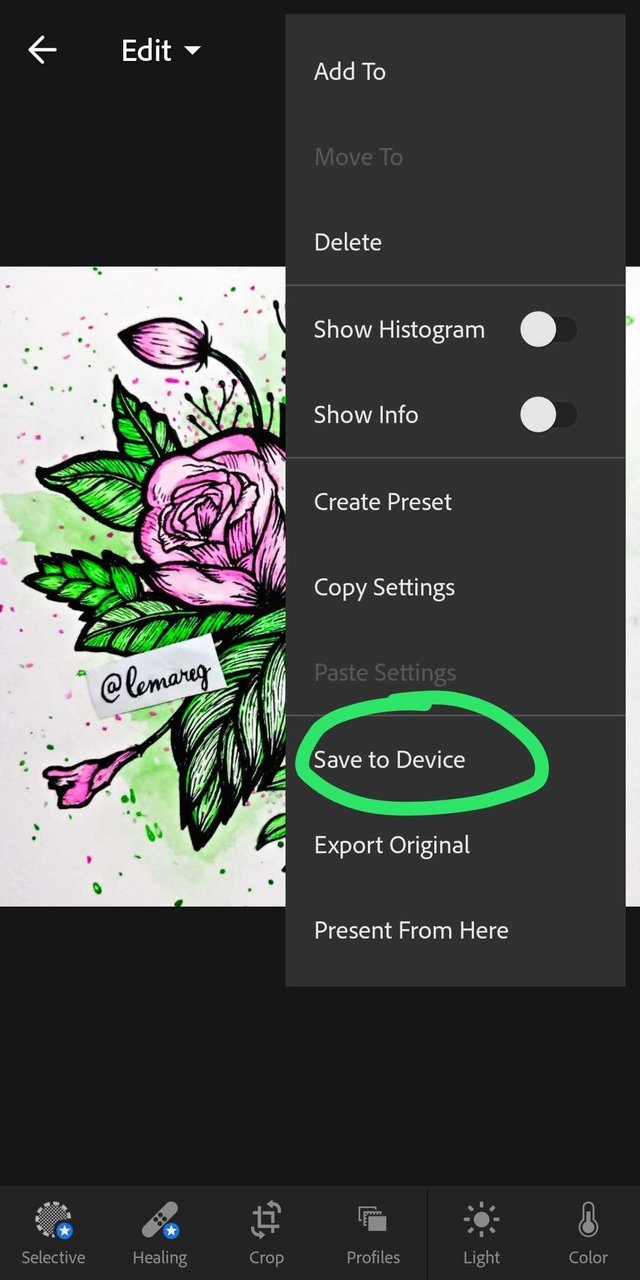
Next click on the three dots icon thingy on the upper right corner of your screen.
Click on "Save to Device" and you should be able to see the edited photo on your Gallery under the "AdobeLightroom" folder.
After the edit:
GIF Process:
Drawing Process
Editing Process

All rights reserved ✔

Congratulations @lemareg! You have completed the following achievement on Steemit and have been rewarded with new badge(s) :
Click on the badge to view your Board of Honor.
If you no longer want to receive notifications, reply to this comment with the word
STOPTo support your work, I also upvoted your post!
Do not miss the last post from @steemitboard:
SteemitBoard World Cup Contest - Brazil vs Belgium
Participate in the SteemitBoard World Cup Contest!
Collect World Cup badges and win free SBD
Support the Gold Sponsors of the contest: @good-karma and @lukestokes
keep on posting, i learn as i read it.. totally no knowledge on watercolor, but you make this looks easy..hehehe..
This comment was made from https://ulogs.org
Thanks! :D
@lemareg
Nice piece of art
Keep ulogging
Thanks a lot! Hope to share more quality content like this :)
This post was shared in the Curation Collective Discord community for curators, and upvoted and resteemed by the @c-squared community account after manual review.
lovely pic ! the step by step is also really nicely done :D
Thank you! :D
The finished result is stunning! You took such care with your artwork :)
Thank you so much! It really means a lot :D
Beautiful art work and excellent tutorial, @lemareg. I hope you also repurpose this and the rest of your series content in to either kindle book series or other digital product so as to earn continued income.
Upvoting, resteeming and will also share on FB/Twitter. Thank you for such wonderful creative expression and for teaching these skills to others too.
Thanks @angelac. I'm still quite a newbie here in steemit and though I am a self-taught artist and been doing arts (which I really love) for as long as I can remember, I am still a caveman when it comes to digital arts lol. Thanks for the wonderful suggestion and thank you for the words of encouragement and support! It really means a lot :)
Very beautiful artwork @lemareg amazing to see your process shots. A lot of work went into your lovely flowers, thanks for sharing!
Thanks @lildebbiecakes! I'm so happy you guys appreciated the effort that went into this :')
I love it @lemareg❣️
Aawwee :'> thank you so much