Hitchhiker's Guide to Substratum Node on Raspberry Pi
Repository
https://github.com/SubstratumNetwork/SubstratumNode
What Will I Learn?
- You will learn essential knowledge about Raspberry Pi and Arch Linux
- You will learn how to install Arch Linux on Raspberry Pi
- You will learn the basic idea of Substratum, the foundation of the decentralized web
- You will learn how to compile Substratum Node on Raspberry Pi
- You will lean how to run and test Substratum Node on Raspberry Pi
- You will learn how to run Substratum Node UI on Raspberry Pi
Requirements
- Raspberry Pi 3 Model B
- Compatible charger (5V 2A)
- Micro SD card with a capacity of at least 8 GB
- Personal computer preferably running Linux
- (Optional) keyboard, mouse, HDMI cable, monitor, router, heat sinks
Difficulty
Intermediate
Tutorial Contents
Substratum, the foundation of the decentralized web, has received amazing progress after barely 8 months' development. The team is currently working on SubstratumNode, CryptoPay and a third unannounced project.
Users are now able to locally test the Substratum Node by either installing the open beta or compiling from source code. At the time of writing (June 10, 2018), the Node is released as version 0.3.2 for Windows, Linux and MacOS, and the source code is more updated (git commit 379a696) and may potentially run on more systems.
The Raspberry Pi is a tiny and affordable computer board that can be used for both fun projects and serious computation, such as low cost computation clusters, web hosting servers and crypto miners.
People have been asking questions since last year - Can Substratum Node run on Raspberry Pi? The answer is simply YES! The Substratum team has shown interest and is actively working on it, especially for testing the decentralization. But if you are like me, who cannot wait for the official support any longer, you can follow this unofficial tutorial to build Substratum Node on your Raspberry Pi, today!
You are reading the FIRST unofficial guide to compile and run Substratum Node on Raspberry Pi!
1. What hardware do you need?
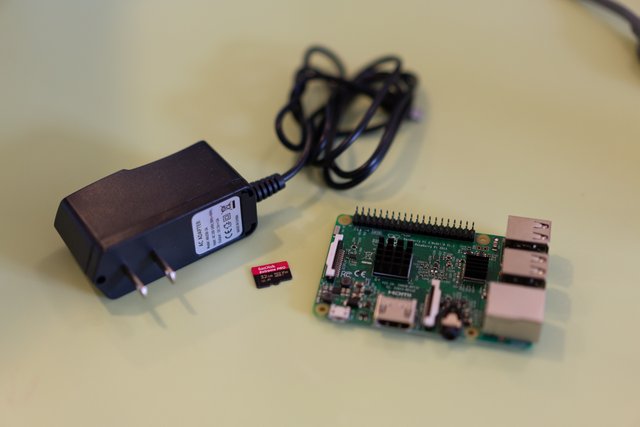
- Raspberry Pi 3B
You need a Raspberry Pi bearing a 64-bit ARMv8 processor, which means Pi 3B or later. However, the newest 3B+ is not recommended, which is not yet supported by the Arch Linux used here. - Power cord
Compatible to the Pi 3B, which is 5V 2A. - Micro SD card
8G+ - A computer running a Linux
It will be used to deploy Linux system to an SD card, and to connect to Raspberry Pi viassh. There should be alternative ways to do so under Windows, MacOS, or a virtual machine, which is unfortunately not a focus of this tutorial. - Router
A router that connects to the internet. It can be either wire only, or WIFI only, or both. Note that if it is WIFI only (without any physical ports to be used), you will have to have an HDMI cable, a keyboard and a monitor at hand to setup the WIFI connection. - Optionally, some fancy stuff
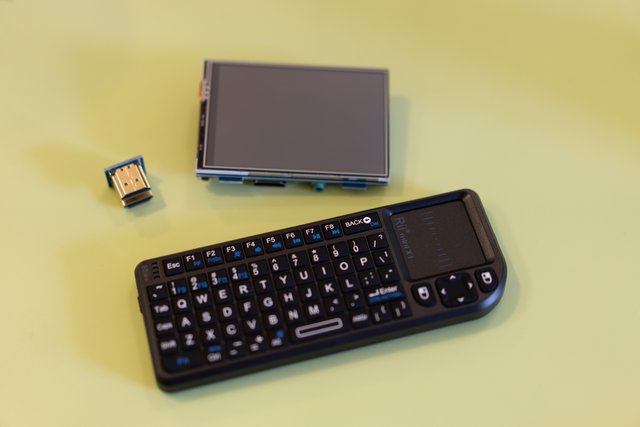
Use whatever you like to decorate your Raspberry Pi, such as a case, a fan, a wireless mini keyboard, a mini screen, or an LED HAT. I would recommend at least some heat sinks for the board.
2. Deploy Linux system to SD card
As far as I understand, Substratum Node currently require a 64-bit system to compile and run. Arch Linux (ARM AArch64 version) may be the best choice to run a Substratum Node on Raspberry Pi. It provides near full support for the 64-bit Pi 3B while most of the other Linux OS's (including the popular Raspbian) either support only 32-bit, or lack critical features in 64-bit, or lack up-to-date packages. It uses a rolling release system to keep every package updated. You will never have to painfully upgrade your system as the major version changes in most Linux distributions. At the time of writing, the latest kernel 4.17 is already available on Arch Linux :)
Now let's begin the journey by deploying Arch Linux (ARM AArch64 version) to your micro SD card.
First, insert SD card into your computer, via a native or USB reader.
Second, follow the AArch64 instruction on archlinuxarm.org, not the ARMv7 one.
The instruction is quite technical, so I'm also including my detailed procedures as text and gif images here.
a. Find SD card label, start fdisk, and create two partitions

lsblk
Run this command to list physical drives on your computer, and find the name of your SD card. In my case, it's labeled as mmcblk0, which is likely different from yours.
Start fdisk to work on your SD card. Please use the specific name of your SD card for the following command.
sudo fdisk /dev/mmcblk0
As instructed, at the fdisk prompt, do the following:
Type o. This will clear out any partitions on the drive.
Type p to list partitions. There should be no partitions left.
Type n, then p for primary, 1 for the first partition on the drive, press ENTER to accept the default first sector, then type +100M for the last sector.
Type t, then c to set the first partition to type W95 FAT32 (LBA).
Type n, then p for primary, 2 for the second partition on the drive, and then press ENTER twice to accept the default first and last sector.
Write the partition table and exit by typing w.
b. Format and mount the two partitions

Make sure you use lsblk to find the two names for your two new partitions on SD card!
lsblk
sudo mkfs.vfat /dev/mmcblk0p1
mkdir boot
sudo mount /dev/mmcblk0p1 boot

lsblk
sudo mkfs.ext4 /dev/mmcblk0p2
mkdir root
sudo mount /dev/mmcblk0p2 root
c. Download Arch Linux
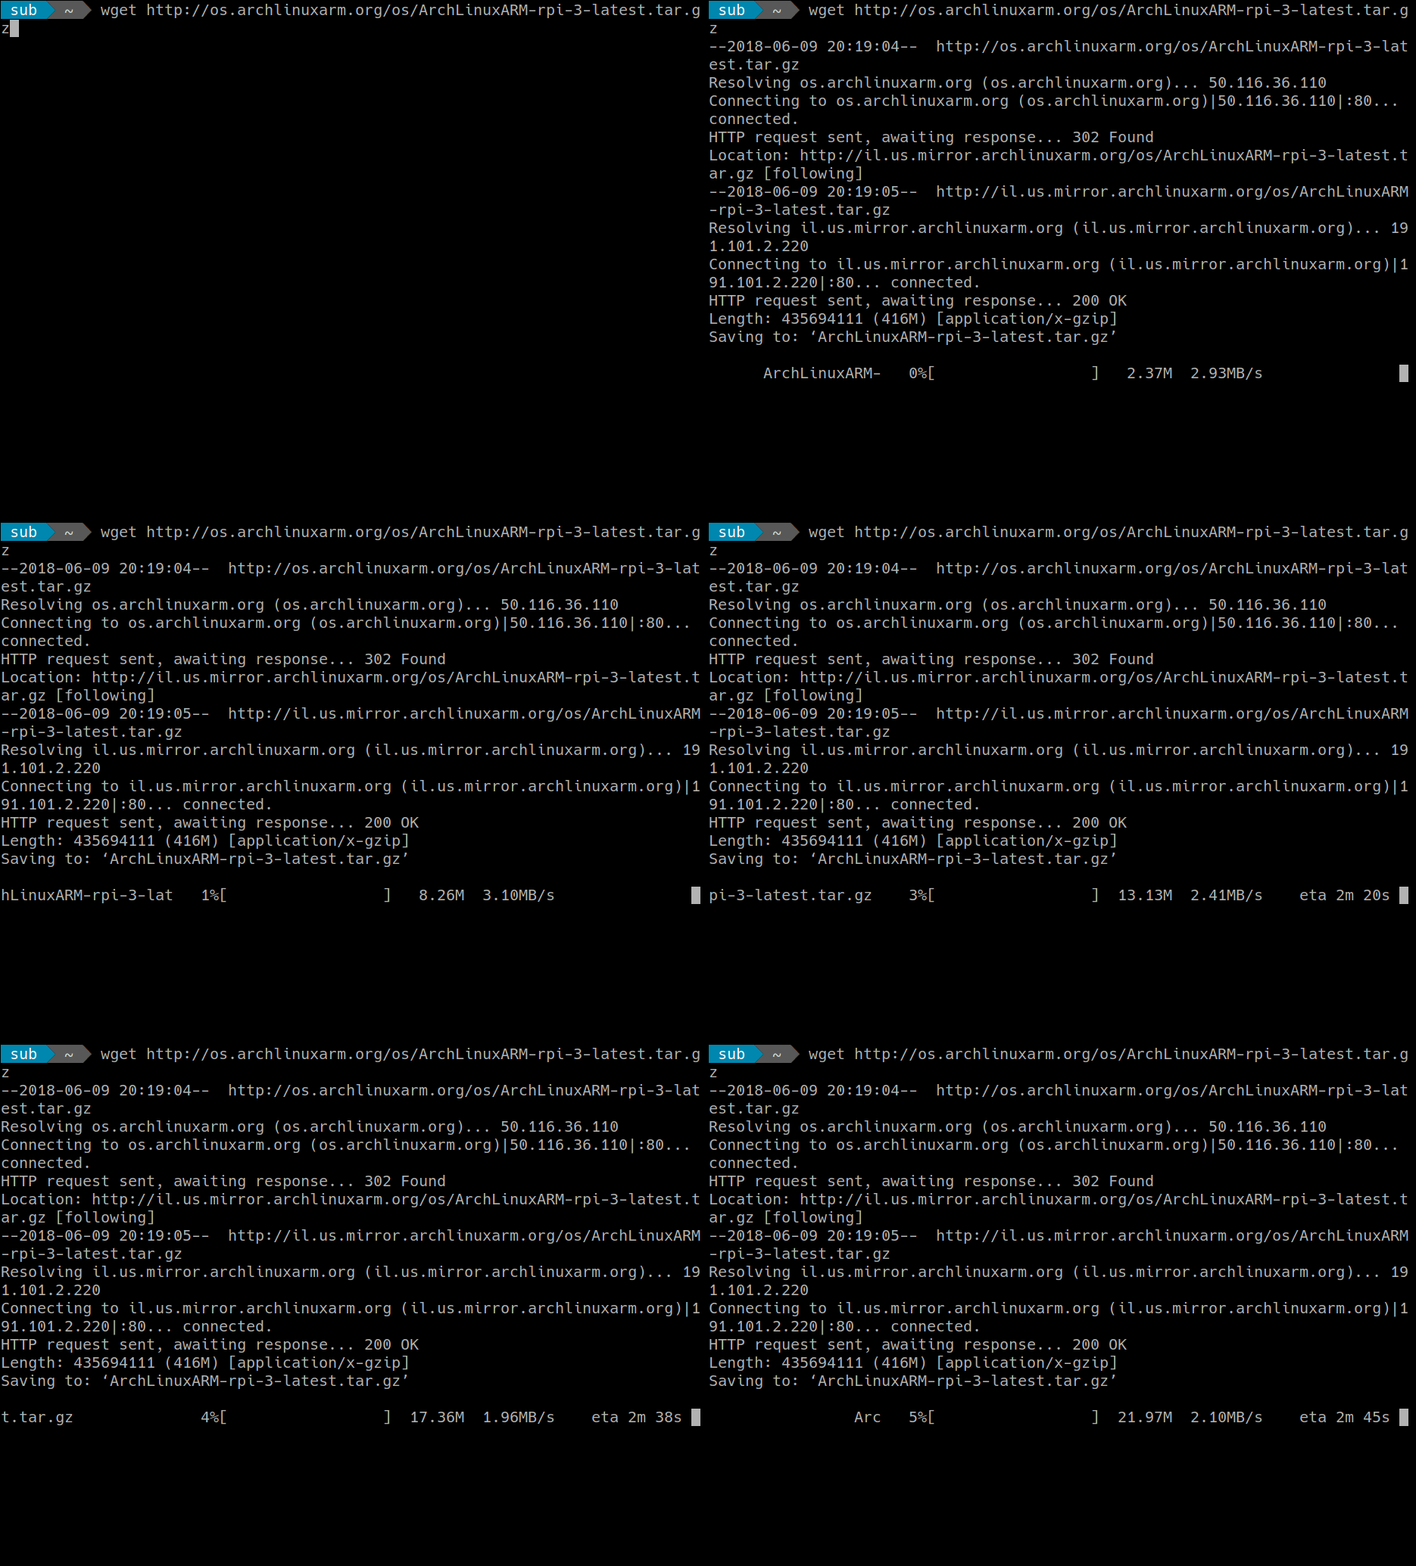
wget http://os.archlinuxarm.org/os/ArchLinuxARM-rpi-3-latest.tar.gz
d. Extract the filesystem
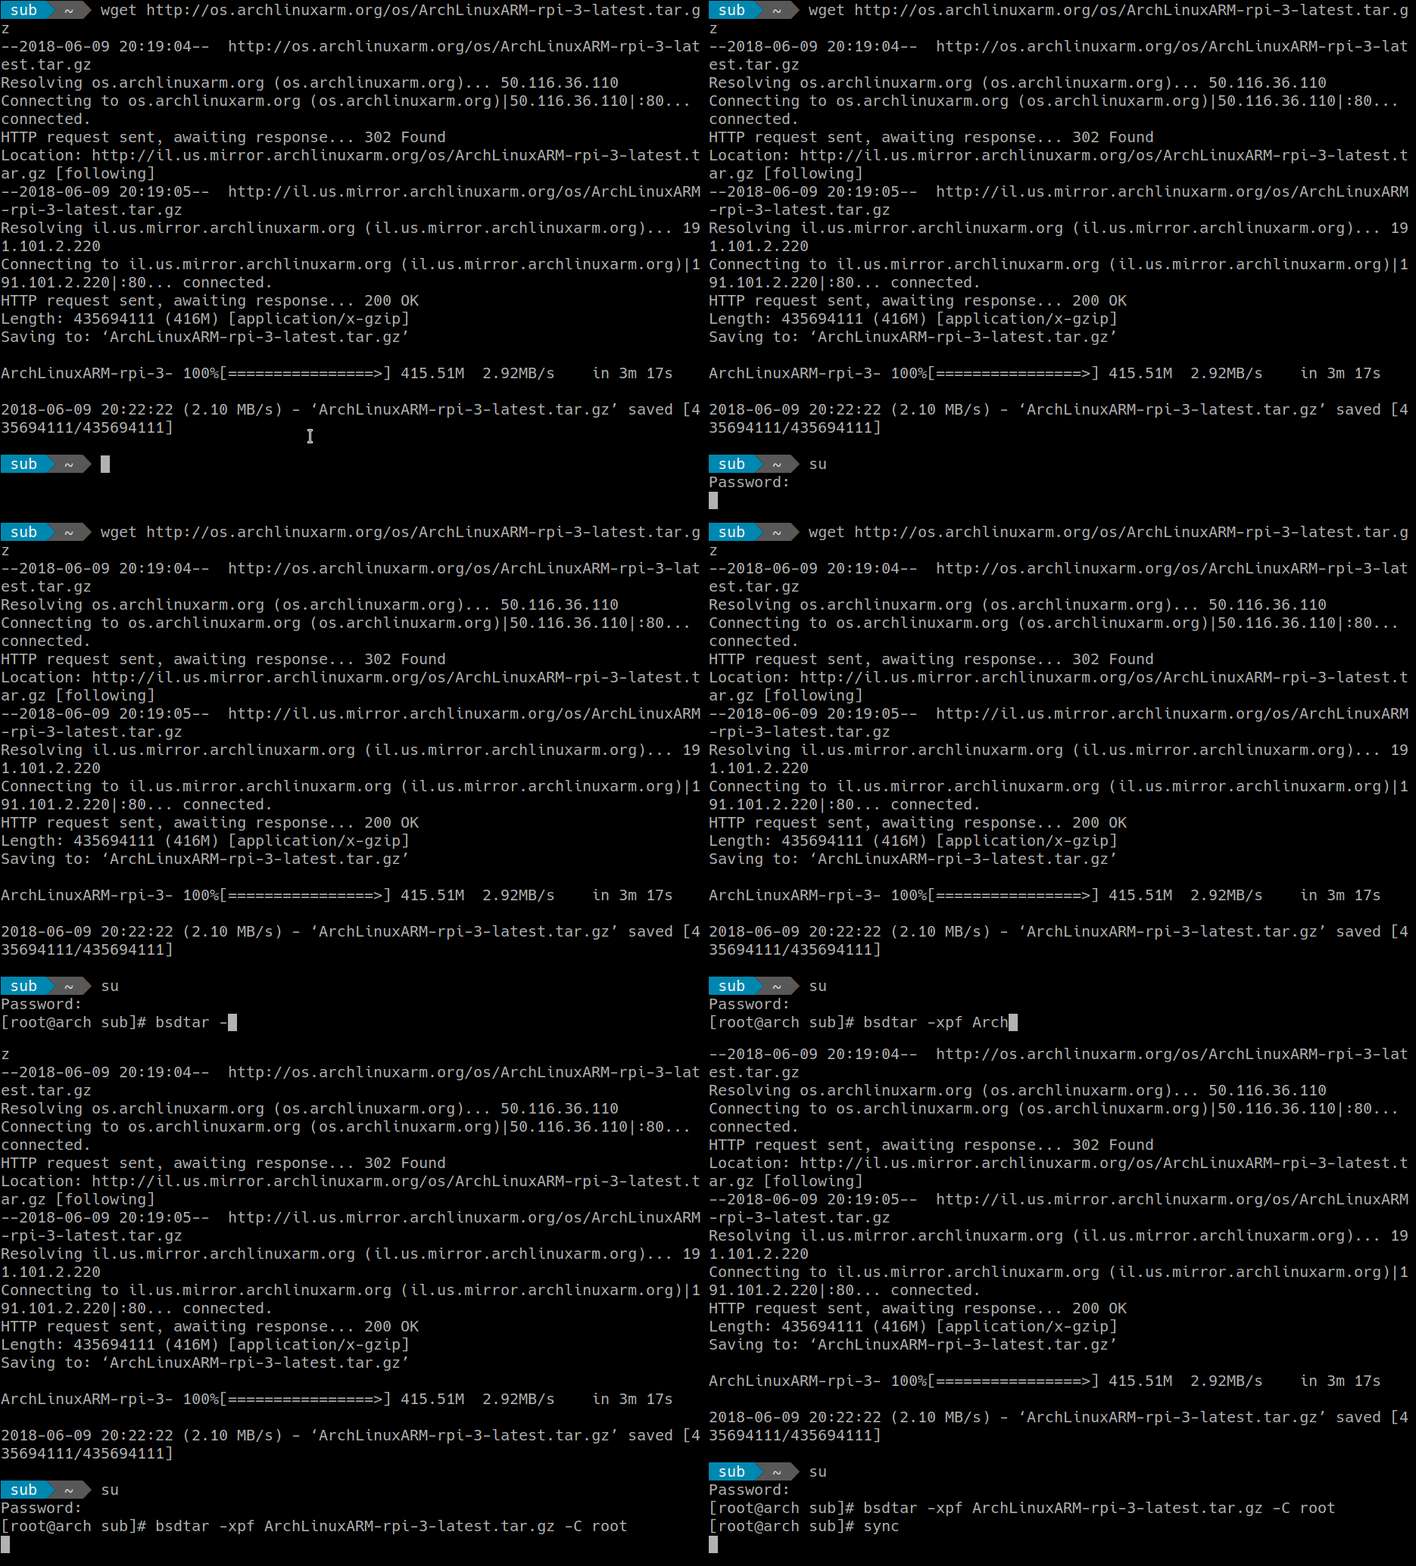
From now on, you need to run the commands as root, but not via sudo.
Run su and enter password to acquire root status.
su
Then run the following commands to extract the filesystem:
bsdtar -xpf ArchLinuxARM-rpi-3-latest.tar.gz -C root
sync
e. Move, unmount and exit

mv root/boot/* boot
umount boot root
exit
Yes, exit as soon as you don't need root privilege, to be safe :)
3. Get access to your Raspberry Pi
Insert micro SD card to your Raspberry Pi 3B.
Now you have several options before powering it on.
Connect your Pi to a monitor via HDMI, and a keyboard (USB or wireless) so you can work on it locally, and connect to the router via cable.
In this case, you are conveniently using Pi as a local computer. Pi is likely able to find itself an IP address and get access to the internet.
The default user isalarmwith passwordalarm, which stands forArch Linux ARM.
The root user isrootwith passwordroot.
You may runifconfigto find your assigned IP address so you can do remote control later.Same as 1 except that you are stuck with WIFI.
Boot up, enter the user namealarmand passwordalarm.
Runsuand enter passwordrootto have root privilege.
Runwifi-menu -o, select the WIFI you want to connect, enter the password.
To enable WIFI for every boot, do the following:
Runcd /etc/netctl/andls, find the name of your WIFI connect point, for examplewlan0-WIFI.
Runnetctl enable wlan0-WIFI.
From now on, your Pi automatically connects to WIFI every time it boots up, and you may be able to remove the monitor and keyboard from Pi since you may be able to remotelysshto it.
Again, you can runifconfigto find your assigned IP address.
And don't forget toexitroot privilege fast.No monitor or keyboard for Pi. You will have to connect your Pi to the router via a cable. At the same time, your computer is also connected to the router via either cable or WIFI.
If you know the IP address of your Pi, for example192.168.1.9, then runssh [email protected]on your computer to remotely control Pi.
But what is the exact IP address of the Pi? Pi will likely be assigned an IP address by the router, usually in the form of192.168.1.X.Xis unknown, you can find it out by using a monitor and keyboard on Pi and runningifconfig, or you can guess it out by tryingX = 2, 3, 4, 5 ...around. You will figure it out eventually.

4. Essential configuration
Login as user alarm (password alarm), either locally or by ssh from another computer.
Several configuration is needed for your newly installed Arch Linux on raspberry Pi.
First you need to run su and enter password root to acquire root privilege. sudo is not available yet.
su
Second, Initialize the pacman keyring and populate the Arch Linux ARM package signing keys, per Arch Linux ARM instruction.
pacman-key --init
pacman-key --populate archlinuxarm

Third, install sudo
pacman -S sudo
Fourth, allow sudo
EDITOR=nano visudo
You are now reading the text via nano editor. Find the line # %wheel ALL=(ALL) ALL. Delete the # at the line head. Ctrl+O to save the file. Ctrl+X to exit the editor.
Now you can quit the risky root account, and go back to the normal account alarm.
exit
From now on, you can run sudo in user alarm. So, let's update the system.
sudo pacman -Syu
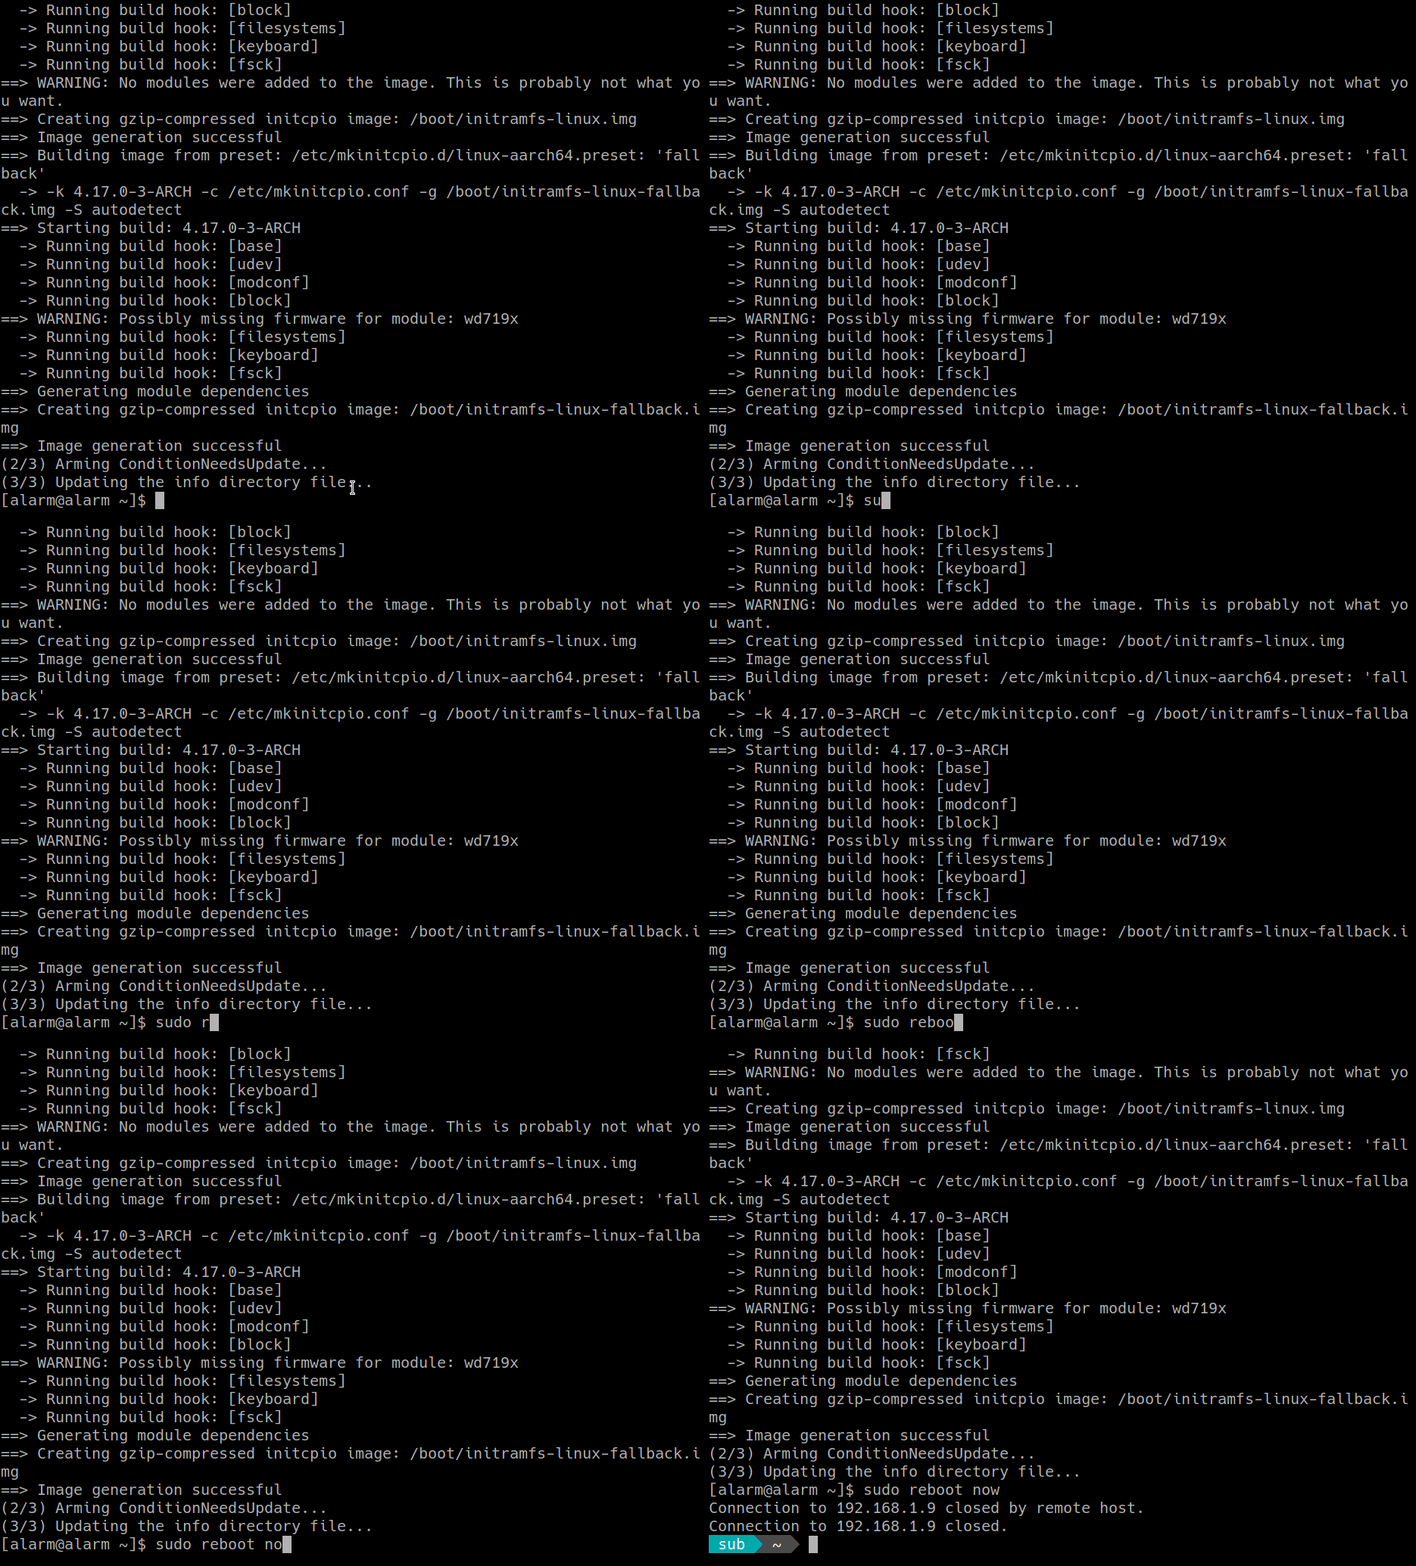
Yes, this is the first time you run sudo in this system. You get a friendly warning :) You will likely have a Linux kernel 4.17.0+. That's much newer than any other Pi system you can find, Hooray!

Reboot.
sudo reboot now
5. Development requirements
Again, log in as user alarm. Never ever use root.
Let's install some essential development packages for Substratum Node. git and rust are required. To be safe, also install the base-devel bundle.
a. Install git and base-devel
sudo pacman -S git base-devel
Note you need to press ENTER to make the default selection of all packages in base-devel.

b. Install rust
curl https://sh.rustup.rs -sSf | sh -s -- --default-toolchain 1.25.0
At the time of writing, the default stable version 1.26.2 generates warning messages '+fp' is not a recognized feature for this target (ignoring feature) during compilation. So stick with 1.25.0 for now.

6. Compile Node
Let's do it!
Download the source code
git clone https://github.com/SubstratumNetwork/SubstratumNode.git
Get into the directory
cd SubstratumNode

Check out the commit corresponding to version 0.3.2 (commit f4e63f2 on May 30, 2018). I haven't fully test the newer commits. They may contain some Pi-specific bugs.
git checkout f4e63f2
Edit the compilation file
nano ci/all.sh
Add # to each of the two lines involving sccache, as following:
#cargo install sccache || echo "Skipping sccache installation"  # Should do significant work only once
#export RUSTC_WRAPPER=sccache
Ctrl+O save, and Ctrl+X exit.
The reason for this procedure is that sccache compilation currently fails in Pi system, for some unknown reason. It doesn't affect our compiled Node. The compilation is just slower without sccache.
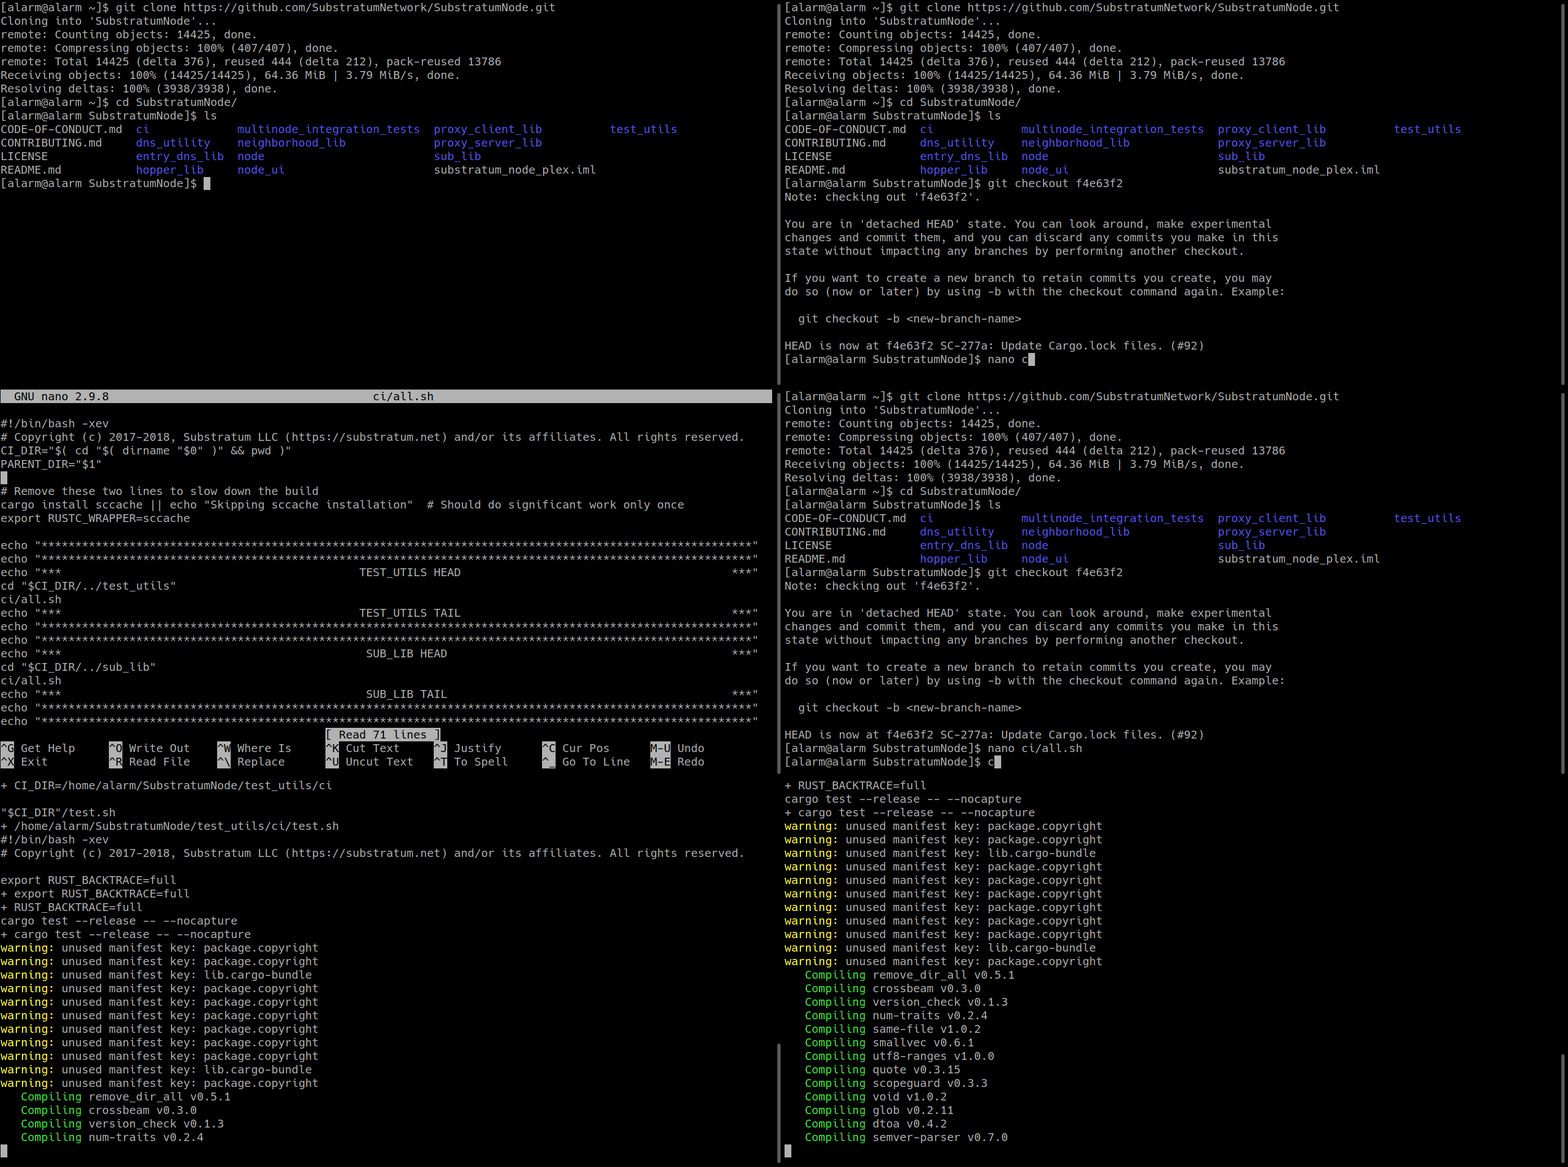
The compilation is supposed to be done sequentially for TEST_UTILS, SUB_LIB, ENTRY_DNS, NEIGHBORHOOD, HOPPER, PROXY SERVER, PROXY CLIENT, NODE, DNS UTILITY and NODE UI. However, it will stop once NODE is compiled.
It asks for a password before running the integration test (run_integration_tests.sh). Once you enter the password, it will continue but immediately complain an error no default toolchain configured.
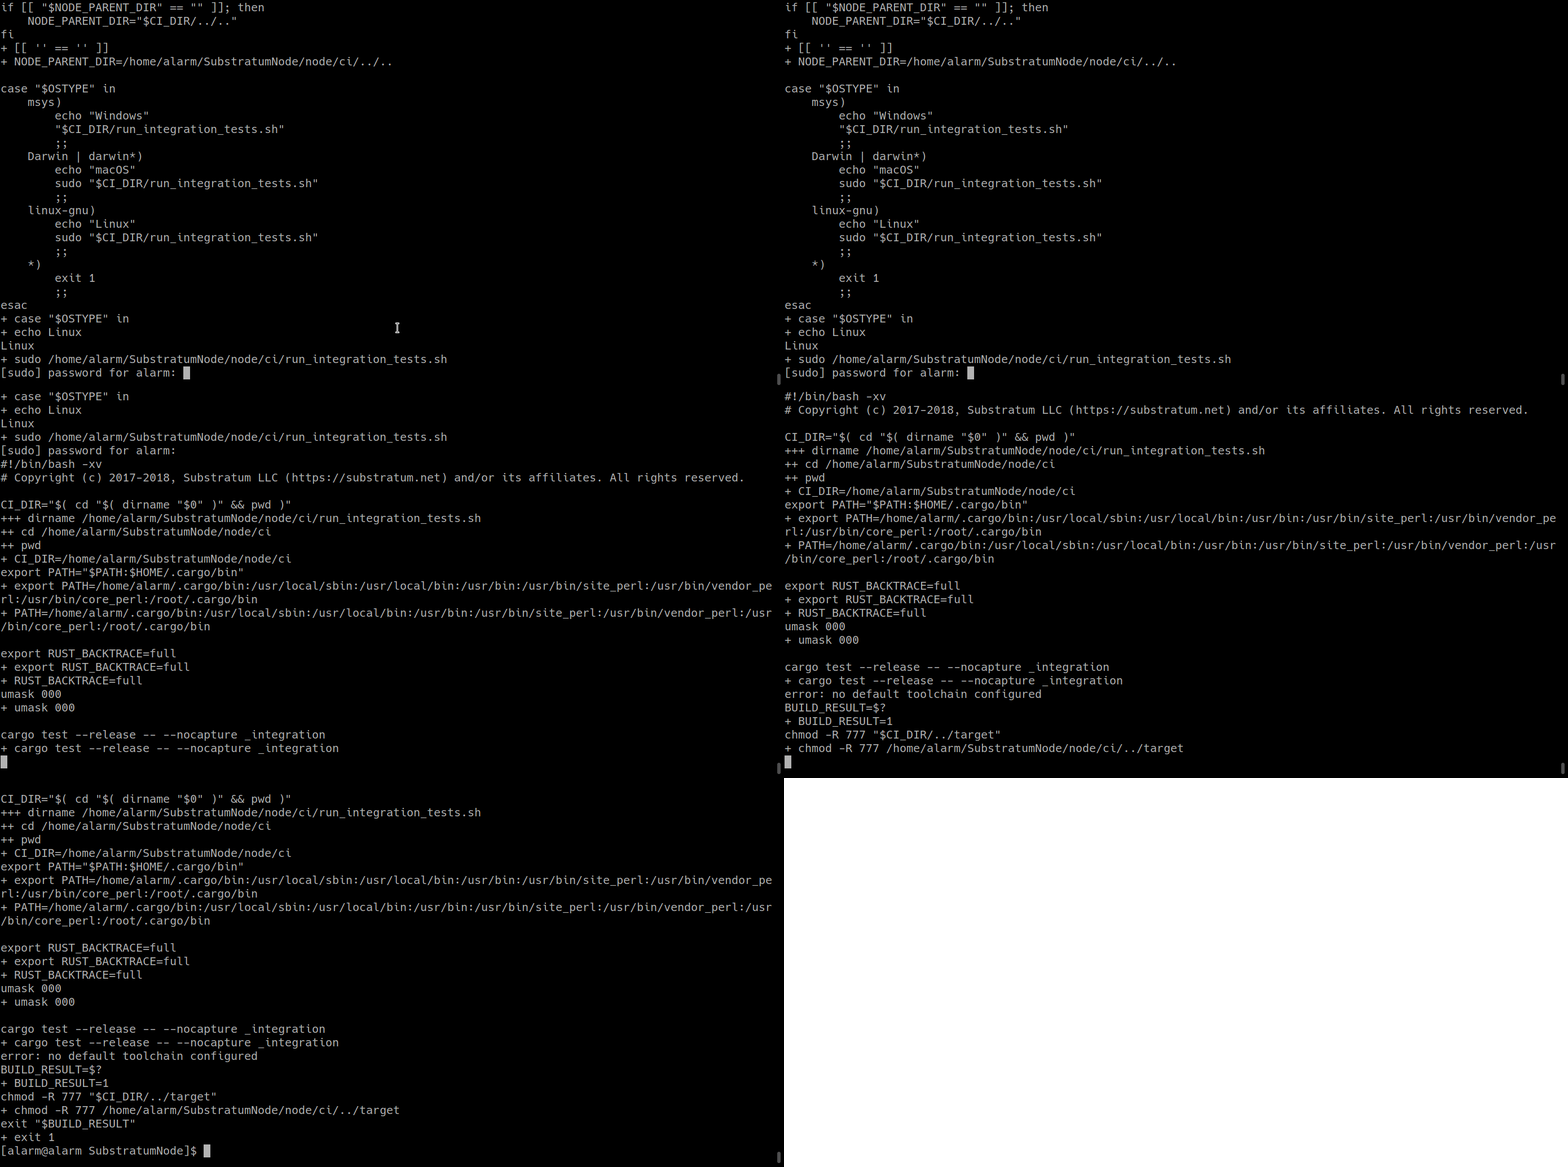
No worries! NODE is already compiled at this stage. And all components have passed all tests, except the Node integration test due to lack of toolchains.
7. Test Node
Let's see if Substratum Node (without UI) can route network traffic on a Raspberry Pi.
a. Install browser lynx that runs in terminal
sudo pacman -S lynx
You can view Google in a terminal by running lynx google.com. Cool, right?

b. Set DNS to localhost 127.0.0.1
Substratum Node does the magic once you set your DNS address to your localhost 127.0.0.1, but how do we do it in Raspberry Pi?
Use getent to see current DNS is working
getent hosts google.com
netstat lists opened ports in your system
netstat -lntup
You see the port 53 in use? You heard something very bad about this 53 port from Dan Wiebe, the Wizard? Don't panic! Not an issue in Arch Linux. Run the following command
sudo systemctl stop systemd-resolved
and you will see the 53 port is gone.
netstat -lntup
Now you need to edit resolv.conf
sudo nano /etc/resolv.conf
Change the IP address to 127.0.0.1, Ctrl+O save, and Ctl+X exit.
Check if your system can still resolve google.com
getent hosts google.com
No, it cannot anymore. Your DNS is now truly relying on itself 127.0.0.1.

c. Test Node
Let's open two terminals to test, one for Node, one for browser
(on Terminal 1)
lynx httpbin.org
Right, you cannot view httpbin.org since the browser cannot get the IP address from DNS, yet.
Run Node on the second terminal.
(on Terminal 2)
sudo node/target/release/SubstratumNode --dns_servers 1.1.1.1
Great, no error message! Try lynx on Terminal 1 again.
(on Terminal 1)
lynx httpbin.org
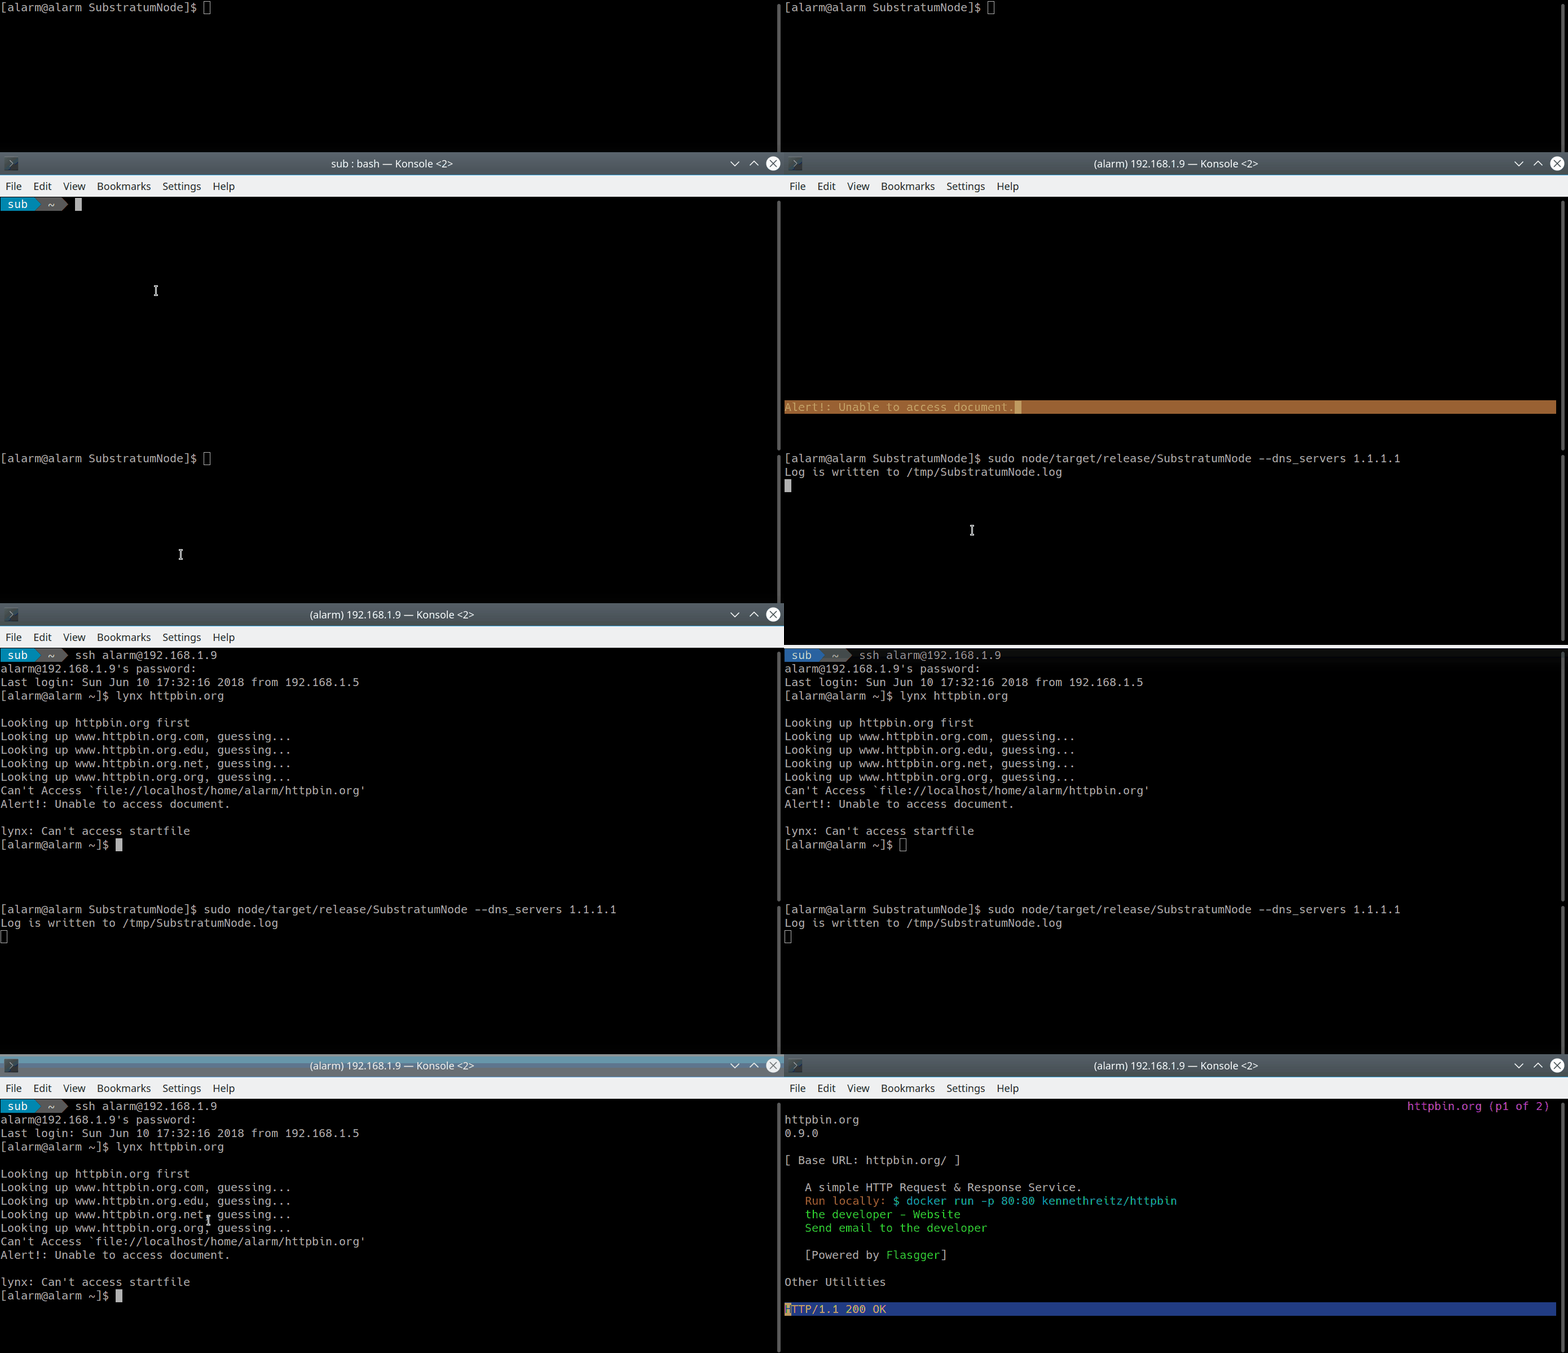
Did it work? It worked for me :)
You may kill Node by Ctrl+C.
To this point, congratulations, you have a Substratum Node running smoothly on your Raspberry Pi!
Yes, it is concrete proof that Substratum Node 0.3.2 runs on a Raspberry Pi 3B.
However, if you want something fancy, like UI, move on.
8. Compile DNS_UTILITY
The previous compilation stopped before the integration test for NODE, so of course DNS_UTILITY is not compiled yet, as well as NODE UI.
First of all, we need to restore our DNS since we still need internet for the rest compilations.
sudo systemctl start systemd-resolved
To avoid re-compilation of the compiled components, we need to edit the ci/all.sh again, to comment out the code related to the compiled components (TEST_UTILS, SUB_LIB, ENTRY_DNS, NEIGHBORHOOD, HOPPER, PROXY SERVER, PROXY CLIENT, NODE).
cd ~/SubstratumNode
nano ci/all.sh
Basically, append # at the head of each corresponding line. Two lines for each component. The following is the example for ENTRY_DNS.
#cd "$CI_DIR/../entry_dns_lib"
#ci/all.sh
Ctrl+O save, Ctrl+X exit.
Start the compilation of DNS_UTILITY
ci/all.sh

Just like NODE, the DNS_UTILITY may face the same fail in integration test. But it's perfectly fine. You have DNS_UTILITY compiled.
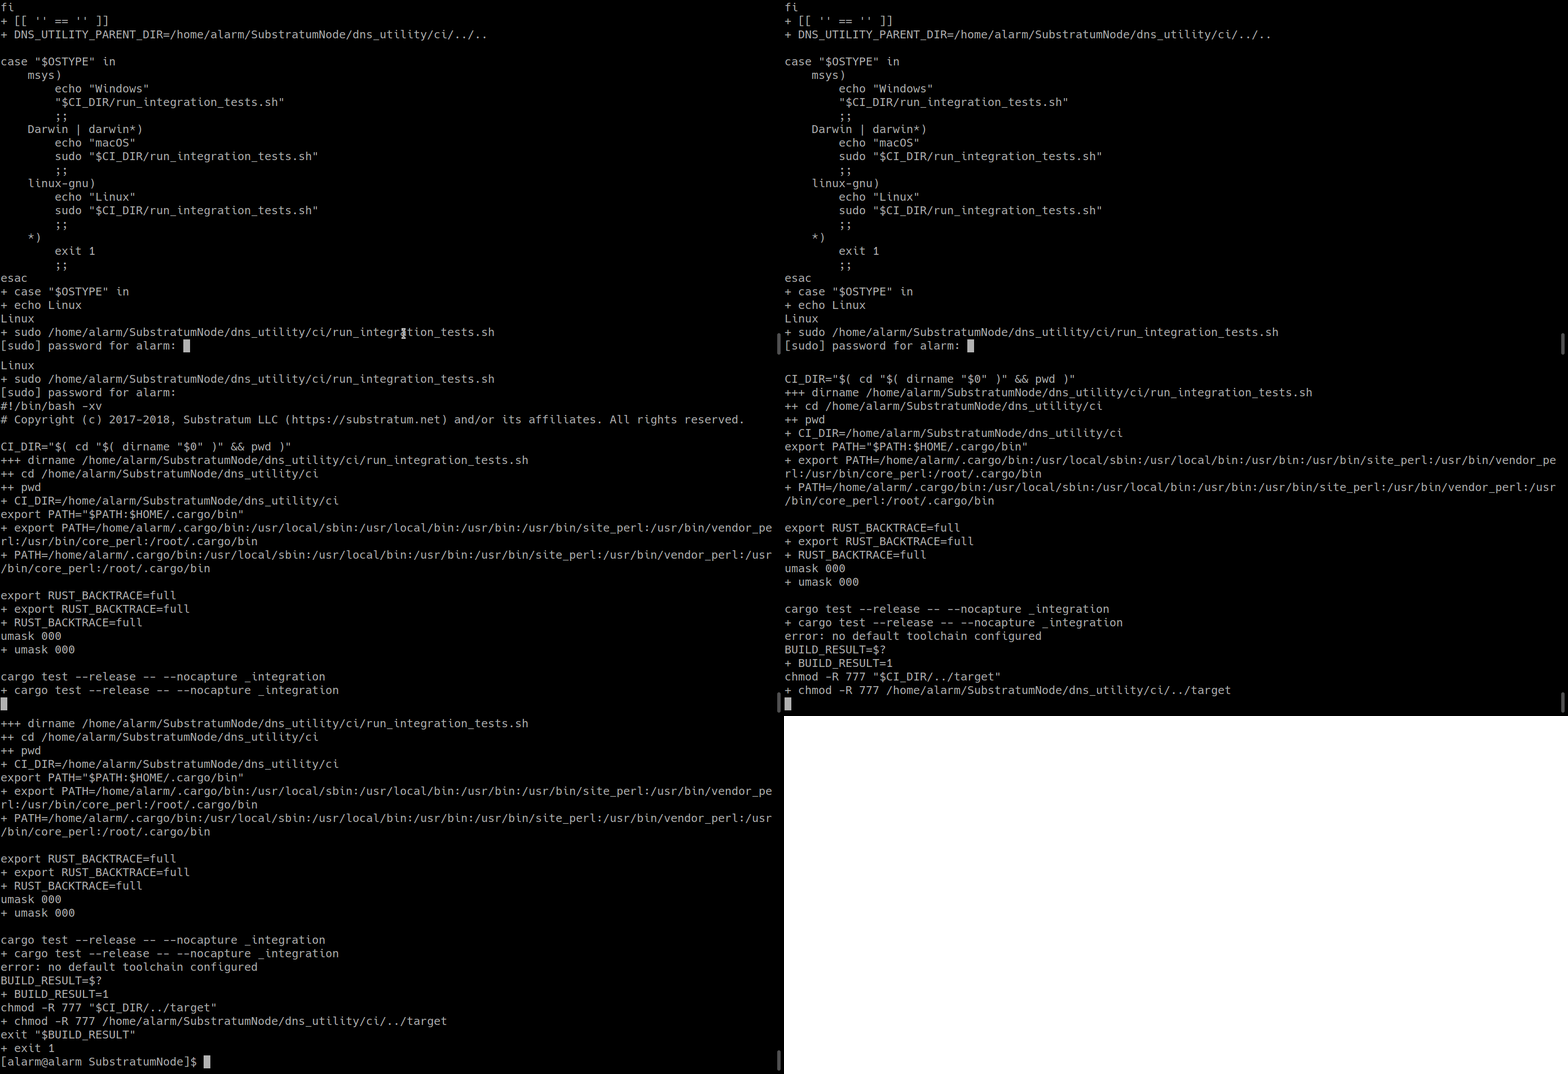
9. Compile NODE_UI
You need some additional packages for UI compilation.
sudo pacman -S yarn gconf

Again, need to edit compilation file.
nano ci/all.sh
Comment out the two lines corresponding to DNS_UTILITY to avoid recompilation.
#cd "$CI_DIR/../dns_utility"
#ci/all.sh "$PARENT_DIR"
Ctrl+O save, Ctrl+X exit.
Run the final compilation!
ci/all.sh
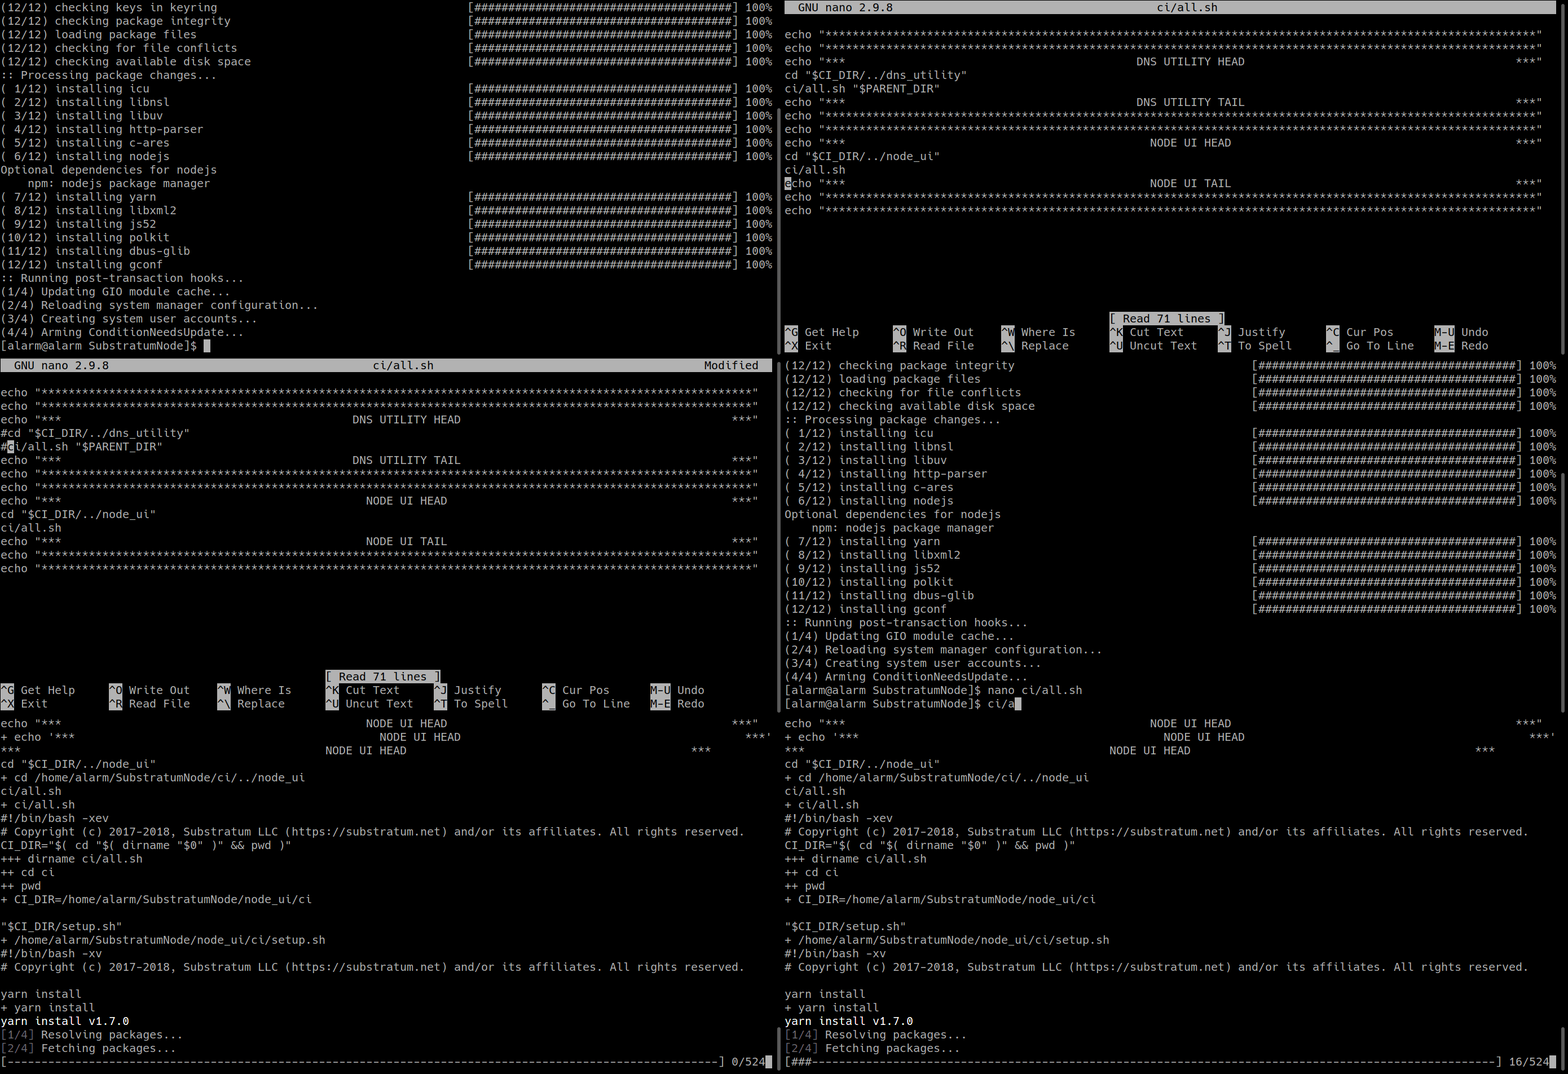
Patience results in an error message during test: Application launch Error: ChromeDriver did not start within 5000ms. Don't panic! You already have your NODE_UI compiled. The test didn't work in terminal.
10. Install X Window system and requirements for Node UI
On terminal, install Xorg, Wayland, Xfce and Chromium
sudo pacman -S xorg-server weston xfce4 xfce4-goodies chromium
Shutdown
sudo shutdown now
Connect Pi to monitor via HDMI, and a keyboard, and a mouse. Boot up. Login to user alarm.
Still no X Window? Don't panic!
startxfce4
You can use your mouse now!
Let's open up a terminal emulator and run Node UI!
cd ~/SubstratumNode/node_ui
sudo yarn start
Congratulations to you if you are currently at this step! Enjoy!
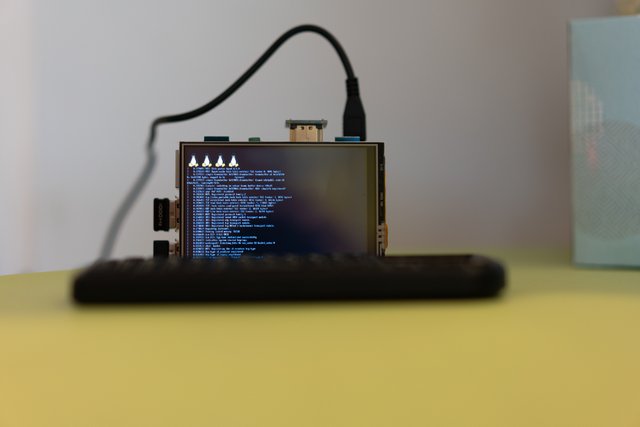
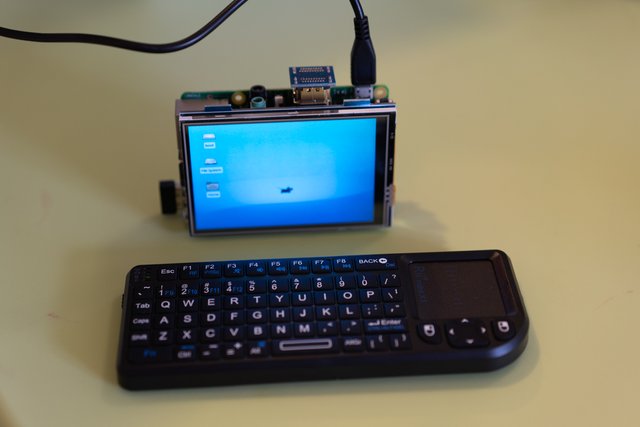
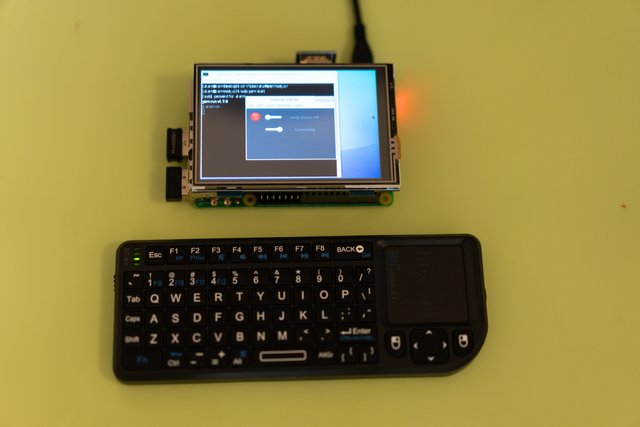
An important note, you cannot earn Substrate yet by running a Substratum Node. Decentralization (neighborhood) will be implemented in version 0.4.0, and Monetization comes in version 0.5.0 with which you can start the earning.
Related
You may find a Chinese translation of this tutorial here: 如何在树莓派上编译和运行Substratum Node.
And the previous kick-start post.
Credits
Substratum Network, Arch Linux ARM and Raspberry Pi
Proof of Work Done
https://github.com/humicro/Hitchhikers_Guide_to_Substratum_Node_on_Raspberry_Pi
Interesting to see a project that uses SBC and Rust here. Long ago, I have done some image processing project using Raspi, Cubieboard, and Odroid. When I'm still naive, I compile OpenCV in Raspi (first model) and it take 1 day full 😂. Since I'm curious about what you have done, allow me to ask some question 🙂
Since now I have some spare time then play around little bit with Rust 😅, maybe you want to:
rustup default nightly) since there is a fix for'+fp'....Glad you like it and appreciate your suggestion!
Yes, Pi, Arch and Rust are awesome!
Cheers!
Nice! Although currently I only have NanoPi Air in my inventory 😉
Wow, didn't know this thing before. Tiny and powerful! Hope it's also $5 😅
Hey @drsensor
Here's a tip for your valuable feedback! @Utopian-io loves and incentivises informative comments.
Contributing on Utopian
Learn how to contribute on our website.
Want to chat? Join us on Discord https://discord.gg/h52nFrV.
Vote for Utopian Witness!
Join our Discord Channel to connect with us and nominate your own or somebody else's posts in our review channel.
Help us to reward you for making it ! Join our voting trail or delegate steem power to the community account.
Your post is also presented on the community website www.steemmakers.com where you can find other selected content.
If you like our work, please consider upvoting this comment to support the growth of our community. Thank you.
Awesome! Thanks for the upvoting!
nice little guide here, finally something worth doing with Model B Quad Core CPU 1.2 GHz 1 GB RAM i have
Thank you for your contribution.
From what I've read and seen, this is in fact the first relevant tutorial on the web, nice work!
Are you officially affiliated with substratum? not that it matters, but it's great the level of interest you are presenting on the topic.
Your tutorial has been staff-picked as one of the best tutorials. Keep up the great work.
Your contribution has been evaluated according to Utopian policies and guidelines, as well as a predefined set of questions pertaining to the category.
To view those questions and the relevant answers related to your post, click here.
Need help? Write a ticket on https://support.utopian.io/.
Chat with us on Discord.
[utopian-moderator]
Thank you for picking this tutorial up! It's such an honor. I'm not affiliated with Substratum team. I'm just a big fan of crypto projects especially the decentralization of web.
Hey @microoo
Thanks for contributing on Utopian.
Congratulations! Your contribution was Staff Picked to receive a maximum vote for the tutorials category on Utopian for being of significant value to the project and the open source community.
We’re already looking forward to your next contribution!
Contributing on Utopian
Learn how to contribute on our website or by watching this tutorial on Youtube.
Want to chat? Join us on Discord https://discord.gg/h52nFrV.
Vote for Utopian Witness!
Thank you, @utopian-io! It's such an honor to be upvoted by you! I would like to also thank @ankarlie for introducing me to your amazing community 👍
That was an awesome tutorial my friend looking for more tutorials similar to this one. Keep up the great work sir and stay awesome!
This comment was made from https://ulogs.org
Thank you @ankarlie! Again appreciate for introducing me to the awesome @utopian-io! Sure I will do my best whenever I have spare time 😉
Normally people use raspberry pi for educational projects, it’s good to see that you are guiding about its use in crypto
Glad you like it! Raspberry Pi and similar embedded systems are actually widely used, for example NAS, IoT and smart things. Many people asked if Node can run on Pi, so I figured it out and would like to share my discovery. For the presented crypto project here, it's actually not just about crypto, it is highly relevent to internet censorship and net neutrality. An unsensored and equal internet ensures a healthy and bright future for crypto. This guide may serve as an entry gate for other interesting projects made by creative community.