Building a Fully Automated, Self Sustainable, Solar, Hydroponic, Micro Urban Farm - The Grid - Part 3 🔌💧💡
Hello Steemians,
In my previous post I have shared how after a few intense weeks of work we have finally finished with renovating this old neglected structure to eventually build a micro hydroponic urban farm, that will be fully automated and be as self sustainable as possible.
If you missed out on the previous posts in this series make sure to check them out:
There are quite a few challenges in that, especially with regards to water and electricity.
Being a very dry country, relying on the rain for self sustainability with water, will be a fruitless attempt, and although we just had some crazy hail storm the other day, most of the year is dry as a desert.
We do have very high humidity though, so that's why I plan at certain point to try to build a dew collector such as this, in order to supply my reservoirs with as much additional water as needed by the plants daily and hopefully allow us to eventually disconnect from the municipal water supply.
But for now, in order to progress with our plans, we decided to start with the municipal water and upgrade from that, the bright side is that we get an agricultural rate on our water and that keeps the price fairy low.
Same goes for electricity...the plan as mentioned in the previous parts of this post series, is to connect the whole building to a solar panels array and a few batteries, in order to provide all the equipment the necessary power in order to fertilize and water all the hydroponic systems that we going to install in the place.
But as a solar system is running on DC power, and most of the equipment we currently have (water, air pumps, controllers, lights, etc..) is running on AC, we going to need to add some energy thirsty inverters.
All that makes it quite an expensive endeavor and even a small 2000-3000 watt system will cost way more than my current budget.
So the plan is to gradually convert all the equipment to DC power and therefore save a ton of used energy in the process…but meanwhile, to get the things going we decided to provide a temporary backup and connect it to the grid as well.
This will give us time to properly prepare for the solar system, yet start with our growing plans.
So after ordering a few 12v pumps from aliexpress we have proceeded to lay out the cables.
We used a 4 cores insulated electrical cables to pull the electricity from the main distribution board.
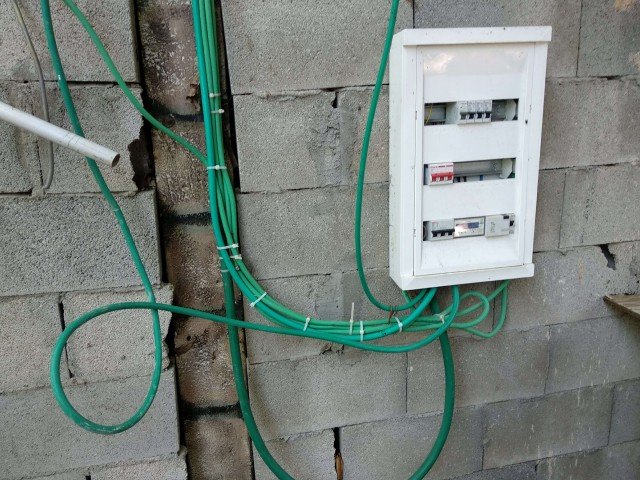
As the whole place is quite neglected, we had to pull the cable trough some obstacles...
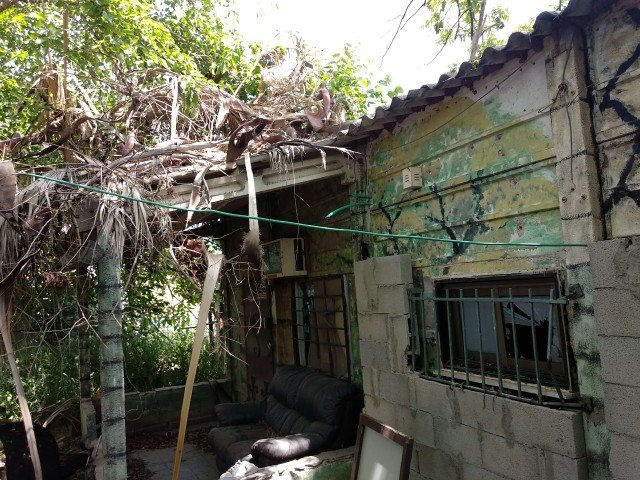
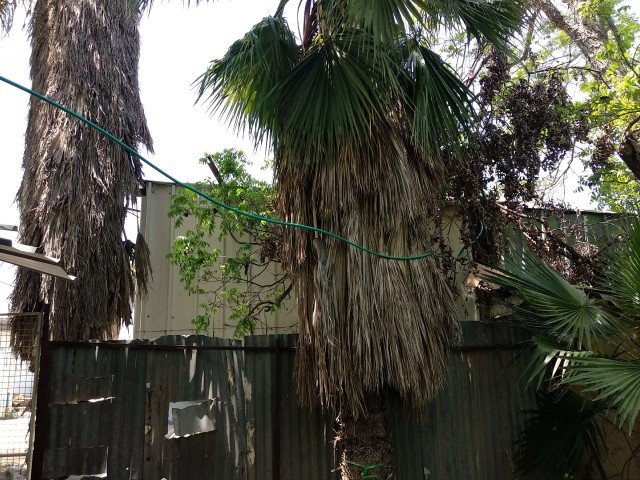
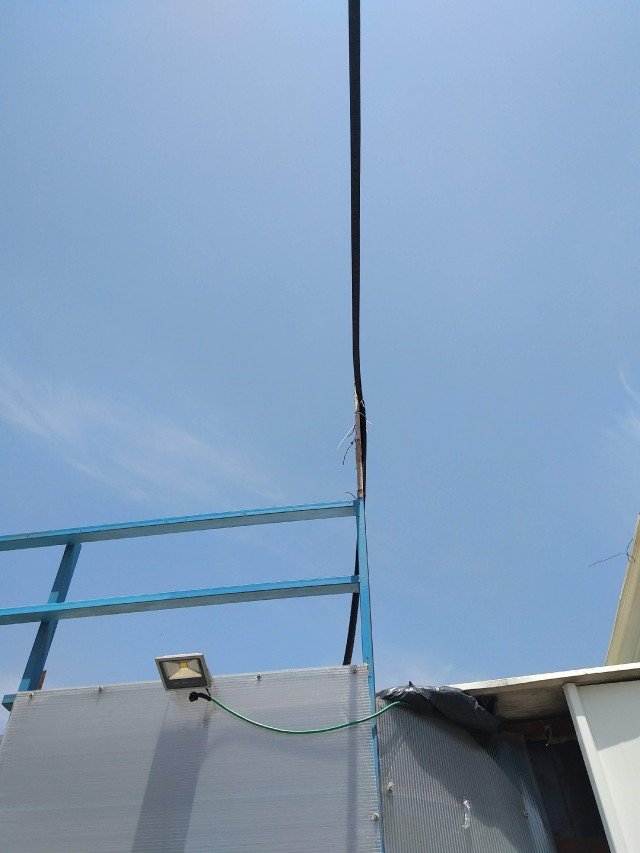
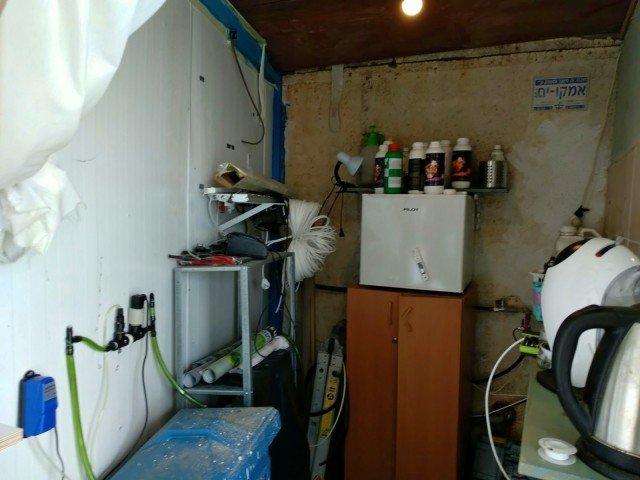
but after a few hours of climbing, pulling and tying stuff, we finally got it where we wanted it, in our own relay box, right inside the little service room we build that will eventually store our water reservoirs.

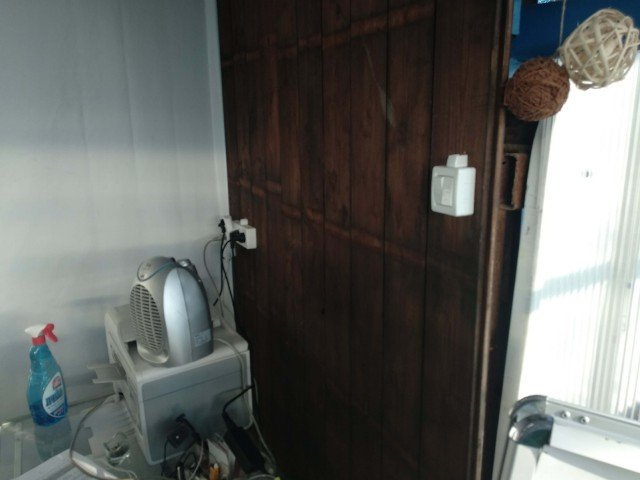
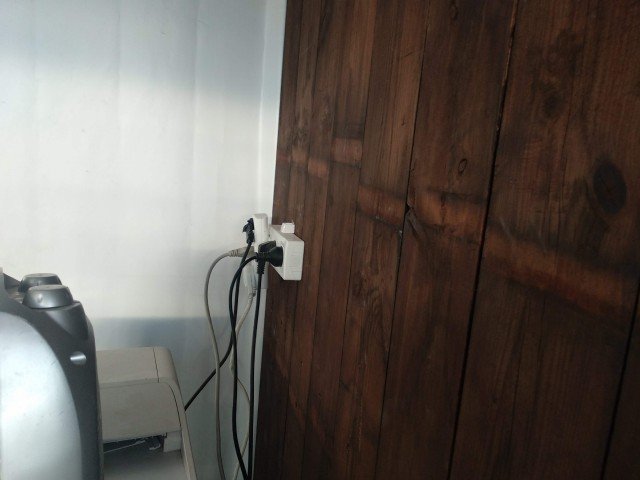
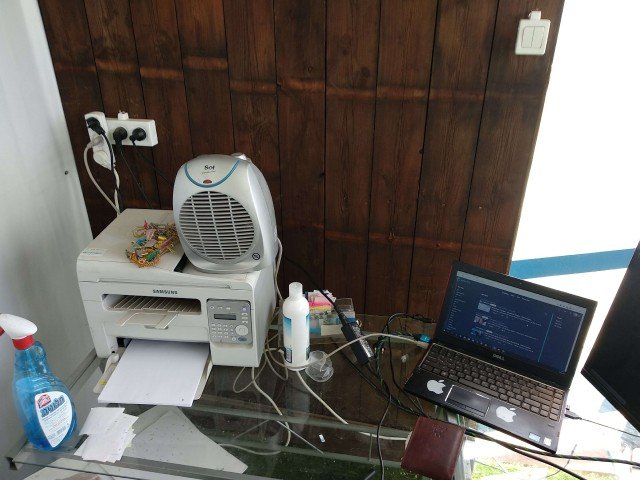
We use a 40 AMP relay for the main line, and additional four 16 AMP relays for all the outlets, lights, air conditioning and so own…
For now this will allow us to start plugging our equipment right away, and hopefully with time will serve as a backup power only.
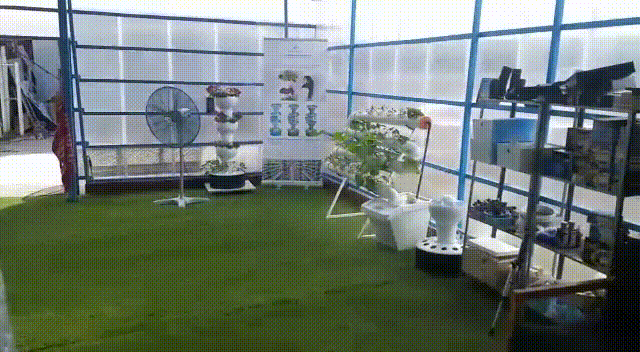
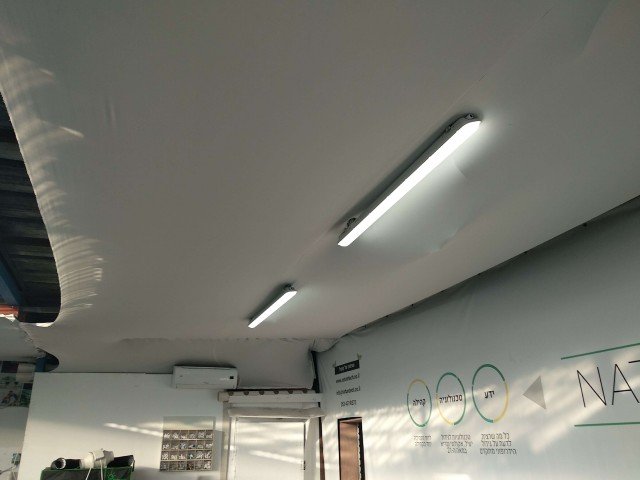
The light were hanged right after that, we used the cables we made sure to prepare under the fabric, and our 40 watt LED lights were ready to light up the room.

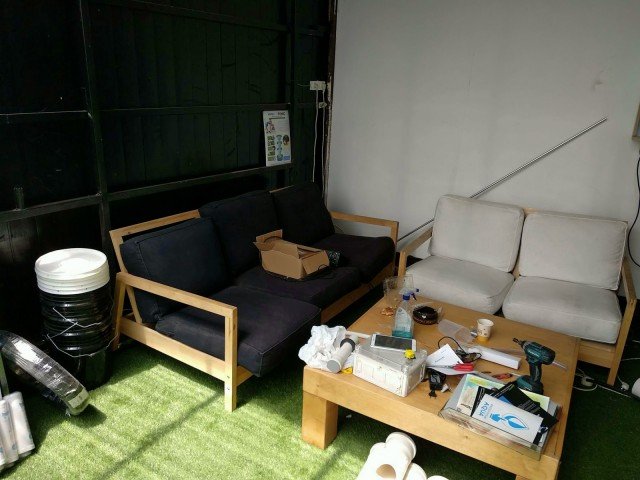
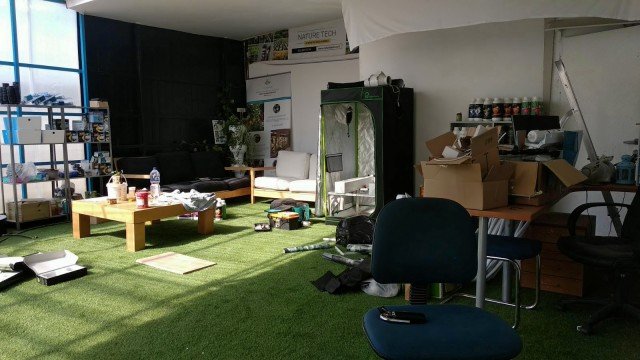
As mentioned previously this place will partly be used for teaching people how to grow with hydroponics, so there will be quite a few people visiting this place on a daily basis.
So in order to provide those visitors with a comfortable place to sit, we decided to dedicate one of the corners for exactly that reason.
We decided to use the corner close to the service room , as that black wall really made it look very comfy.
So we bought couple of second hand couches that seemed like a great fit and...a comfy corner...here we go :)
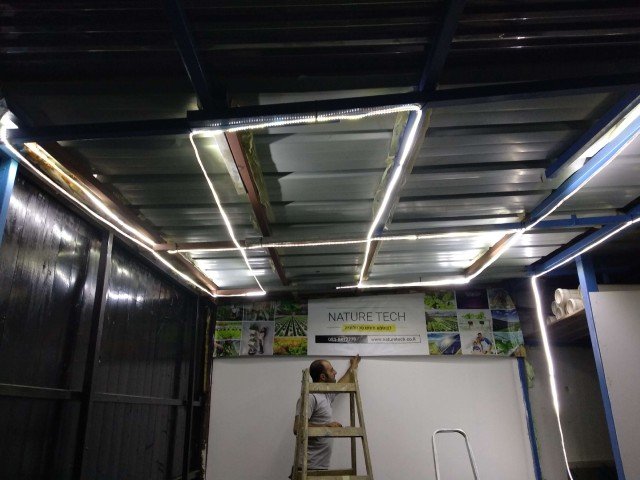
To light up that corner, we decided to use the LED strips I previously purchased for a great price.
We zigzagged them on the metal profiles , to provide an even distribution of light (at least we tried), so we can later cover it with Spandex fabric like we did in the other part of the ceiling.
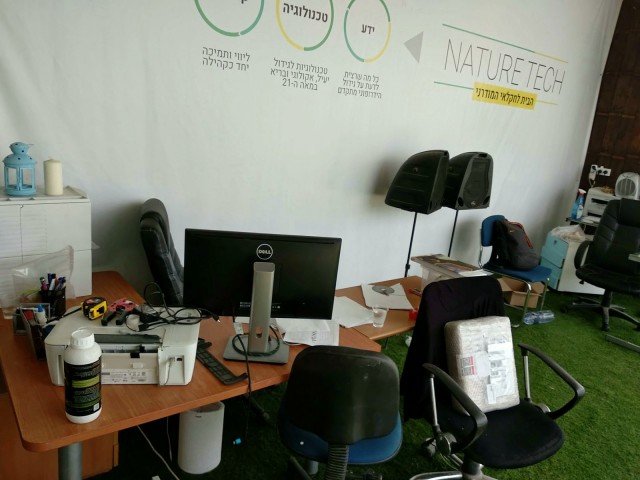
I will not tire you up with detail about how we plugged each and every outlet in the place, but after a few hours of more cables, more cutting and tying, we finally had outlets in all 4 corners of the place, we had switches to turn on and off all the lights and we had a main electrical relay to handle all the weight.

Now we going for the toilet
We all gotta go eventually and it might be easier for me (a lush bush is all i need ⛺😉 ) but my pregnant better half (not pregnant any longer 👶 ) and the other visitors in the place were really needed a better solution.
So yet again I will not bother you with the process of working out a new toilet in a place, I will just show you the final result.
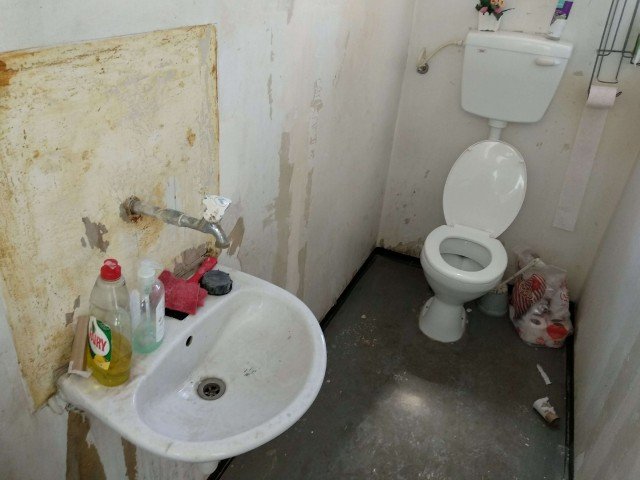
We still need to give it a nice coat of paint (or 2, or 5) and new floor, and perhaps some additinoal little touches , but the basics are ready to flush stuff to the unknown.
The last part that will allow us to start connecting some hydroponic systems is a proper air conditioning.
In a few weeks I am planning to purchase an air cooler based on water, that will consume about 240 watt of energy but can help me get the temperature and even the humidity in the place to the desired measure.
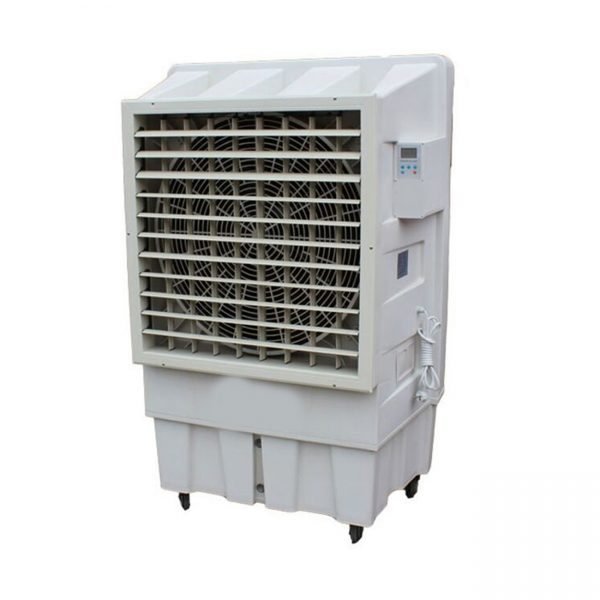
something similar to this
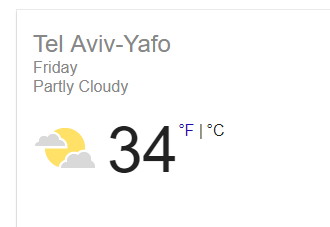
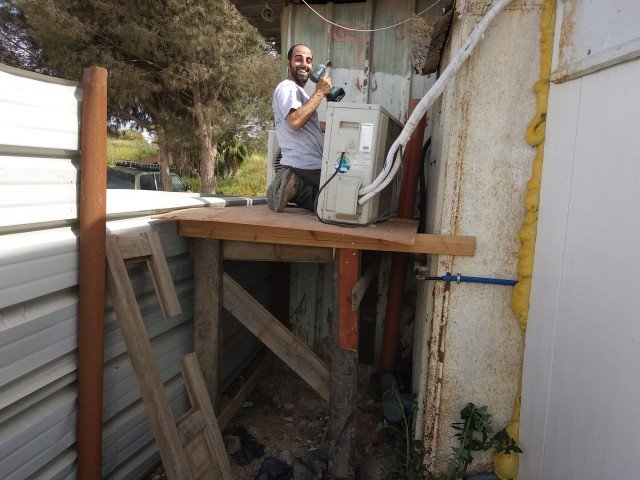
But as we are located in Israel, where as I write this post the temperature is reaching 34 degrees celsius (94 fahrenheit) , a greenhouse like structure can reach quite high temperatures during the day, so as my budget for this project is limited I decided to use an old air conditioning unit I had, so we can have at least some kind of bearable condition inside, while we wait for the new cooling unit.
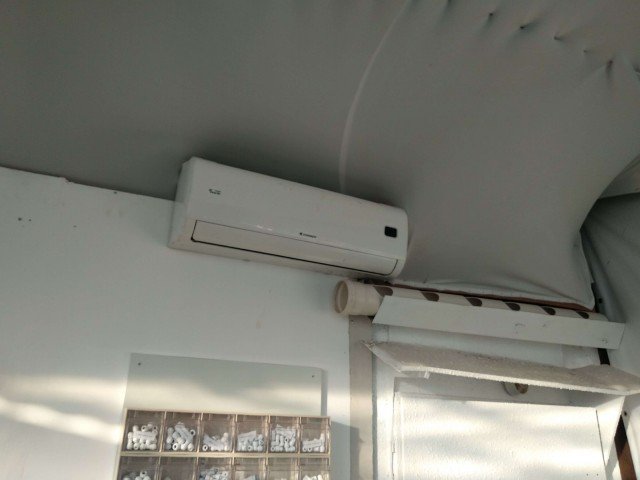
In order to position the engines of the air conditioner we had to build a custom frame and positioned them right outside the building.
While hanging the air conditioner we also have prepared the pipes for the toilet drainage and plugged it into the nearby sewers.
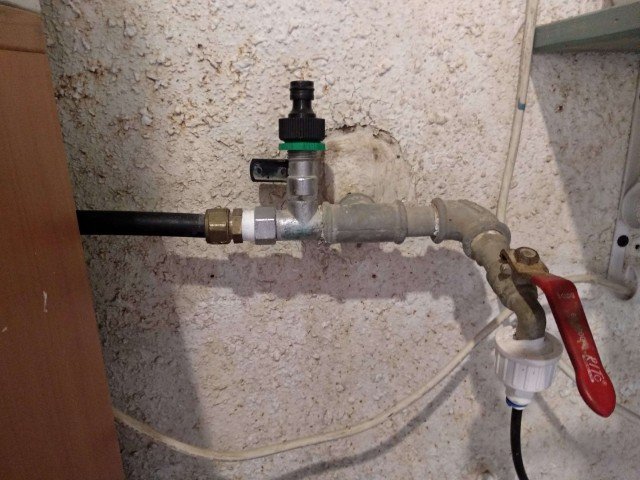
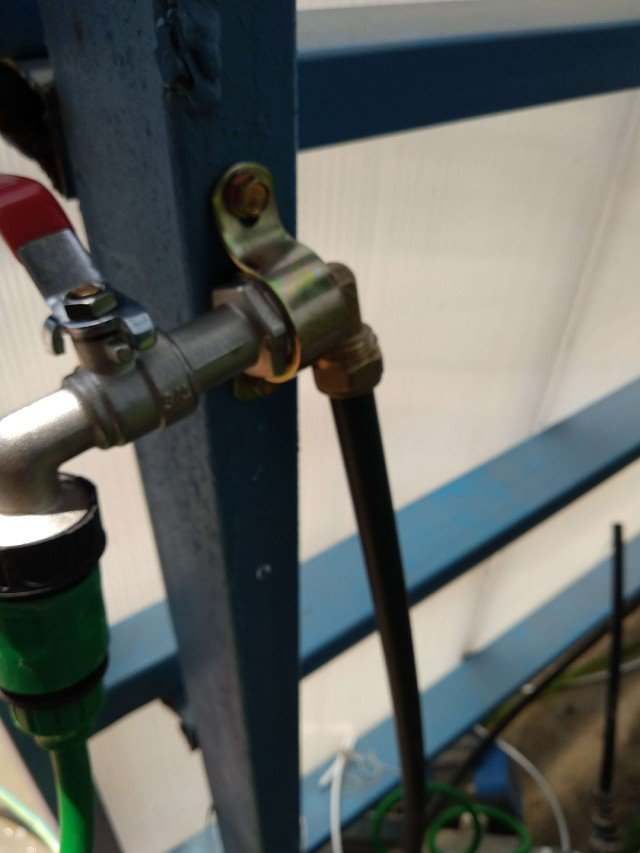
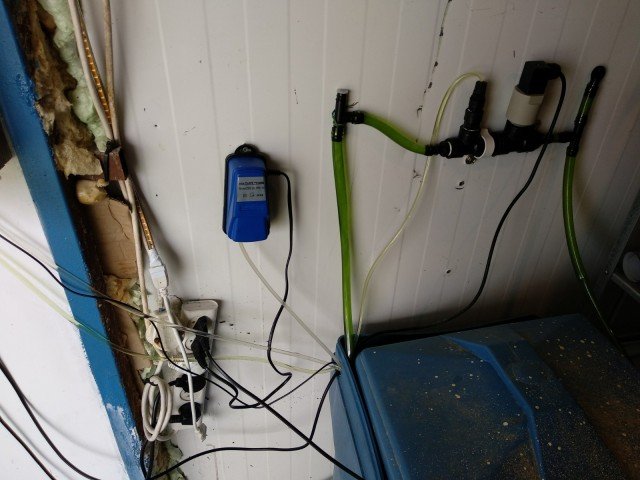
The final step for today was to connect us to the water line.
We used 16mm ABS pipes that can be used for high pressure (we are connected to the main line so the pressure coming out of our taps is very strong) water flow, and ran it all around the place.
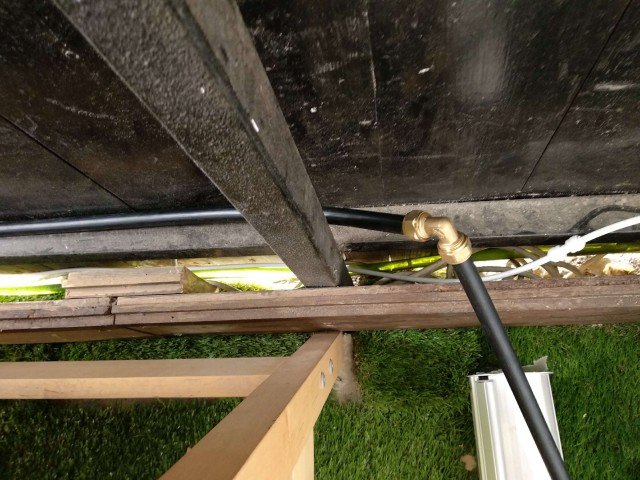
That will allow us to have water in any position we require for our systems, maintenance, or any other use we’ll have.
So a few dozen meters of pipe, a few iron connectors, taps and our main water line was back in use.
Though after testing it for electrical conductivity, we have discovered that our water wasnt as ‘clean’ as we hoped for (our initial EC reading were quite high + you could see that the water had a certain hue and taste)...but we will deal with that later.
We were ready to proceed to the next stage.
We have finally got ourselves electricity, running water, lights and even air conditioning.
Everything was starting to take shape and we were excited to proceed.
As i mentioned previously, one of the plans for this place is to have the hydroponics systems functioning automatically, that will include measuring the temperature, the EC and the PH of the water and dosing our main reservoirs with the required substances (PH acids and fertilizer) according to the desired setting.
But for that we still need to figure out how to clean up our water and properly design our water distribution...and that will take a bit of time, but as we already had water and each of the systems can function on a separate reservoir as well, we decided that our next step will be to plug and plant a few of the systems we have and deal with the automatic watering system later.
But this will be in our metaphorical tomorrow, as our metaphorical today is coming to an end.
So thanks for sticking around, I know this post might not be as exciting...but the grid had to be done, without electricity and water we would not be able to proceed to the fun stuff, so it had to be done and I promise you that some interesting stuff are coming up, so stay tuned.
In the next post i will be sharing the plan we have for our water filtering and distribution, how we going to connect our main reservoir and how we going to make it all function automatically.
But the best part is that we will be finally planting some veggies :)
Here are a few teaser photos from our future endeavours .


Thanks for sticking around, see you in the next post.
For more stories and photographs, make sure to check out my profile and if you like some of the stuff then perhaps consider UPVOTING, FOLLOWING and RESTEEMING.
“ The real voyage of discovery consists not in seeking new landscapes, but in having new eyes.”
~ Marcel Proust


If you missed out on the previous posts in this series make sure to check them out:
I use a very similar air cooler in my shipping container where I keep my worms. It is just a swamp cooler or evaporative cooler. Works well but it does not drop temp as much as it should because it is already so humid here so I just add a dehumidifier also. The dryer the air the more the swamp cooler will drop temp so they both work well together. Mine runs 220 watts I believe which is not bad with a 600 watt wind generator I am still going to install and the rest of my 2k solar setup which gives me plenty of juice to run the swamp cooler and dehumidifier along with led lights and water pumps for fodder and microgreens. Really nice setup your working on. Congrats look forward to reading more about it
Thank you very much for taking the time to comment and for the compliments :) .
I actually had a concern regarding the possible humidity issues, as the cooler sort of stops being effective once the humidity levels reach a certain level, but as you said, it is still more effective to used the cooler along side a dehumidifier (by the way that might generate some additional water for my tanks) than running a standard AC in a non air-locked space.
What type of dehumidifier are you using?
Your setups sounds awesome, I have tried to look at your account to see if you made a post about it, but could not really find.
It sounds very interesting, perhaps you can share it with us.
Thanks again for the comment.
I have not made a post on it but I will be. It was a project that started way before steemit. Ivation 70 Pint Energy Star Dehumidifier - Large-Capacity For Spaces Up To 4,500 Sq Ft . I still need to finish the rest of the solar setup. This was the start of it a while ago. https://steemit.com/homestead/@liberyworms/45-ft-shipping-container-homestead-business
You should absolutely do an update post!
Looks promising ;)
Thanks for the info, will make sure to measure my humidity in the upcoming weeks after i put up the cooler, lets see if i;ll need a dehumidifier, i hope i can skip it.
I am in North FL and it is very high humidity here I am not sure how dry or humid your area is. I know these evap coolers can drop up to 30 degrees in dry areas. It will drop temp very well here but usually only 10 to 15 degree but without a dehumidifier it just gets very very muggy but with one it does help drop temp better.
Yeah makes sense, it works on water after all...I will have to check that out, as high humidity might be alright for a proper greenhouse.
But as this place is going to be only semi-greenhose and the rest of the place will have human visitors :), humidity in the high 60-70 might be a bit not 'user-friendly', so I might need to consider a dehumidifier as well ,
Thanks for pointing my attention to that!
Wonderful Photos ❤ @carpedimus
Thank you friend ❤
Man this is fantastic project, so far so good, getting a Dew collector will make things better, at least reduce the water intake . I would like to see your next post
Thank you my friend, yeah due to the high humidity in the area, I think a decent size dew collector on the roof can actually be quite effective.
I just need to figure out how to properly attach it to that roof + run the proper piping to bring that water where I actually need it.
It is definitely on my bucket list, but it will have to wait for a bit.
Congratulations! This post has been upvoted from the communal account, @minnowsupport, by carpedimus from the Minnow Support Project. It's a witness project run by aggroed, ausbitbank, teamsteem, theprophet0, someguy123, neoxian, followbtcnews, and netuoso. The goal is to help Steemit grow by supporting Minnows. Please find us at the Peace, Abundance, and Liberty Network (PALnet) Discord Channel. It's a completely public and open space to all members of the Steemit community who voluntarily choose to be there.
If you would like to delegate to the Minnow Support Project you can do so by clicking on the following links: 50SP, 100SP, 250SP, 500SP, 1000SP, 5000SP.
Be sure to leave at least 50SP undelegated on your account.
You got a 22.24% upvote from @brupvoter courtesy of @carpedimus!
This post has won a 2 SBD prize in the @offgrid-online Alternative Power contest - already transfered to you. Thank you for sharing your Knowledge and Experience :)
I am honored @offgrid-online, thank you so much !